Monday, December 28, 2015

2015 Year End Review


It's that time of year again, next week I will be starting my 4th year blogging about guns. 

This is my 231st Blog post.....while I had no idea it would go on this long....we have plenty in store for 2016.

  • As always you can expect more restoration & modification projects. 
  • We have some more product and gun reviews coming up. 
  • Gun Porn and Featured Gun articles will be appearing monthly.
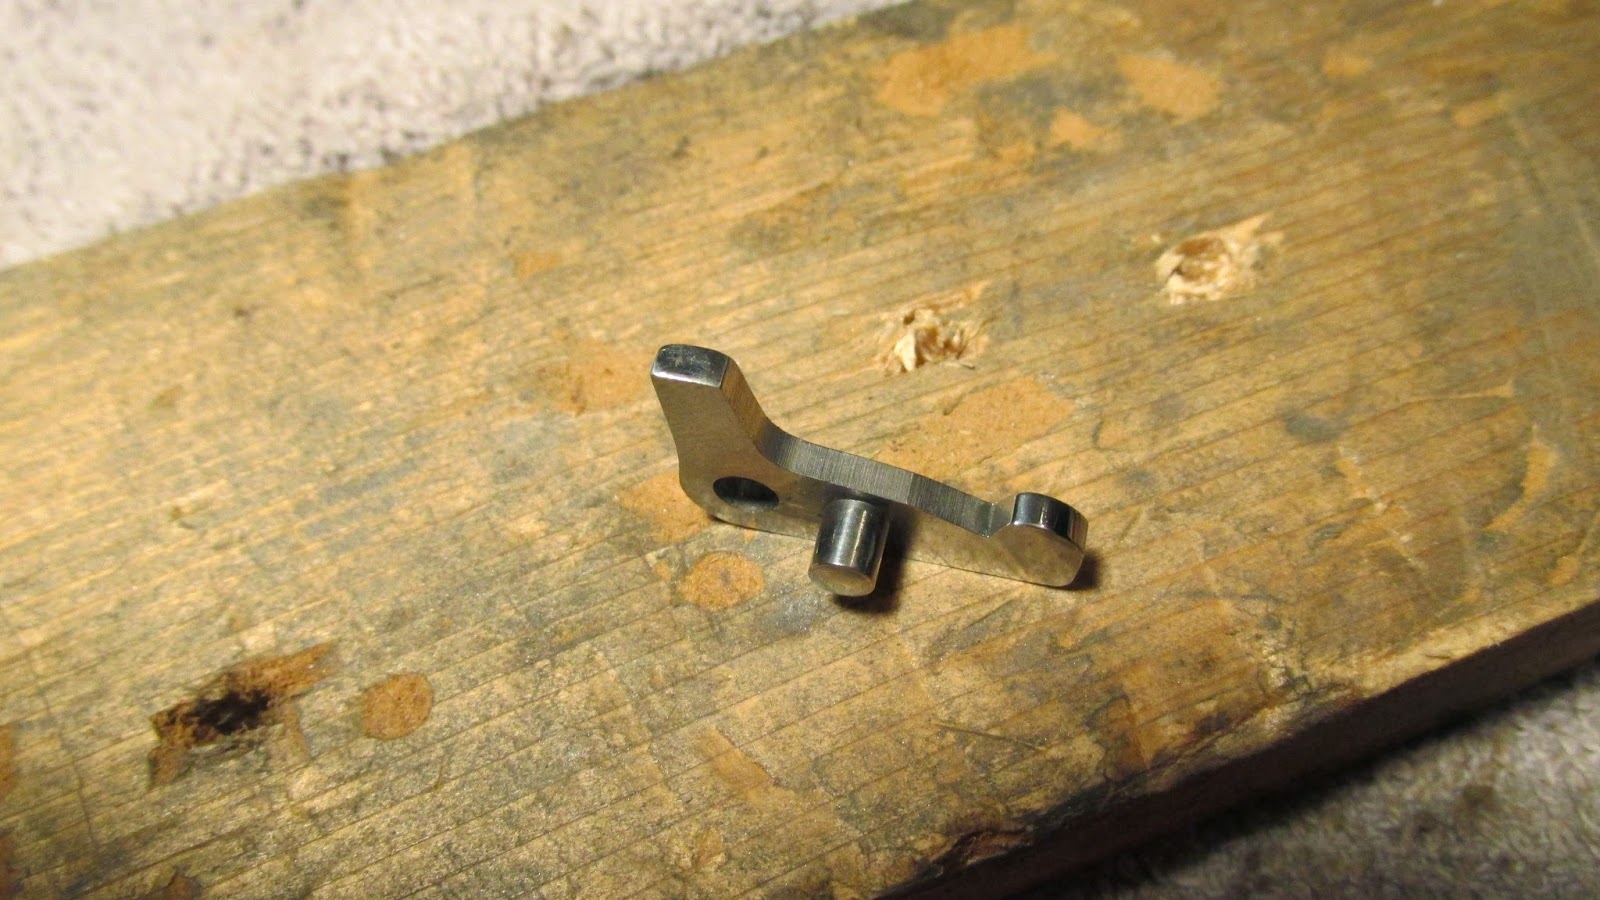
  • We will go head on into knife making, starting with the building of a filing jig.
  • We will also make an attempt at building a gun from scratch
  • We will cover some more historical firearms related events
Now for the review:

I have updated my Pocket 380 post with new offerings from Browning, Taurus, Bersa and Remington.

I updated my Zombie Guns post, we have a  follow up post with more pictures coming soon

I also updated my Theme Guns post with new entries


January
We covered the Ruger Single Action Grip Frames 
We introduced the Phoenix Project: The Resurrection of a Colt Trooper MK III 
We asked the question: Is Glock Hating a form of Hoplophobia?

We introduced another project: The Ruger Old Model Blackhawk
and some more Gun Porn
Another new project: The Browning Automatic Rifle Project Pt.1
We examined the trend of "Antiquing" a guns finish

February
We played around with some Indoor Practice Ammo
Part 2 of the Ruger Old Model Blackhawk Project
We profiled the many ways to keep your guns safe
We finished up the Browning Automatic Rifle Project
We investigated the world of Virtual Guns
Our Featured Gun for February was a Ranger model 101.2 bolt action shotgun
Part 2 of the Phoenix Project
Our most popular post to date: Ghost Gun Factories, we go to Gun Valley and see what happened to the gun factories of yesterday

March
We learn the process of removing a barrel from a revolver 
We asked the controversial question: To Restore or not to Restore
We perform a product review on the OR3GUN Marine Spacer Tube for Mossberg® 930/935 
We perform some cosmetic mods to my original Vaquero 
We cleaned up the edges on my Walther PPK/s 
We examined the great warranty repairs that have been provided by gun makers 
Part 3 of our Phoenix Project

April
In part 3 we install a brass grip frame on the Ruger Old Model Project
We displayed some Cut-Away Guns

Survivor45 shows us how to install a Custom Picatinny Mount for a Winchester model 290
We peered into the crazy world of Gun Tattoos
We took another stab at making a Pistol Display Box  
A Mossberg model 800 rifle gets cleaned up 
Gun Porn for April

May
We build a varmint Sniper Rifle
Our Featured gun for May was a Westernfield model 45 .22 rifle
Part 4 of our Ruger Old Model Blackhawk Project
We start another knife project, this one is a coffin handled dagger

We look at the art of Miniature Guns
Part 4 of our Phoenix Project
We attempt to explain the myth of the Buntline Special
We review the Tapco Gen 2 Mini-14 magazine

June
We repair a timing issue on a Ruger Security Six
Featured gun for June: S&W model 629 Classic Hunter
Part 5 of our Ruger Old Model Blackhawk Project
We compile some of the most ridiculous modifications ever done to a firearm  
We make our first set of grips 

July
We listed the 7 signs an Amateur has worked on your Gun
We began work on a Marlin model 81-DL 
Gun Porn for July
We finished our work on the Marlin model 81-DL
We compiled all the John Wayne Commemorative Guns
Part Six of our Old Model Blackhawk Project
The 7th and last installment of the Old Model Blackhawk Project 
A fellow gun enthusiast reviews the Hexmag for AR rifles 

August
We review the IWI Tavor rifle 
Another Coffin Handled Dagger 
A fellow gunsmith puts together a Mossberg 500 from spare parts 
We build some new Bluing Tanks
We take a look at all the colors of the Ruger LCP
A long overdue update on the Colt New Service Project 
Gun Porn for August

September
We documented the building of a custom Ruger Mark III pistol 
We examined the popularity of Pinto revolvers
A review of the new & improved Ruger Charger
We started a new project: The Born Again SKS rifle
Our Featured Gun for September is the Beretta CX4 Storm
We review the Gunsmither 10-22 Bolt Bar
We wrap up the Phoenix Project 

October
Guest Gunsmith hkcavalier demonstrates his modifications to a Marlin 1895 rifle 
Featured Gun of the month: The Ruger 44 Carbine 
Defacing a gun to stop crime? We don't do that anymore!
The Born Again SKS part Two
The Born Again SKS project is finished
We take a look at current trends in firearms
A specific type of gun porn: Custom Blackhawks

November
The Colt New Service Project part 4
The Slang used by gun nuts 
On Veterans Day we took a look back at the Centralia Massacre
We introduce a new project: a Marlin 1893 Rifle 
The Featured Gun for November is a "Black Army" Colt 1911 
Some Christmas Ideas for the Gun Nut on your list 
November Gun Porn

December
We wrap up the Colt New Service Project
The Featured Gun for December is the Hawes Western Marshal
We assemble a 7.62 caliber AR Rifle
Tincanbandit's Christmas Wish List
We perform functional and cosmetic upgrades to a second Ruger Vaquero
We take a look back at the marketing of guns as Christmas Gifts


Wednesday, December 23, 2015

The Way We Were

Once upon a time in America, it was not unusual to buy a firearm for a loved one for Christmas.

I am sure you have seen the movie A Christmas Story, A story about a nine-year old boy living in northern Indiana in the late 1940's. The main character, Ralphie Parker, wanted just one thing for Christmas..... a Red Ryder, Carbine-Action, 200-shot, Range Model, Air Rifle, with a Compass in the stock and "this thing which tells time".


The story, while partly fictional, could very well be the story of millions of young boys growing up during that era.


Back in those days guns were sold in hardware stores, auto parts stores and all the major department stores. They all  had a gun section with their sporting goods. 

Shoppers back then were not offended nor surprised to see guns on a rack in Macys,  J.C. Penny's, Montgomery Wards or Sears & Roebuck, it was as natural as a crescent wrench or a bottle of Burma Shave.
Gun advertisements were posted in most magazines and not  just the sporting ones.

There are a few other things that were different back then....we had fewer single parent families, political correctness had not yet been invented, people had shame and school shootings were virtually unheard of, but that is a topic for another day. 

This is the season of good will and good cheer.


I would like to call on all gun owners to keep the tradition alive....buy your loved one a firearm for Christmas!


Take a look at this collection of Christmas gun ads from long ago....


and just to show you guns for Christmas is not a completely lost idea, here is an email I got from Henry Repeating Arms
and a couple of billboards from Palmetto State Armory


Merry Christmas to all and may there be Peace on Earth!


The pictures above were found freely on the world wide web and are used under the guidelines of Fair Use, per Title 17 of the U.S. Code. Where possible the source has been credited.
If you own the copyright to any of these images and wish them to be credited or removed, please contact me immediately.

Saturday, December 19, 2015

Ruger Vaquero Upgrades el Segundo

You may have seen my earlier post in which I performed some upgrades to my Ruger old model .45 Vaquero, if not you can see it here.
Since writing that post I came into possession of a brass birdshead grip frame. I believe this was made by Qualite, although there are no markings on the part.

Qualite has been out of business for several years now. Midway USA page


I decided I wanted to install this on my other original Vaquero, this one is identical to my other one except for two things: The caliber, this one is in .357 Magnum and it came from the factory with a steel birdshead grip frame.


Here are the plans for upgrading the looks & performance of this Vaquero:
  • Procure the proper trigger return spring pins and grip locator pins for the brass grip frame
  • Craft a new set of wood grips from Teak
  • Nitre blue the trigger & hammer pins along with the cylinder base pin and ejector rod housing screw
  • Install a crescent shaped ejector rod from a New Vaquero
  • Fit, polish & install the brass birds head grip frame
  • Perform an action job on the internals
  • Perform a "Black Powder Chamfer" on the front of the cylinder (and then reblue the cylinder) 
  • Finally I will put some custom teak handles (with brass pins) on a coffin handled boot dagger to go with the gun.


I purchased a set of slotted pivot pins for this gun, they are slotted to make them resemble screws (like on a real Single Action Army). You can get them from the Smith Shop.

I also ordered the custom pawl spring & plunger. This one has a plunger on both ends, which aids in assembly.


The pins came blued, but I will polish and nitre blue them a bright, electric blue color.

I bought a factory New Vaquero ejector rod when I was working on my .45 Vaquero upgrades, I used the larger MK Technologies one on the .45 and I'll use the smaller Ruger one on this gun.


The parts for the brass grip frame arrived from Midway USA
 The top part is the trigger return spring perch, bottom part is the grip locating dowel/pin. I installed the spring perch, it was a nice, tight fit. The second hole is the spring pivot pin, I'll use the one off my old grip frame. You could make your own using a #42 (.0935") drill bit or.... I have been told it is the same part as the 10-22 & Security Six trigger pin
I also ordered a set of trigger & hammer shims from Lance at Michigan Center Outdoors. I have used his shims in the past (on my SP101 ,Security Six and my old model Blackhawk


I decided to start on the grips first, I traced the old grip panels on the piece of Teak wood. Teak is similar to Walnut in the grain, but a bit more dense. I picked a part of the wood where the grain had some character. I will also trace out scales for the dagger to match the Vaquero
The grips turned out pretty good, see my write up on their creation here 

I polished the hammer & trigger pins (along with some extra parts)


 Then I nitre blued them

I then stripped the Vaquero so I could start on the action job 


I did a little fitting of the brass grip frame, I didn't want to remove too much material..I left it a little larger than the Ruger's frame. Then I sanded out the file marks (from fitting the grips) and polished it.


The action job is pretty simple, find the wear spots where parts come in contact and polish those surfaces.
These are the parts we will polish:

The back side of the pawl comes in contact with a spring loaded plunger, I polished that and the stud that goes into the hammer
 The cylinder stop gets polished in three places. On the top side we polish the surface that interfaces with the cylinder notches, also the other end has a flat surface that receives pressure from the hammer plunger
 The plunger that resides in the grip frame puts pressure on bottom, so that got polished as well
The transfer bar rides in its own slot, but I polished the sides, the front and back as well as the stud
The trigger's holes (pivot and transfer bar safety) get an internal polish with 600 grit, the sides get polished to a 1000 grit finish. This is for looks as well as a smooth surface for the trigger shims to ride against

 I also polished the sear surface, if you do this, be careful to keep the same angle, keep the edges crisp and don't take too much material
The hammer sides also got the 1000 grit finish, the holes a 600 grit rub down and I carefully polished the lead in area on the sear
I then polished the face of the hammer plunger, this surface puts pressure on the cylinder stop
I normally polish the hammer strut where it comes in contact with the hammer, but this one was already polished, either from wear or ?
The trigger/hammer shims came in two sized (thicknesses), .003" & .005". Before trial fitting them I rub them across 1000 grit sand paper to remove any sharp edges


Installing them is a little tricky, a bit of gun grease works to keep them in place. If you don't have gun grease a little vaseline works just as well.
Installing the pawl spring & plunger I got from the Smith Shop.
Almost done
I performed my own "Black Powder Chamfer" on the cylinder. Its not perfect, but it'll do. Some day I would like to get the jig set-up to do this in a perfect, repeatable fashion.


 Polished to 1000 grit, then rubbed with crocus cloth

I then blued the cylinder and re-installed it in the gun

here it is complete with the coffin handle dagger, see the making of the dagger handle here