
This is the part of the build where we really get to make the gun look great. Once blued it may even look even better than it did when it left Hartford.


In case anyone is interested, the Python and the Trooper are not the same underneath....
The Python uses the old Colt lock work from the New Service, Police Positive and Detective Specials while the Trooper uses a new system that incorporates a coiled hammer spring and different internal parts. The Troopers were more durable, cheaper to make and some say stronger than the Pythons.
The Troopers lock work was also used on the Lawman, the Border Patrol, the Metropolitan Police, The Whitetailer, The King Cobra as well as the .44 Magnum Anacondas and Kodiaks.
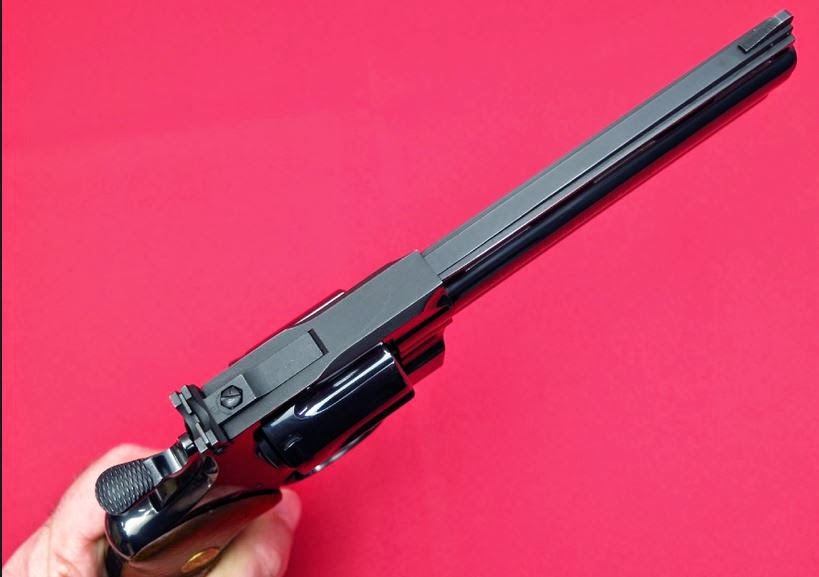
Back to work....I taped off the frame and sand blasted the top of the frame and blended it with the top of the barrel. This does two things, it prevents glare in the sight picture and it helps hide some of the pitting on the top of the frame


I turned my attention to the cylinder, in this picture it looks flawless compared to the old one....but it wasn't


Close up of the scratches


I ordered a new buffing wheel to perform the final polish, this will be time consuming..


More polishing, I used some worn out 2000 grit wet/dry sand paper along with some Mothers polish.
The problem now is to figure out when it is smooth enough


A couple of pics showing the progress


The next step is to blue the gun and reassemble
No comments:
Post a Comment