
For those that don't know, the Ruger Charger is a semi-auto pistol based on the 10-22 Rifle platform.
The pistol was originally introduced in 2007. It came with a black/gray laminated wood stock with carved pistol grip, scope mounting rail, a Harris bi-pod (or a Harris copy), a 10" heavy barrel and the standard 10 round rotary magazine.
Ruger also threw in a nice carrying case

I am guessing the idea probably stemmed from this guy:
The M1 Carbine pistol, called the "Enforcer."

The 1st iteration of the Charger was popular, but Ruger ended their production in 2013, perhaps in anticipation of this new version? or perhaps the evil genius' at Ruger were trying to create demand by taking something away?

The new Charger, brought back in December 2014, it also comes with laminated stocks, but will have a removable AR-15 compatible grip. This allows the owner to customize the grip by using one from Hogue, Magpul, Ergo, ATI and others.
The 10" barrel comes threaded with the de-facto standard 1/2 - 28 treads for adding a suppressor or other muzzle accessory
Two models are available, the standard one with a brown laminated wood stock and a take down model with a green/brown laminated wood stock. Both stocks have aggressive "shark gills" on the fore-end to aid in off-hand shooting.
Both models come sans sights, Ruger assumed every owner would install an optical sight and thus equipped the pistol with a picatinny rail and nothing else.
Ruger did include a bi-pod for bench rest shooting though.


Stats:
.22 Long Rifle Caliber
10" Alloy Steel Barrel with 6 grooves and 1:16" twist
19.25" overall length
3.1 lbs
It took many moons for my Charger to arrive (they were on back-order I guess), we went in with a few others and made a "group buy" to get free shipping.
The gun arrived in a big white box

- A zippered, padded, Ruger monogrammed carrying case
- The Owner's Manual & appurtenant paperwork
- Safety pad lock
- A UTG bipod (with swivel adapter)
- The Ruger Charger w/ one BX15 Magazine


- put the picatinny rail over the swivel
- remove the knurled lock ring from the adapter
- slide the adapter over the swivel
- insert the locking screw through the hole in the swivel & adapter, screw it in most of the way
- reinstall the lock ring and snug it tight
- install the bipod on the picatinny rail and tighten the thumb screw
Installed on the gun, you can mount the picatinny rail forward or rearward. I installed mine to the front, it just seemed to look better that way. The bipod puts the bore center line about 8.5" off the bench, with the legs extended you get an additional 1/2".

My immediate plans for this gun include:
- Trigger/Action job
- KIDD bolt buffer
- Hogue AR grip
- BSA 42mm Red Dot Scope
- Custom carry case
I ordered this BSA 42mm Red Dot scope, and the Hogue AR grip, both were ordered on ebay, but they are also available on Amazon


The installation of the Hogue grip was straight forward. I removed the upper screw that attaches the grip adapter to the stock just for reference, you really only need to remove the allen bolt inside the grip (3/16" allen wrench)


The sight came with a reversible mount for 3/8" rails (22 small rail) or 5/8" (Weaver/Picatinny). The forward bolt is slotted for easy mounting. With the red dot scopes, the eye relief is not really an issue, so I mounted it in the center of the rail.


Now onto the action job!
The action job starts with dis-assembly
Like all 10-22s you remove the stock bolt in the center of the stock just ahead of magazine well

next remove the pins holding the trigger assembly in place
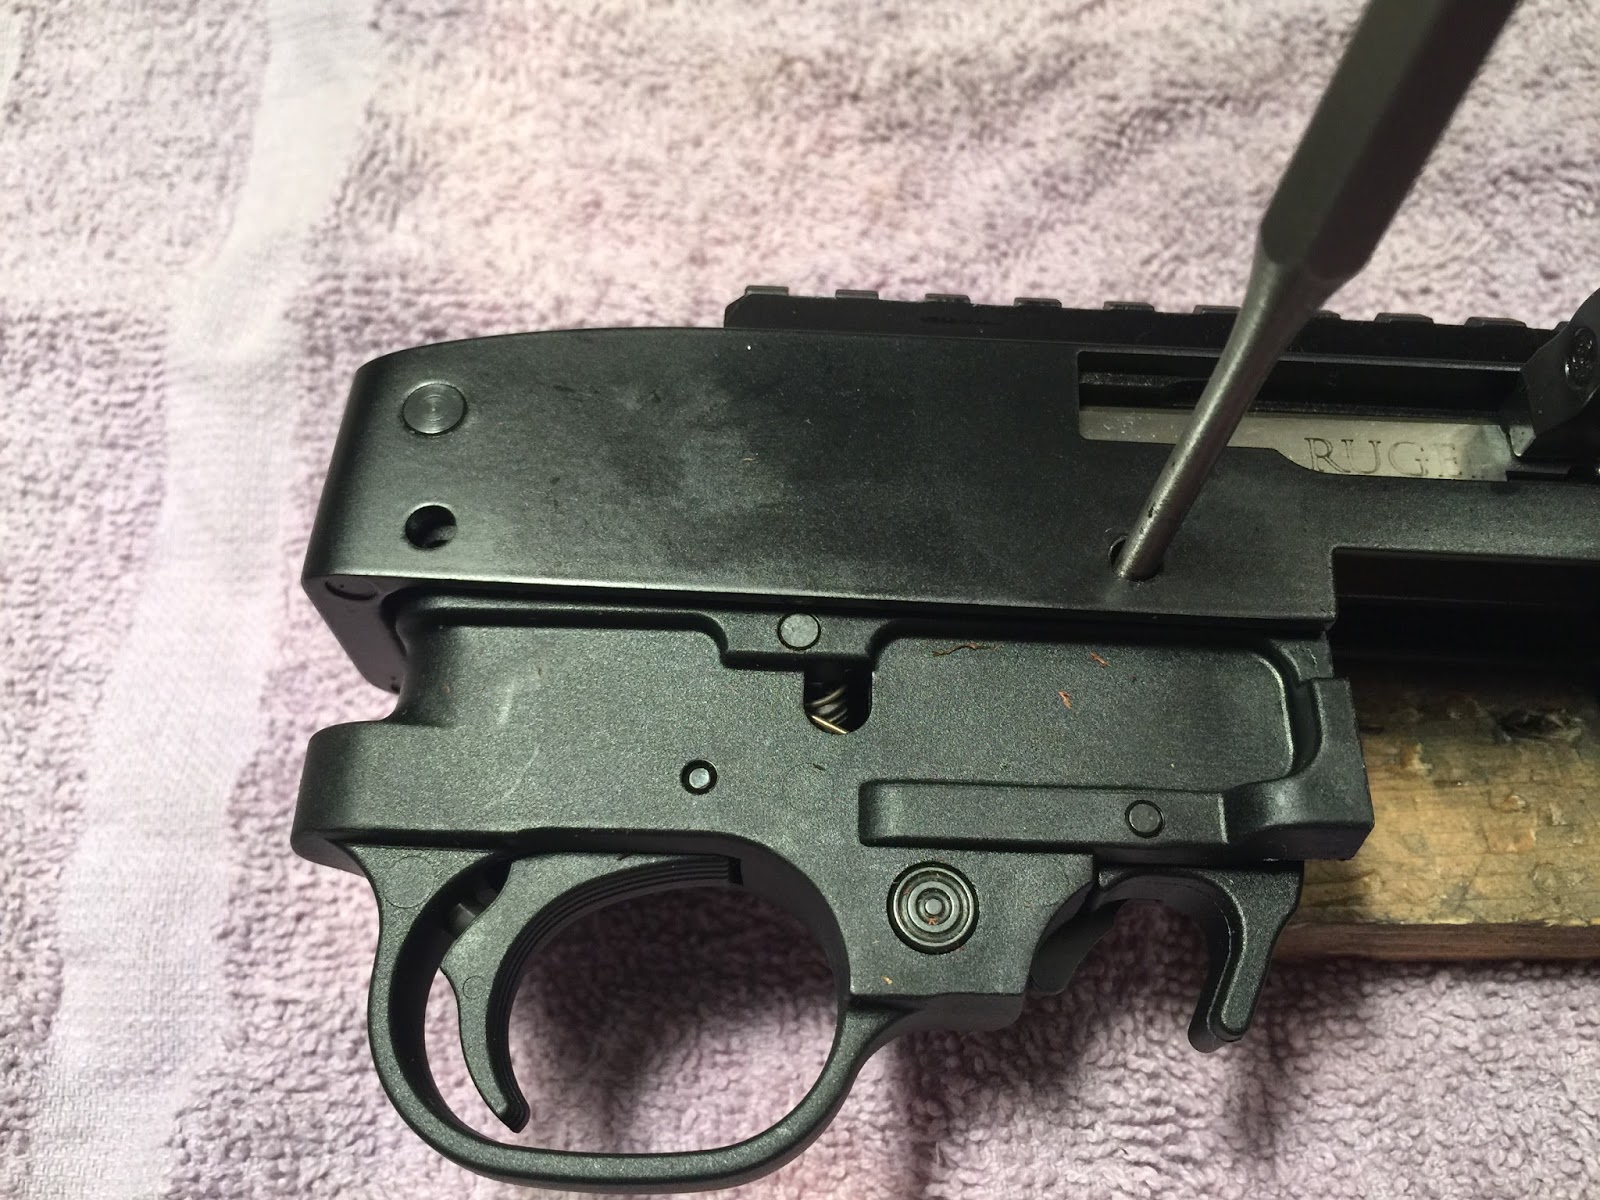


There may be multiple ways to put these together, but this is the way I do it....
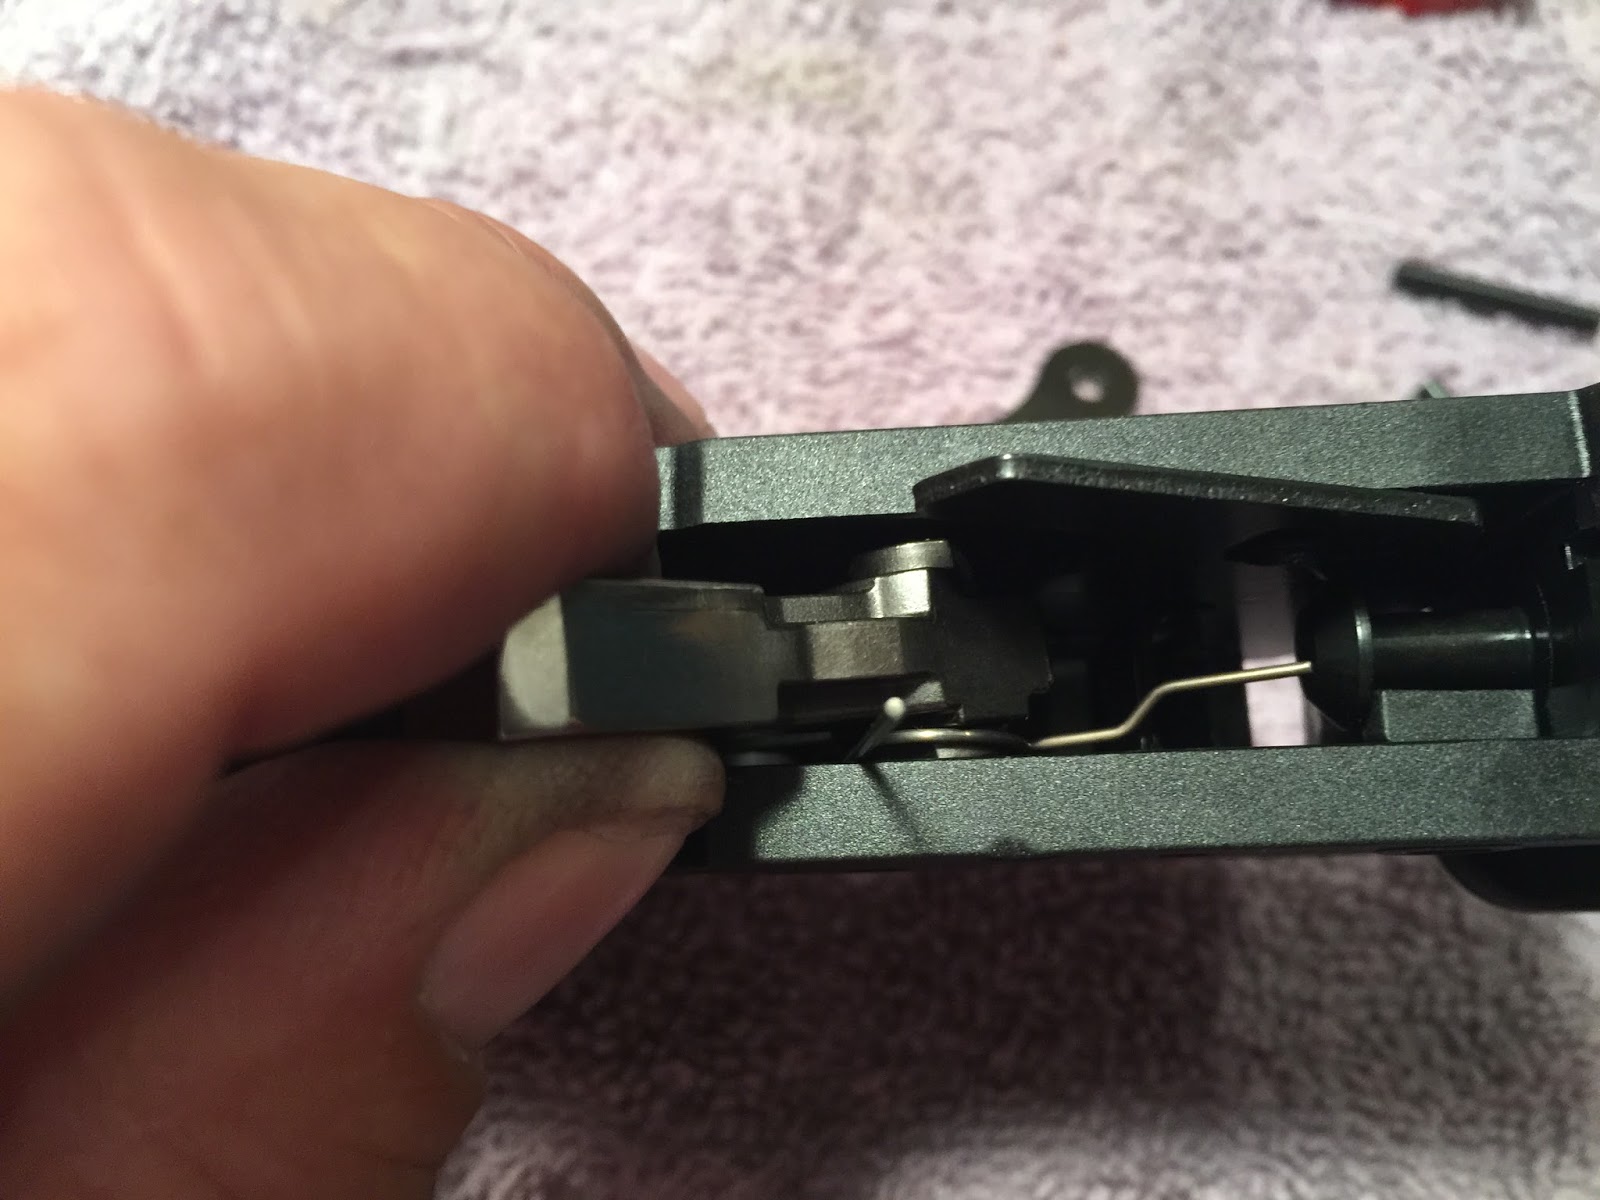
First install the coli spring and trigger return plunger. This spring is the larger of the two coil springs


Next we tackle the bolt....We want to polish the sides of the firing pin and the extractor.
Removing the firing pin is pretty easy, just find the correct size punch (I used a 5/32 Grace punch) to and knock out the drift pin 7/8 of the way, no need to completely remove it from the bolt
 Be careful when pulling out the firing pin, the spring lays in the bottom of the trough...put it in a safe place
The extractor can be tough to remove, but not with this handy dandy Gunsmither 10/22 bolt bar

Before polishing...the extractor looks pretty rough, the ugly finish is left over from the hardening process

After polishing

I put the extractor & firing pin back in place, I then polished the bottom of the bolt where it pushes back on the hammer


Now that everything is back in place time to re-assemble the gun. The Gunsmither Tool has another use, it makes installing the bolt a snap. It is sometimes difficult to hold back the recoil spring and keep the guide rod straight, this does that part for you allowing you to simply drop in the bolt


The trigger pull after the action job was much improved, you could definitely feel the difference when compared to one of the other Chargers that was purchased in our group buy
I used my Laserlyte bore site tool to get the scope close to dialed in, then headed to the range to put some holes in paper.
After a few rounds and some minor adjustments to the scope, I had it shooting in the bulls-eye.
The target below was shot at from 25 yards using Remington "Golden Bullet" 36 grain HP cartridges. There are three 3-shot groups on the target. Not to shabby!
BTW we had zero malfunctions, the gun operated smooth as silk.

Now I need to find a suitable gun case....I'll update this post when I make that happen.
References
Wikipedia
Ruger
where did you get the rubber grip for that beautiful 1022 Charger
ReplyDeleteIt is a Hogue, same as used on the AR-15 rifles
ReplyDelete