Ruger Vaquero Upgrades el Segundo
You may have seen my earlier post in which I performed some upgrades to my Ruger old model .45 Vaquero, if not you can see it here.
Since writing that post I came into possession of a brass birdshead grip frame. I believe this was made by Qualite, although there are no markings on the part.
Qualite has been out of business for several years now. Midway USA page
I decided I wanted to install this on my other original Vaquero, this one is identical to my other one except for two things: The caliber, this one is in .357 Magnum and it came from the factory with a steel birdshead grip frame.
Here are the plans for upgrading the looks & performance of this Vaquero:
- Procure the proper trigger return spring pins and grip locator pins for the brass grip frame
- Craft a new set of wood grips from Teak
- Nitre blue the trigger & hammer pins along with the cylinder base pin and ejector rod housing screw
- Install a crescent shaped ejector rod from a New Vaquero
- Fit, polish & install the brass birds head grip frame
- Perform an action job on the internals
- Perform a "Black Powder Chamfer" on the front of the cylinder (and then reblue the cylinder)
- Finally I will put some custom teak handles (with brass pins) on a coffin handled boot dagger to go with the gun.
I purchased a set of slotted pivot pins for this gun, they are slotted to make them resemble screws (like on a real Single Action Army). You can get them from the Smith Shop.
I also ordered the custom pawl spring & plunger. This one has a plunger on both ends, which aids in assembly.
The pins came blued, but I will polish and nitre blue them a bright, electric blue color.
I bought a factory New Vaquero ejector rod when I was working on my .45 Vaquero upgrades, I used the larger MK Technologies one on the .45 and I'll use the smaller Ruger one on this gun.
The parts for the brass grip frame arrived from Midway USA
The top part is the trigger return spring perch, bottom part is the grip locating dowel/pin. I installed the spring perch, it was a nice, tight fit. The second hole is the spring pivot pin, I'll use the one off my old grip frame. You could make your own using a #42 (.0935") drill bit or.... I have been told it is the same part as the 10-22 & Security Six trigger pin
I also ordered a set of trigger & hammer shims from Lance at Michigan Center Outdoors. I have used his shims in the past (on my SP101 ,Security Six and my old model Blackhawk)
I decided to start on the grips first, I traced the old grip panels on the piece of Teak wood. Teak is similar to Walnut in the grain, but a bit more dense. I picked a part of the wood where the grain had some character. I will also trace out scales for the dagger to match the Vaquero
The grips turned out pretty good, see my write up on their creation here
I polished the hammer & trigger pins (along with some extra parts)
Then I nitre blued them
I then stripped the Vaquero so I could start on the action job
I did a little fitting of the brass grip frame, I didn't want to remove too much material..I left it a little larger than the Ruger's frame. Then I sanded out the file marks (from fitting the grips) and polished it.
The action job is pretty simple, find the wear spots where parts come in contact and polish those surfaces.
These are the parts we will polish:
The back side of the pawl comes in contact with a spring loaded plunger, I polished that and the stud that goes into the hammer
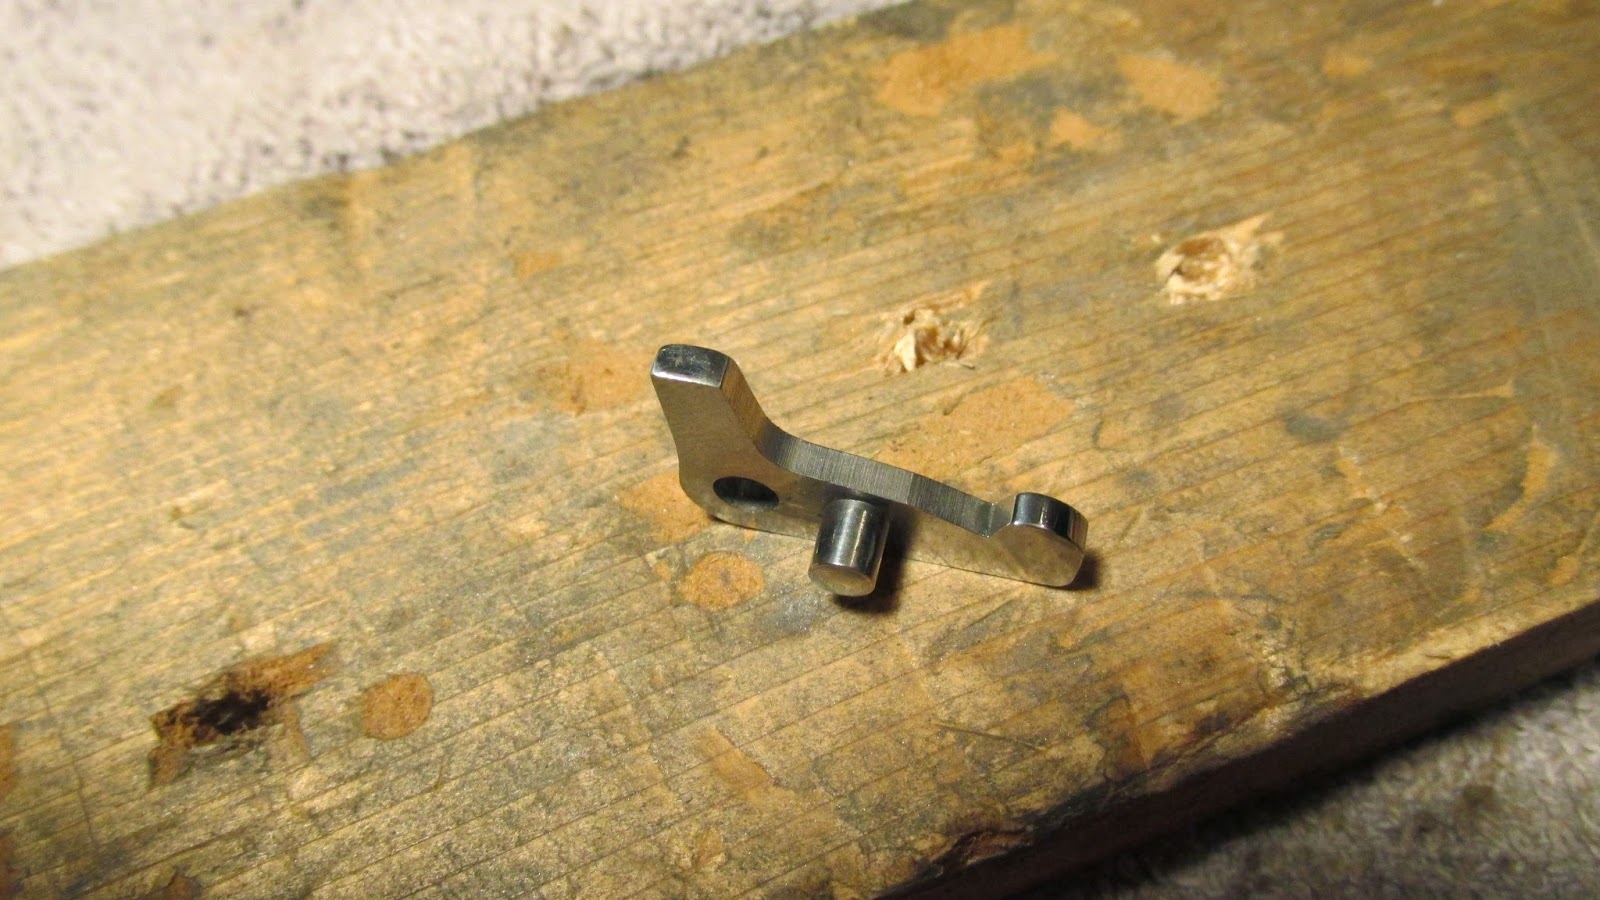
The cylinder stop gets polished in three places. On the top side we polish the surface that interfaces with the cylinder notches, also the other end has a flat surface that receives pressure from the hammer plunger
The plunger that resides in the grip frame puts pressure on bottom, so that got polished as well
The transfer bar rides in its own slot, but I polished the sides, the front and back as well as the stud
The trigger's holes (pivot and transfer bar safety) get an internal polish with 600 grit, the sides get polished to a 1000 grit finish. This is for looks as well as a smooth surface for the trigger shims to ride against
I also polished the sear surface, if you do this, be careful to keep the same angle, keep the edges crisp and don't take too much material
The hammer sides also got the 1000 grit finish, the holes a 600 grit rub down and I carefully polished the lead in area on the sear
I then polished the face of the hammer plunger, this surface puts pressure on the cylinder stop
I normally polish the hammer strut where it comes in contact with the hammer, but this one was already polished, either from wear or ?
The trigger/hammer shims came in two sized (thicknesses), .003" & .005". Before trial fitting them I rub them across 1000 grit sand paper to remove any sharp edges
Installing them is a little tricky, a bit of gun grease works to keep them in place. If you don't have gun grease a little vaseline works just as well.
Installing the pawl spring & plunger I got from the Smith Shop.
Almost done
I performed my own "Black Powder Chamfer" on the cylinder. Its not perfect, but it'll do. Some day I would like to get the jig set-up to do this in a perfect, repeatable fashion.
Polished to 1000 grit, then rubbed with crocus cloth
I then blued the cylinder and re-installed it in the gun
here it is complete with the coffin handle dagger, see the making of the dagger handle here


You are doing all of this interesting work, but Ruger people tell me that I can't put a longer barrel on my Ruger Vaquero with a 3 1/2 " barrel and a birds head grip. My email is Jay@jaywarrenclark.com
ReplyDeleteMy above question is: is that true and why can't I put a longer barrel on my short barreled Vaquero? Thanks. JWC
DeleteI do not know why Ruger would say that, but why not just buy another Vaquero with the barrel length you want? That way you could have two guns....
Delete