If you missed part 1, click here
So we now have the glow in the dark parts finished, time to dye the wood Zombie green.
Here is the stock after sanding to 400 grit
I'll be using Rit fabric dye, neon green
After the first application, the dye was applied full strength and raised the grain of the wood.
I rubbed the stock down with 0000 steel wool to knock down the raised fibers, then applied another coat.
After 5 or 6 coats, the wood quit getting darker, so I cleaned it and gave it a couple of coats with Krylon satin clear
Next I cleaned up the beat up plastic butt plate and painted it with textured black paint.
Now that the stock is ready it is time to put together the other components.
I collect 10/22 parts, when I find them cheap I buy them up and save them for projects like this.
I collected up the parts for the trigger assembly, and then bought a few items I was missing, including some factory Ruger parts and some stainless pins from a seller on ebay, here are all the parts
One of the many parts I had collected was a rusty safety. I cleaned it up and reblued it a while back, now I need to repaint the fire ready indicator. I use Testors enamel model paint
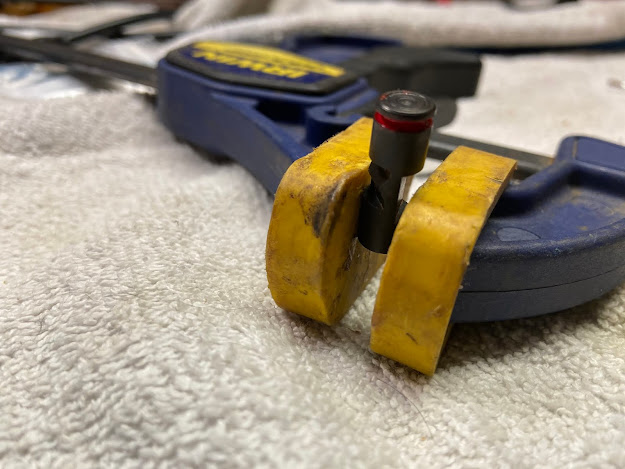
Then I install the safety spring and plunger, using this tool I made from a pencil.
Then I focused on the trigger parts, I polished the engagement surfaces on the sear
Then the hammer got the same treatment
ready for service
The bolts came with cast in guides and a pin to limit the firing pins vertical movement, which is supposed to make the gun more precise
I purchased a new firing pin and rebound spring from Ruger, the stainless roll pin is one of those I sell on ebay.
Everything fit just like factory
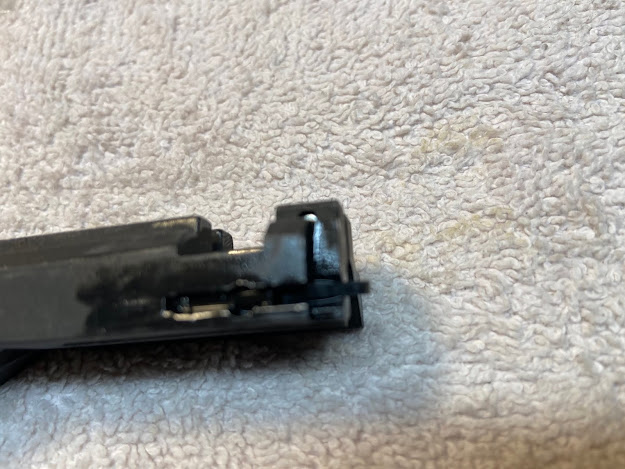
Then went in the new extractor, plunger and spring
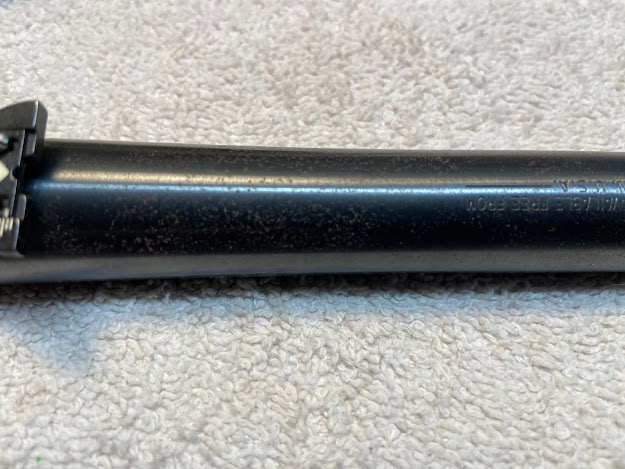
The barrel I am using is used, I got it in a lot of parts from a forum member who was moving and didn't want to take them with him. The bore is just fine, but the outside surface had some like freckling of rust
Next I install the barrel on the Kingston Armory receiver, here is a pro-tip, use a 5/32 ball socket hex key on the v-block screws...it speeds up the installation
The parts are ready for the stock, in part three we will finish the assembly and install the other accessories.


This is soo cool
ReplyDelete