The fourth post on this build. If you missed the first three posts, click on the links below:
Part 1
Part 2
Part 3
There was another part that needed attention. The bolt I bought was listed as used, but very clean. I don't think it was ever fired.
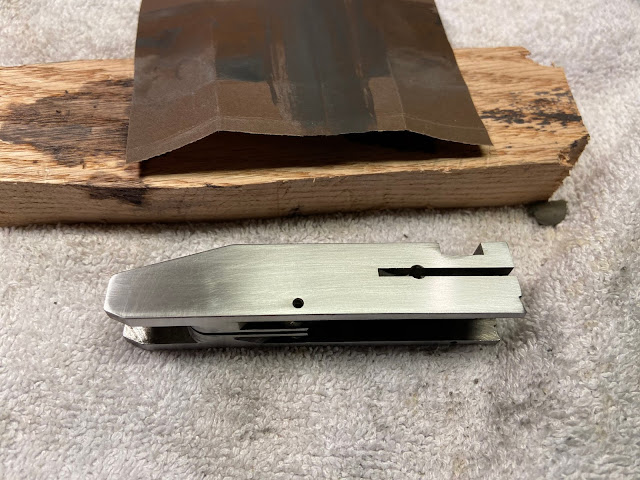
I decided that a Super Deluxe model should have a polished and jeweled bolt. To do this we needed to disassemble the bolt.
Then polish the sides to a 5000 grit finish
This is 220 grit
600 grit
2000 grit
5000 grit
I also polished the underside that interfaces with the hammer:
Then jewel the bolt using a stainless brush from my Dremel kit, some valve grinding compound and my machinist vice and drill press. The brush is approx. 1/4" in diameter and one turn of the vice moves it 1/4", so our circle should be overlapped by 50%.
After cleaning the bolt and parts I reassembled it.
Next I put the inner mag tube back together. Here are all the parts. The tube has been cleaned and polished. The cap and related parts have been polished and reblued.
....and the receiver is back from Black Hammer Arms....next stop is to Hyperion Precision for engraving.
Here is a before and after shot
I deduced the font used on the 50th Anniversary models and decided to mimic that font. In the graphic below you can see a picture of a 50th Anniversary Model as well as the script font known as "Palace Script MT"
Before assembling the rifle, I wanted to add some gold paint to fill the roll marks. I bought this paint on Amazon, it was highly rated for its resemblance to real gold leaf.


No comments:
Post a Comment