
Featured Gun
Part 1
Part 2
Part 3
I got the parts reblued, here they are fresh from the oil tank


Time to assemble the gun
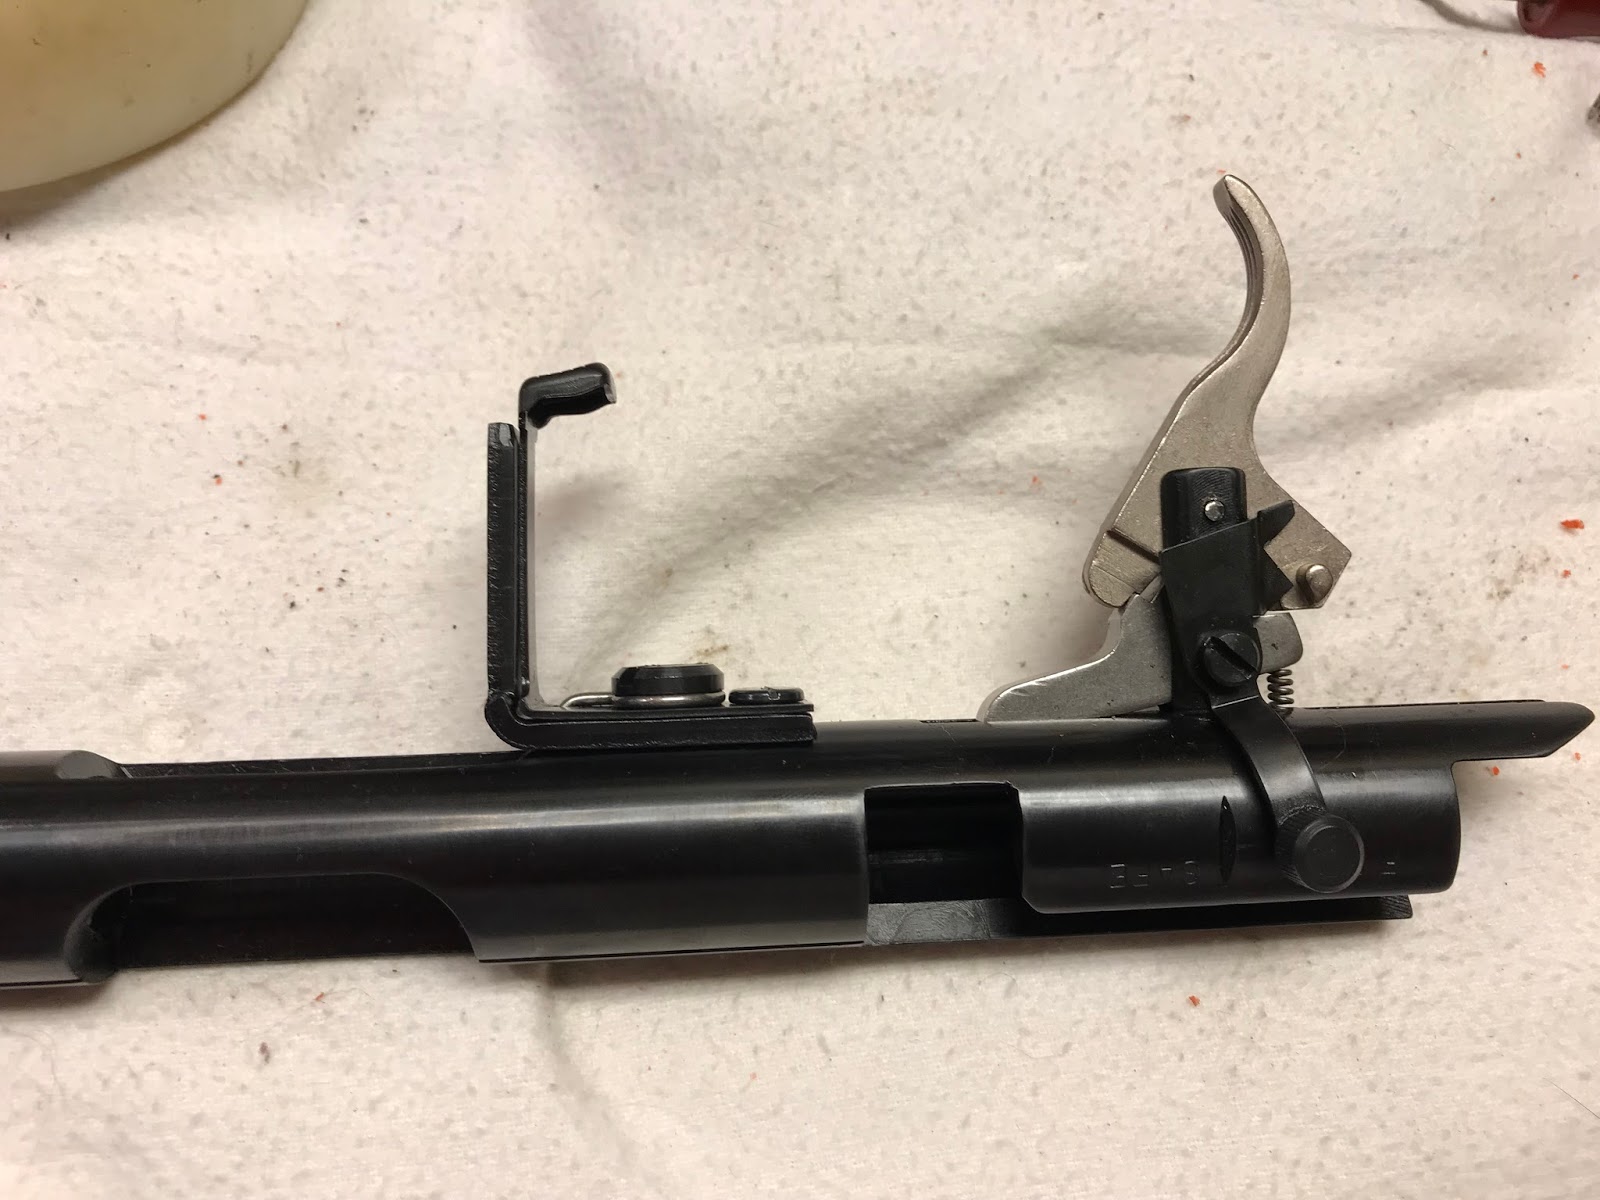
I assembled the bolt

After getting the gun put back together I noticed a few problems:
I noticed the end piece (silver part) would not stay put. There is a small pin in the bolt that is the exact spot to sit in the groove on the firing pin housing.
You can tap in to keep the firing pin housing from coming loose, just a little tap, too far and the housing wont spin and you will have to drill it out to get it apart again

For some reason the safety was loose, so I found a thin, stainless washer to take up the gap and tighten it up, it now takes some effort to move it and it stays put, just like a good safety should.

I also noticed the trigger pull got much worse. I installed a snap cap and measured it and got an average of 4 1/2 lbs......

so I could work over the stainless trigger or go back to the blued one.
A couple of tricks for a lighter pull, one is to stone or sand the trigger sear engagement surfaces, the other is to install a lighter spring. I noticed the spring I removed was the factory spring (the stainless trigger also came with a factory spring and I compared them).
So If I want to use the stainless trigger I need to clean up the engagement surfaces and install a lighter spring.
Someone figured out you can use the spring from a ball point pen, a Papermate Flex Grip pen, see the info here

The be clear the trigger spring is for trigger reset, the sear has it's own spring and should be left alone, the sear spring is what prevents the gun from firing when dropped. Some people have complained of issues with trigger reset when using the lighter spring. This could be caused by friction between the trigger and the post that it pivots on. Something that can be helped with trigger shims from Triggershims.com
After looking through my collection of springs I found one that fit and was lighter weight, but I couldn't get the trigger to reset properly.
Then I compared the stainless trigger to the original blued one, the blued one has more contact surface and was definitely smoother.

So I reinstalled the blued trigger and the original trigger spring and retested the trigger pull, this time we were closer to original 2 lbs, it was about 2 3/4 lbs. The trigger resets reliably, so I can live with this, besides as it wears in again the pull weight will no doubt drop

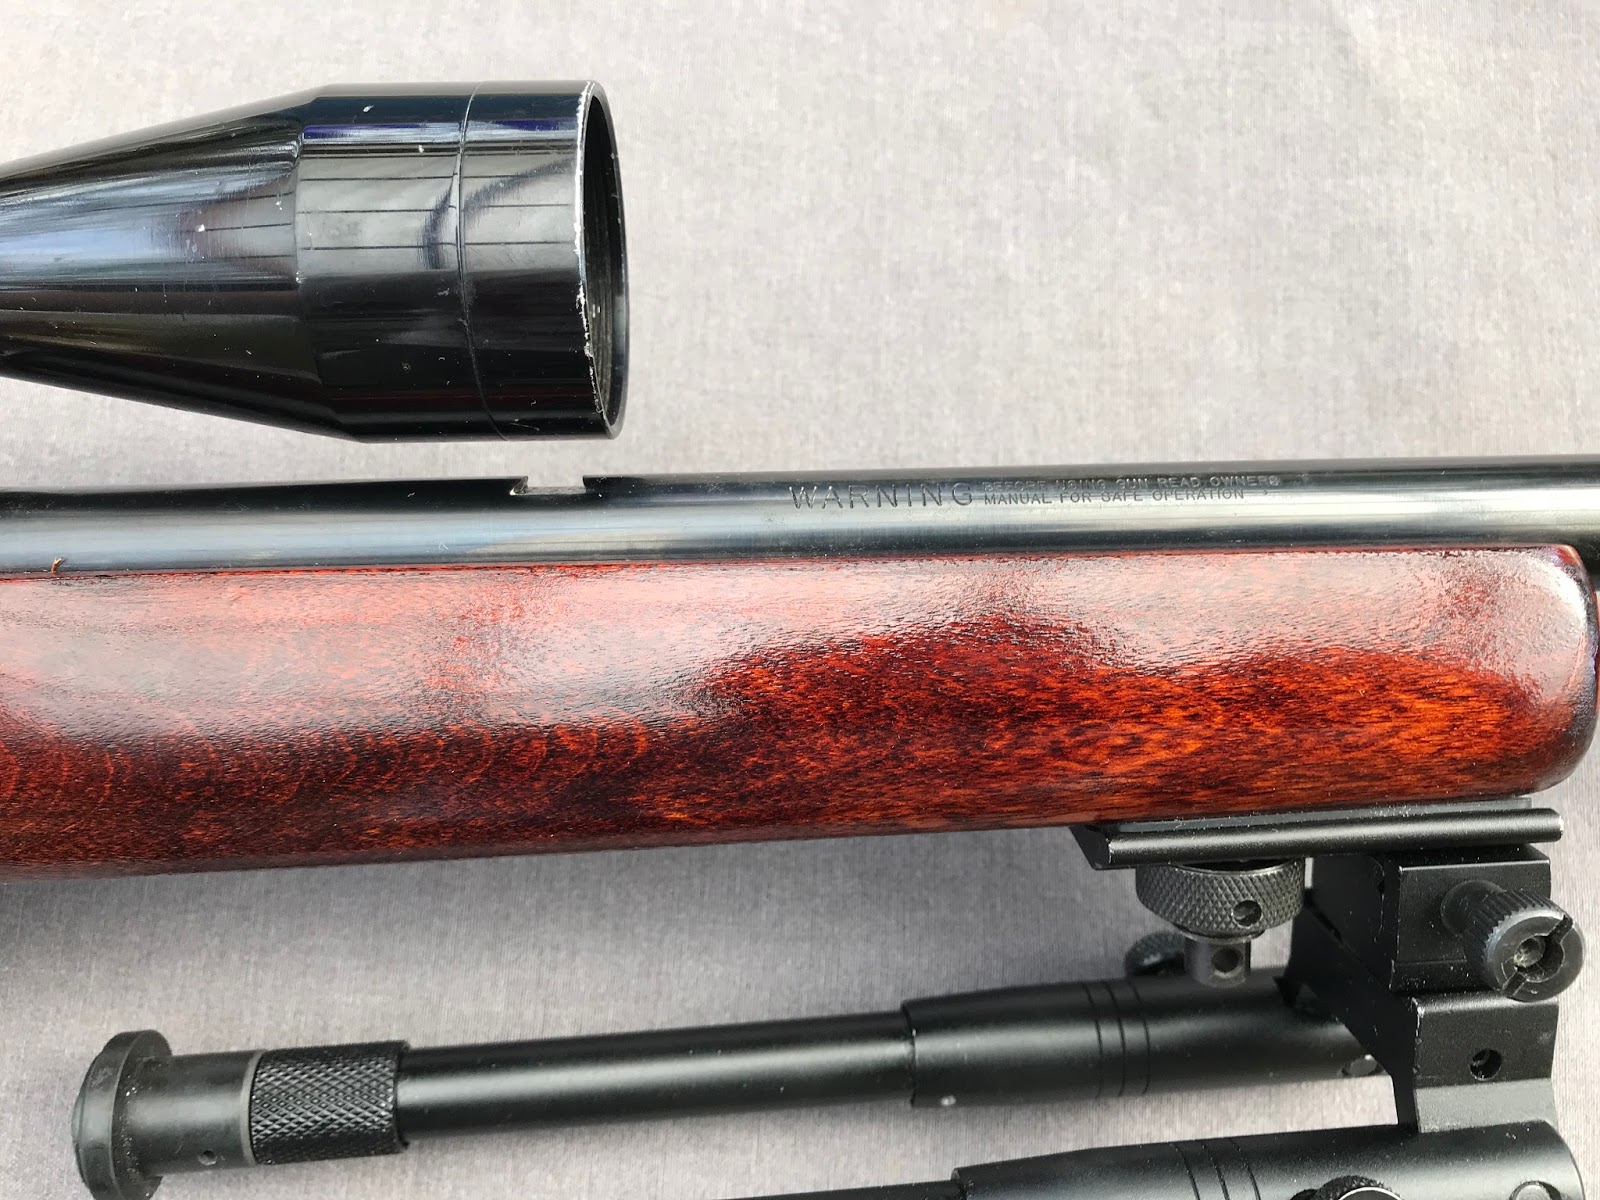
Finished!


Costs for the project:
Rifle: $10.96 (with tax)
Two 7 round magazines: $26
Recoil Pad: $1 (gun show purchase)
Recoil Pad Screws: $0 (took off another stock)
Sling Stud Set: $6.54
Bipod: $0 (came on another rifle I bought)
Total: $44.50
I don't include the cost of materials & chemicals, hard to calculate that stuff and most of it I already owned.
Before and after photos:


Finally a comparison shot of my rifle to a factory finished one:

Sir,
ReplyDeleteThis is awesome work!
You made her better than new in my opinion!
I have a few Marlins but even my newer ones aren't this nice.
I have 4 model 60's, a model 70, and a model 101 ( bolt single shot ).
Also have a 336 in 35 Remnthat's in rough shape that I bought to help someone (seller) out.
All could use some of your kind of skill. This restoration of yours has me imagining...
Thanks
Jay