
Part 1
Part 2
Part 3
Part 4
Part 5
Part 6
Part 7
Part 8
It has been more than 2 years since we started on this, I regret it taking so long, but it was worth it in the end.
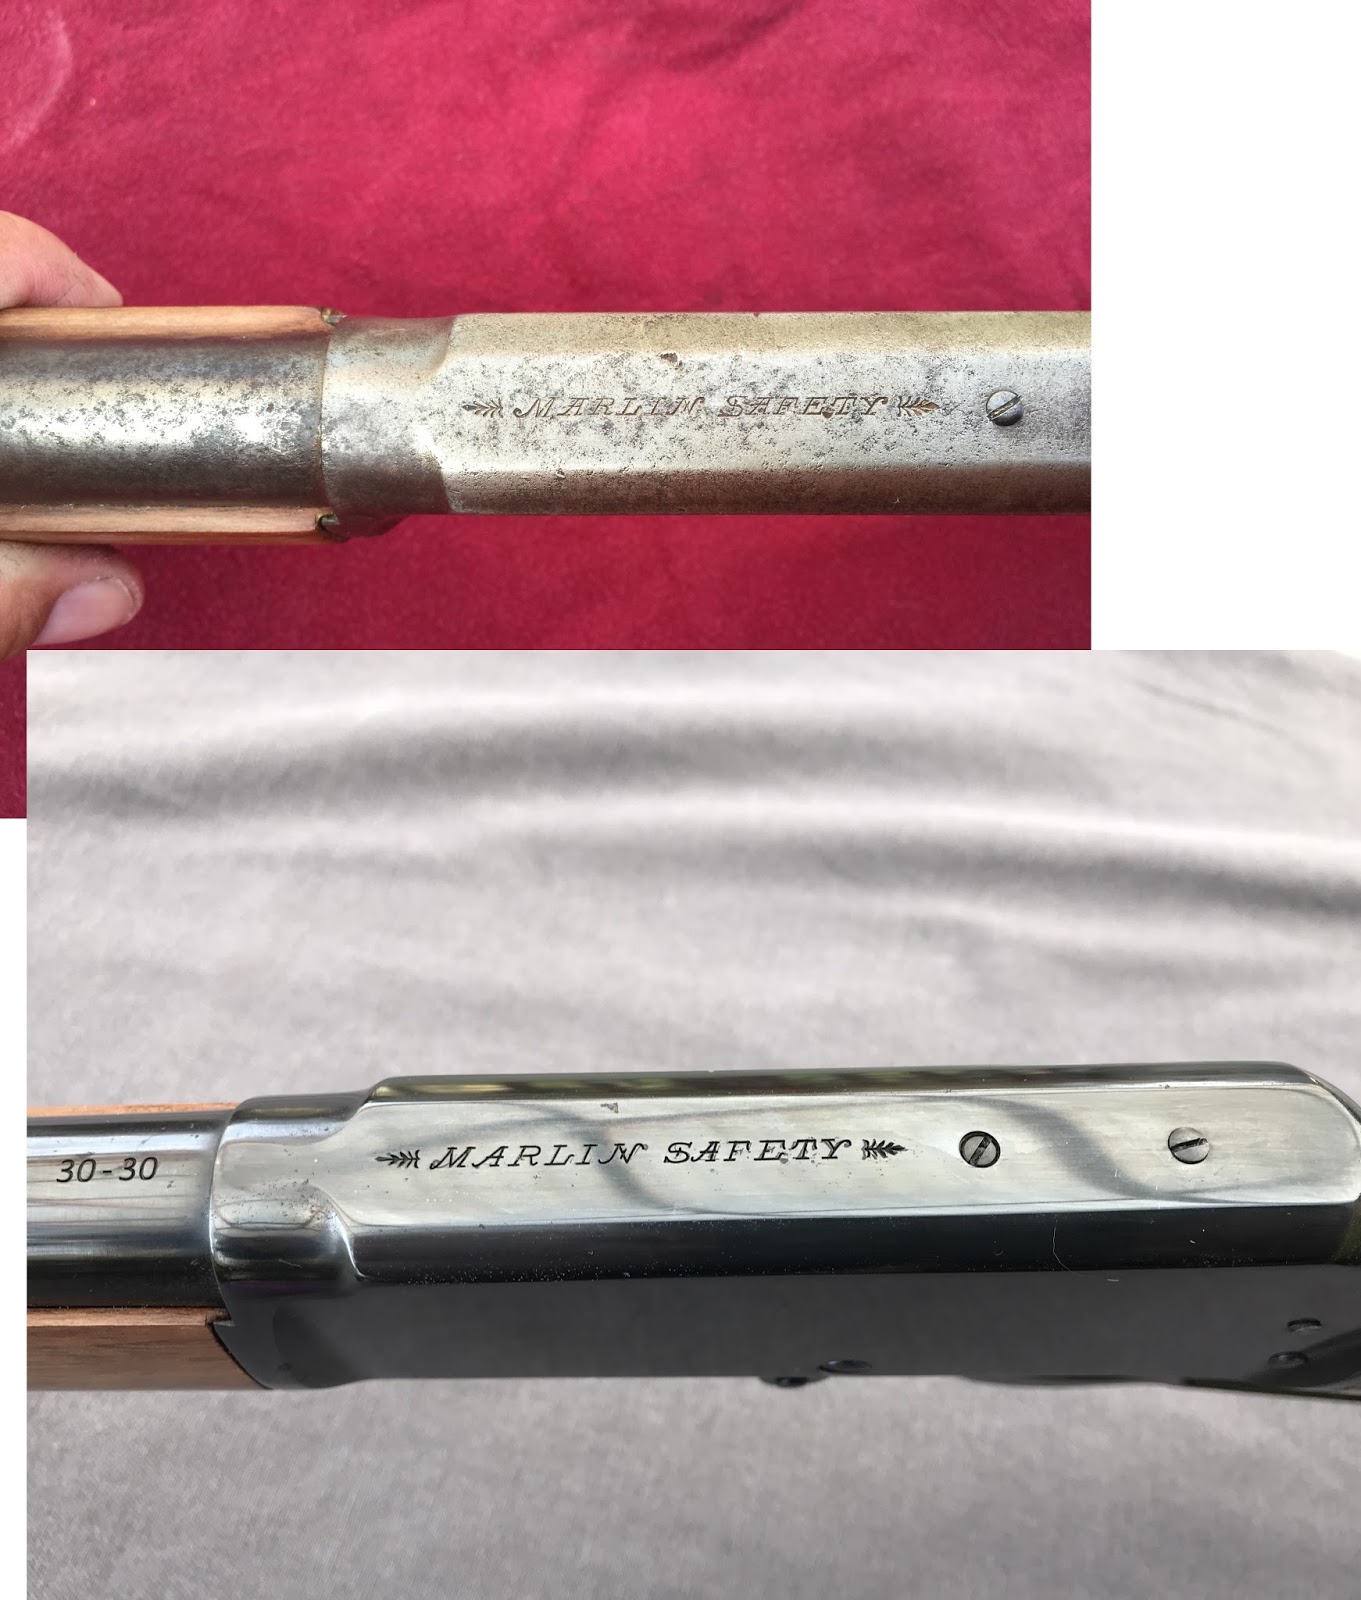
The re-assembly went so so, I had to trim a bit off the magazine tube (the receiver end) to get it to fit, but the good news is that the magazine fits very tight, there is not a rattle in this gun.
I also think we should have ordered new screws, but those can easily be added later...anyway here are the pictures:


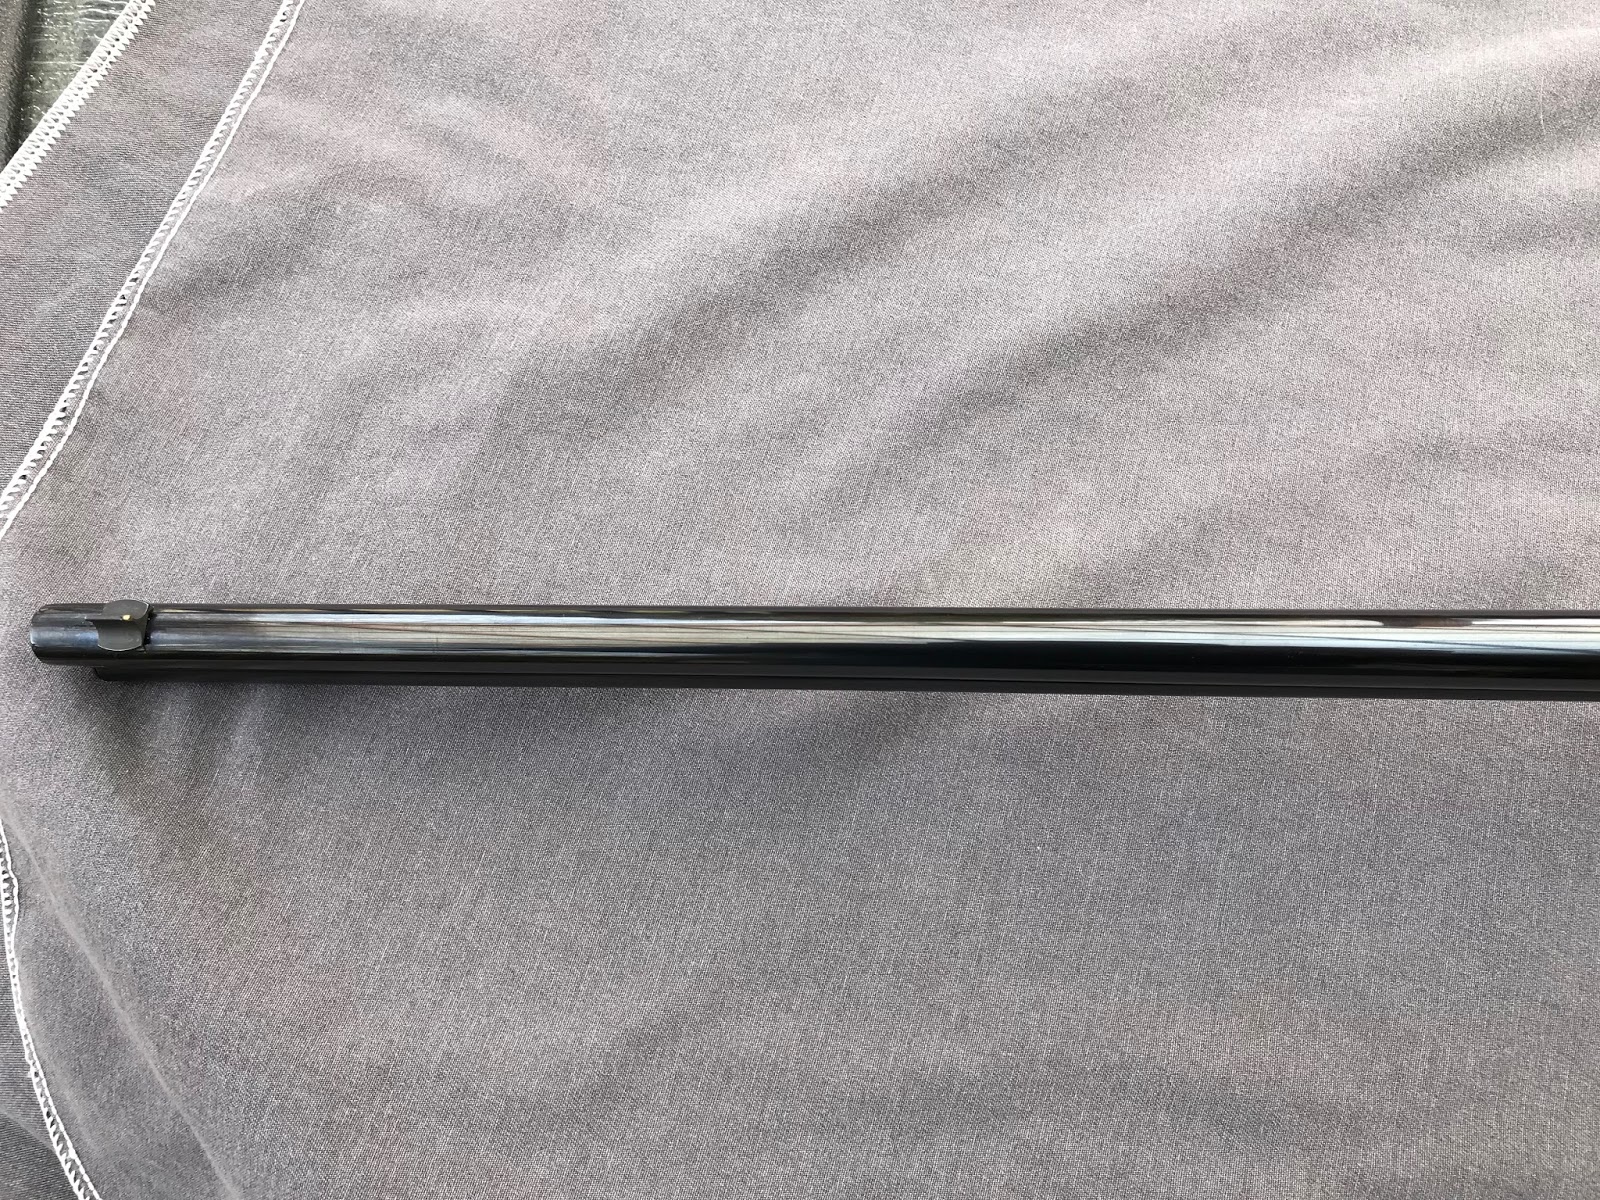


And the before and after pictures


Beautiful work!! I admire your patience and persistence.
ReplyDeleteI'm very happy that I stumbled across this site. You're obviously very talented and detail oriented as this restoration is clearly well beyond both the imagination and skill-level of most smith's. It was very interesting and educational for me to go through the entire process. Thank you so much for sharing the experience.
ReplyDeleteI was actually searching for someone (or some company) to jewel a hammer on a old Ruger Single-six I've been restoring, however I literally became entranced by the magic you performed on this beat-up old Marlin. Beautiful restoration.
Original is always nice, even if it shows its age, but that one was beyond patina. Very nice save indeed. I would aspire first to the classic lever action Winchester, but I would not mind one of these Marlins at all. Very handsome gun!
ReplyDeleteI would rather have a restored rifle to shoot than an original condition wall hanger any day! Great job! I can totally appreciate the elbow work you put into that rifle! Laser engraving was an awesome trick, I have a few in need of that treatment. Excellent photo journalism all around. Who says craftsmanship is dead...Keep up the Good Work!!!
ReplyDelete