Part 1
Part 2
Part 3
Part 4
Part 5
We'll get to work on the small parts now, you can see the remnants of the nickel plating
The wire wheel easily removed what was left of the nickel
Starting with the trigger, using 100 grit paper and a wood block
After taking it to 400 grit, I used the buffer for the final shine, believe it or not, the trigger alone took me about an hour to get it looking like this:
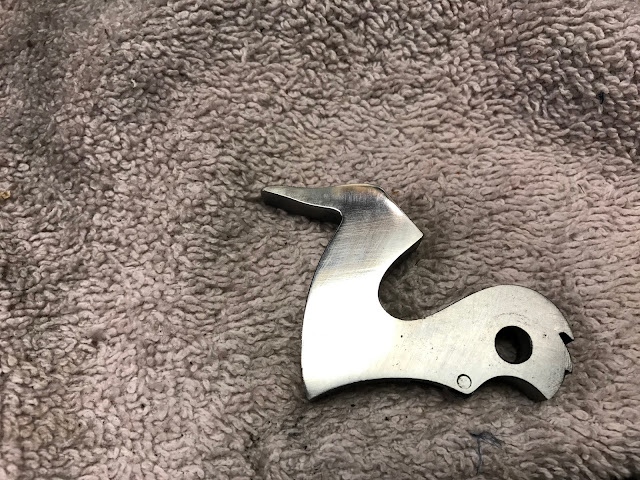
Next up is the hammer
Sanding the rear sight, the pits were stubborn, just like the others
The forend cap was in pretty bad shape, but there is plenty of metal here to work with and a replacement isn't cheap, so I am going to work it over until it looks like new again.
This is a 100 grit finish, still some work to do before stepping up to 150
Here it is with a 400 grit finish,we'll sand it to 600 grit, then shine it up on the buffer
The lever has a bit of nickel plating left, but just like the other parts it is flaking and looks horrible.
The lever appeared to have been case hardened, especially ahead of the trigger guard. I had to use a file to break through and get the metal to take a sanding
Like I said, the pitting is everywhere
Finally these small parts are ready for bluing
The bolt was in pretty good shape, some light pitting on the side and some hard to get to pitting on the rear. Here it is at 320 grit level
After moving to 400, then 600 I gave it a quick polish on the buffer
I then turned my attention to the new magazine tube. starting with 320 grit wasn't good enough, I worked my way down to 150 grit and then back up again
Here is the 150 grit finish, next to 400 grit
I finished it with 600 grit, then a quick buffing with crocus cloth


