Part One
Part Two
We we left off I had just finished fitting the crescent butt plate.
While the fit was near perfect, I was worried that when we sand the two together that you may be able to see some small gaps. Some people recommend bedding the butt plate to the stock, to prevent warping or water penetration, it also helps to close any gaps that might be seen.
I got the inspiration from the folks at Tree Bone Carving, they know a little about stocks.... :)
So I mixed up some of the fine sanding dust that I had saved when thinning down the stock, and mixed it with some JB ClearWeld 5 min epoxy.
I coated the butt plate with tape and plenty of car wax to act as a release agent.
After curing I removed the butt plate, now we need to drill the screw holes and put the butt stock on the belt sander

time to drill the holes, I used one drill bit to drill the minor diameter of the threads and a larger one for the shoulder
After drilling I used some car wax to lubricate the threads and screwed the screws in
I used the belt sander to remove some of the wood, I will get it close then switch to sanding by hand
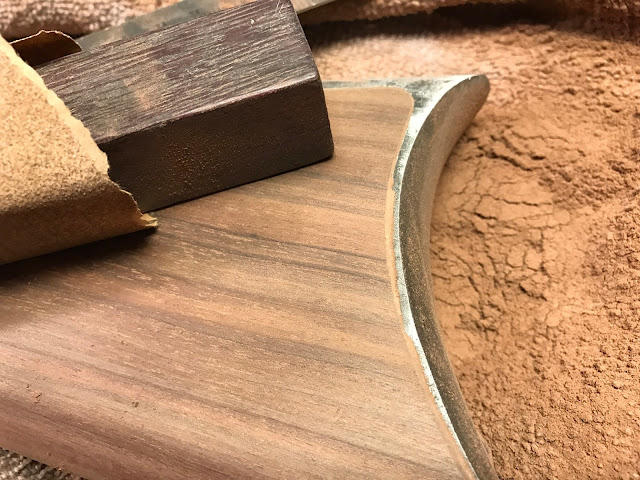
Using 100 grit sand paper I get the wood close to the metal, then switch to 225 grit. You need to be careful here, if you use too low of a grit and sand the metal and wood at the same time you can pull tiny pieces of metal off and they can scratch or become embedded in the wood.
When sanding I use my trust piece of 1x1x5" purple heart, I also keep my straight edge handy so I can check to make sure everything stays flat
We have switched to 220 grit paper and you can see the metal is getting shiny. We will continue to sand using 280 grit next, then 320, 400 and finally 600 grit. at which point we will remove the butt plate and sand/polish the back. We will completely finish the stock before bluing the butt plate. The dark areas on the edge of the butt plate are where the metal has not yet been touched by the sand paper
I had the wood to metal fit pretty good, but there was some pitting left in the casting of the Precision Rifle Works butt plate...you think with a name like "Precision"....anyway I removed the butt plate and began sanding the casting flash and pits away
Back to the fitting of the wood to the rest of the gun. The picture below shows the fit before I started, you can see the wood is proud of the metal about 1/8" or more, also the wood as a layer of wax or some preservative on the surface
I had to
disassemble the receiver so I could gain access to the lower tang,
virtually all the screws were buggered up. Some needed a little heat and
wax to get free
Evidence the gun was once nickel plated
Making progress on the wrist
The
forearm was proud of the metal as well, same drill here, start with 100
grit, once close I switch to 220 and remove the scratches. When I get
the wood close I will remove it, sand the metal, when the metal is at a
400 grit finish I will reinstall the wood and sand them together before
adding the oil finish to the wood and the bluing to the steel.


