Part four of this project, if you missed the other click on the links below:
Featured Gun
Part One: introduction and the search for parts
Part Two: The stock
Part Three: The barreled action
This post will focus on the bolts, yes plural, I have two of them and since I was restoring one, I might as well do both of them and then sell the one I don't need.
The outer bolt bodies are chromed and the chrome is pealing. The cocking knobs are both rusted and pitted.
I dis-assembled the bolts so I could clean, polish and reblue some of the parts
I chucked the cocking knobs into my drill and used sand paper to clean them up, starting with 220 grit and finishing with 400 grit
A before and after picture
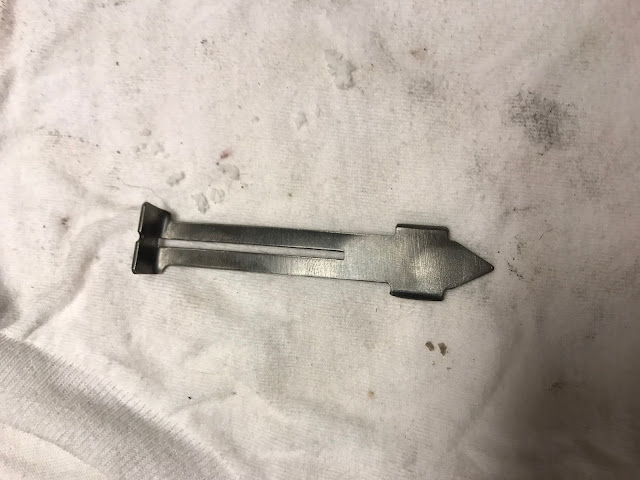
The firing pin is staked in place and can't be easily removed, but I was able to remove the extractor, it was gunked up, I cleaned them up with Hoppes #9
The inside of these bolts haven't been this clean since they left New Haven
I polished the bolt bodies with 400 grit sand paper
Then buffed them on the buffer, the chrome is intact on one of the bolts, the other is flaking off in places.
The rear sight and the bolt
strikers were cleaned up on the wire wheel, a burnished finish will be
fine for these parts. They will be re-blued and the red paint will be
replaced.
Here are the parts after bluing
I repainted the "ready to fire" indicators with some Testors model paint (enamel)
Here is the bolt I will be using, assembled, lubed and ready to go


