
We left off with the cutting of the stock. Now we will fit the butt plate and refinish the wood.
This picture shows how much wood we removed, the stock is at least 4 inches shorter than it was

I decided to re-purpose this rubber/plastic butt plate from my Arisaka project. The pad offers a slight amount of cushion, not good on a 7.7mm hunting rifle, but just fine for a .22

I sourced some screws from my nut/bolt bin

I marked and drilled the 1st hole, then tightened up the screw, then marked and drilled the second hole

You can see we have a lot of extra material to remove

The belt sander makes quick work of the rubber & plastic


The butt pad looks at home on the rifle, we even got it pretty well centered.

The final fitting is with 100 grit sand paper

I broke out the Citristrip and removed the old finish

Then I wipe the wood down with acetone, the citristrip is sticky if not wiped off with something other than a rag

Then the elbow grease and sand paper, I'll sand the minor dents and the scrapes out, then steam out the larger dents

Before going too far with the sanding we need to round off the forend tip. I used the lid from a small container to draw a half circle.

some rasping, filing and sanding and we have a roughed in tip

next I identified the dents that needed to be steamed out
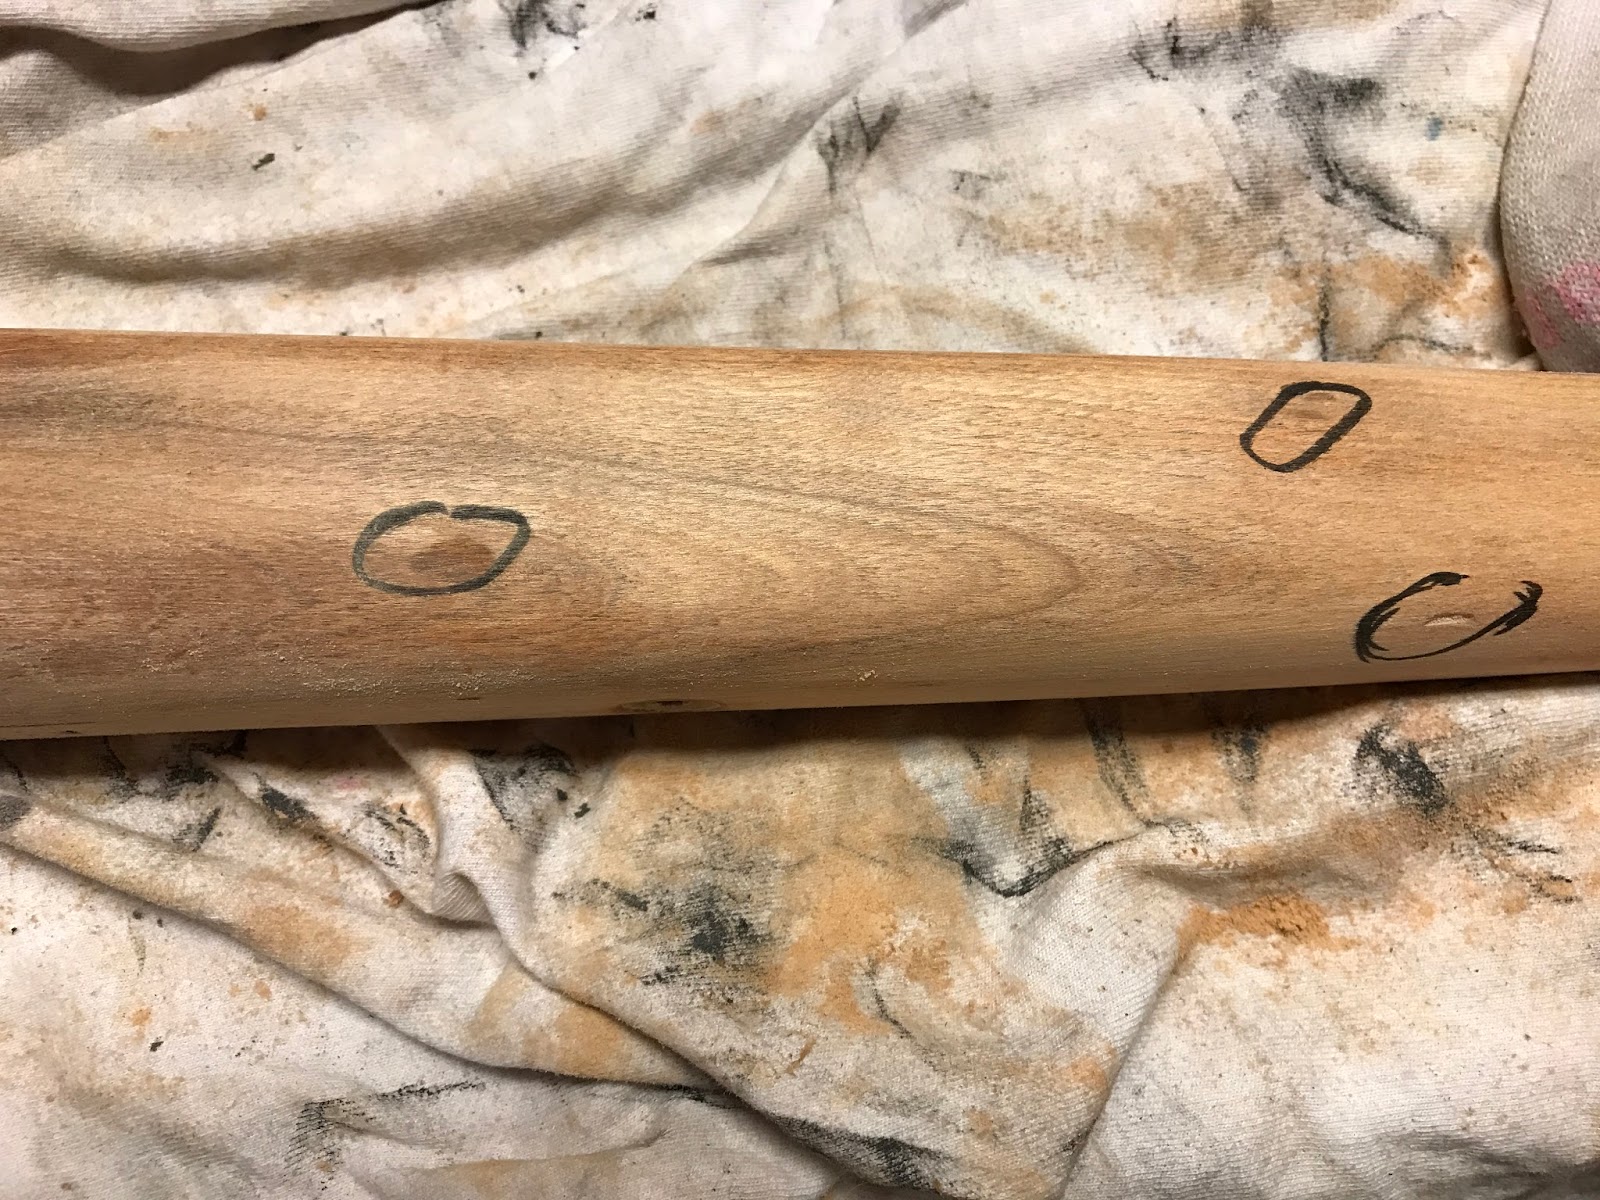
This one on the butt stock was pretty deep, perfectly round as well. I used an old sock soaked in water and my trusty modeling iron to raise the wood grain

It works pretty well, it is 95% gone

Then I sand with 220, 320 and finally 400 grit

I then got out my leather dye: Fiebing's Dark Brown

....and dyed the wood. Dyes work better than stain on woods like birch. Although you can still get some dark and light areas. Sometimes you can even them out with some rubbing alcohol

I wiped off the excess dye and after a few minutes it was dry, I then rubbed in the first coat of Tru-Oil by hand. I noticed when rubbing in the Tru-Oil that the grain had been raised in places by the alcohol/water in the dye. So I after the 1st coat of Tru-Oil had dried, I rubbed the stock down with 0000 steel wool.

I then coated the stock with Armor All, wiped off the excess and then rubbed in another coat of Tru-Oil. The Armor All acts as a drying agent, curing the Tru-Oil in minutes rather than hours.
Here it is after 5 coats of Tru-Oil

Before moving on the the barrel and other parts, I wanted to nitre blue the screws. There are two trigger guard screws, one takedown screw and one feed throat screw

I polished the heads using sand paper and a drill, then moved to the buffer

After nitre bluing:

I then polished the finish on the stock with Brownells stock rubbing compound, and then gave it a coat of carnuba wax

The stock is finished

Next we will work on the barreled action and small parts