
The stock has some pretty bad dents and diggers in it. I will attempt to steam out as many of them as possible


The recoil pad wasn't properly fitted either, I will sand it with the wood and make the transition from wood to plastic seamless


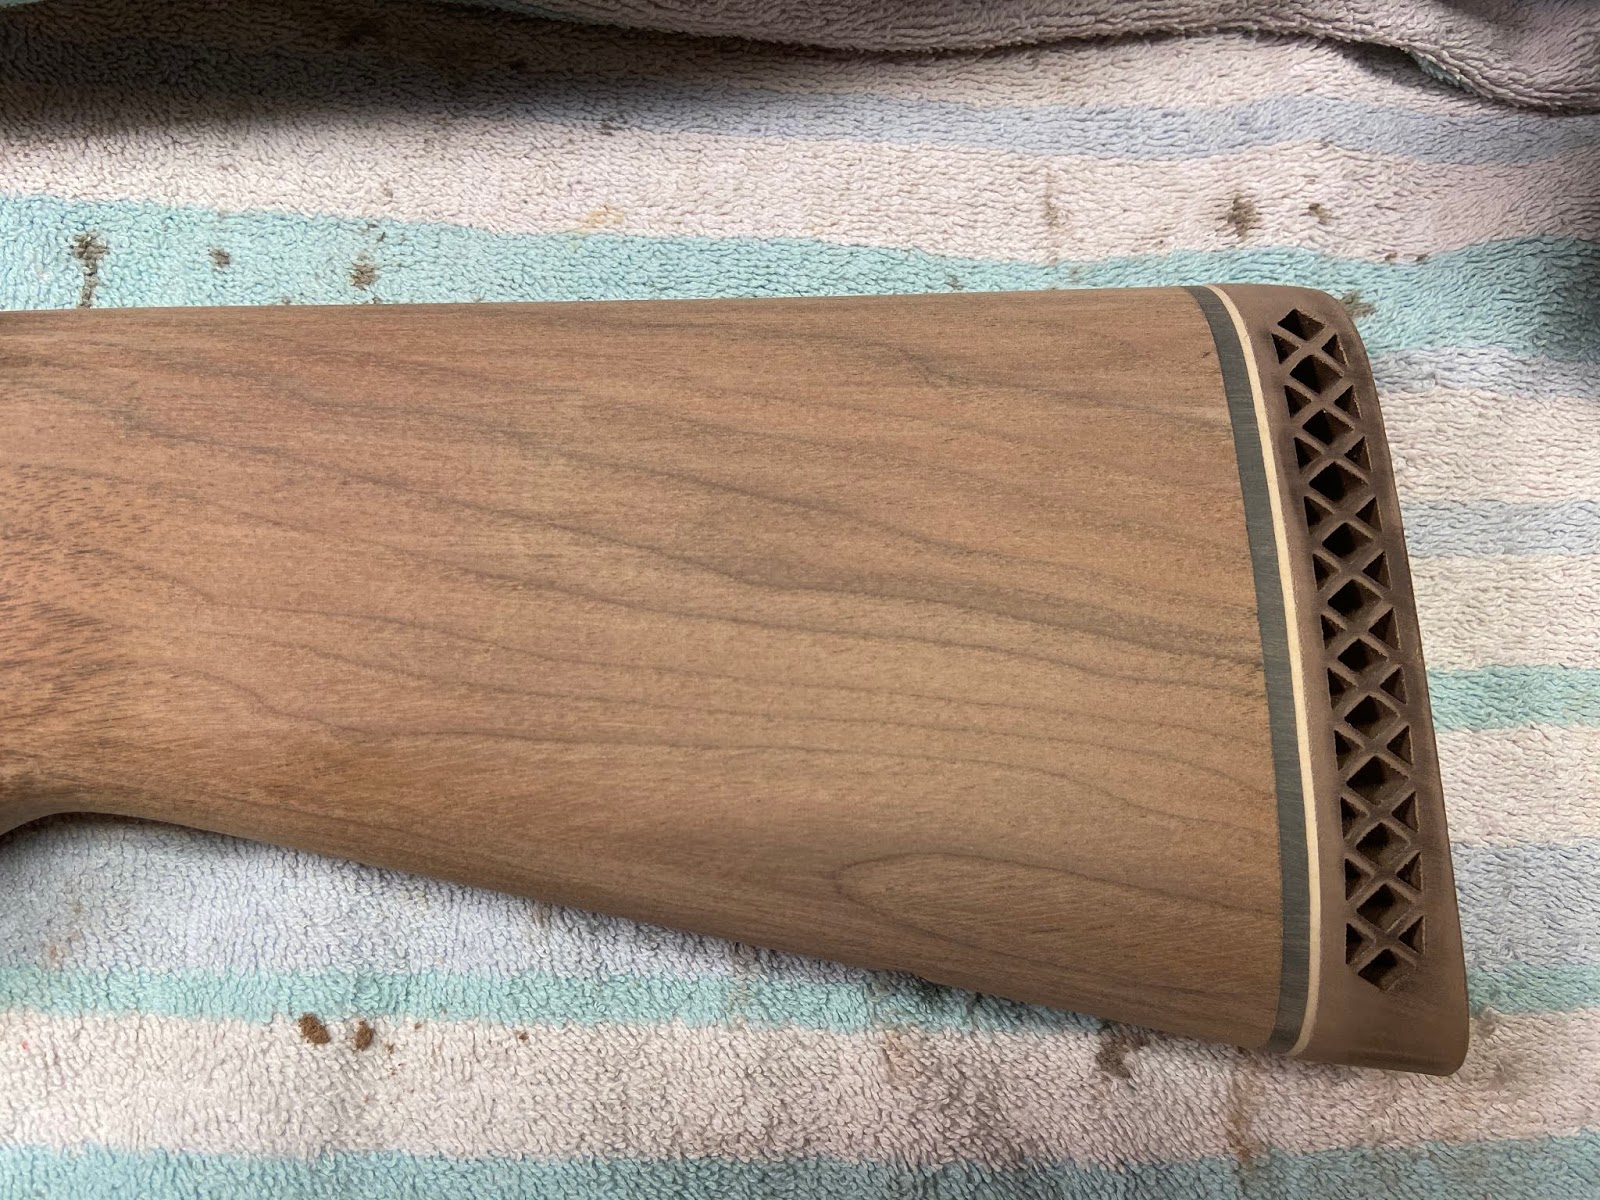
The good news is that the checkering is in really good shape, except for being coated in varnish. We will remove the finish using Citristrip brand finish remover.

brush it on heavy and let it go to work, I tapped up the recoil pad, I doubt the stripper would hurt it, but why take a chance?
I didn't remove it, because there is no reason to, we will sand the stock and the recoil pad together, making the fit perfect.

After it sets up and bubbles the old varnish, I scrape it away with a plastic scrapper.

then I use a stiff brush and acetone to remove it from the checkering

The checkering already looks better and you can feel the edges again.


Next we begin removing as many dents as we can. We do this by using a wet towel and an iron to steam out the dents. The steam gets into the fibers and lifts them back up.
I start by identifying the dents and circling them

then steam with a wet rag and an iron

It may not look like it, but the big dents are 75% gone, sanding will take care of the rest

This one will need to be filled, we'll save some sanding dust and mix it with some epoxy, fill then sand.

I also noticed this small crack at the fore-end tip

I forced wood glue into the crack and clamped it overnight

The next day I started sanding, the butt stock and recoil pad will go first. This is after the first round of sanding with 100 grit sand paper. You can see the low spots


Then I stepped up to 150 grit
Before stepping up to 220 grit, I taped off the checkering

220 grit

280 grit

320 grit

2nd round of sanding with 320 grit, I wanted to make sure the dents were 99% removed. You can barely see them now

Before going too much farther I needed to fill some of the un-liftable and un-sandable dents with a mixture of epoxy and saw dust

I filled 4 dents in the stock, after it cures we will begin sanding the rest of the stock

After curing and dressing down with a file


This one will need to be filled again, there is still a large low spot

Time to tape off the fore-end checkering

another smackerel of epoxy/wood dust

After curing, dressing with a file and some sanding. It will appear as a dark spot in the wood, like a knot.

Next I wipe down the stock with a rag soaked in acetone, there was still some oil leaching from the action onto the top of the wrist, so I drew it out with the acetone.

I also cleaned the recesses like the bolt handle notch

In part three we will start putting on the oil finish and sealing the grain.
No comments:
Post a Comment