Now that the gun is functional again, I will disassemble and start refinishing the pieces.
Here is how the gun looked before we started:
Disassembly:
We will start on the wood, it takes longer than the steel does and we can work on the steel parts while the stock is drying between coats.
I remove the butt plate in order to strip the old finish. I used Citristrip brand finish remover and as I suspected, there isn't much finish on this wood, pretty much just oil, sweat and dirt.
I then cleaned the wood with Acetone, you can see it has a matte sheen now.
I got this iron from a friend, he said it was used to seal parts on model airplanes.
I wetted a towel and began steaming out some dents, below are the before and after pictures. This process works surprisingly well, you can still see some of the dents, but you cannot feel them. Other dents are too deep (broken rather than just deformed fibers).
I reinstall the butt plate. You always want the butt plate in place during sanding, to prevent rounding off the end and having the surfaces be uneven. I also wanted to fit the butt pad to the rifle and clean up that ugly edge.
I started with 100 grit to remove the left over scratches and dents, then moved to 225 grit, 320 grit and finally 400 grit
I will be using Minwax Anitque Oil Finish and a variation of a technique I read about on the High Road Forum
without cleaning the stock (leaving the sanding dust in place) I rub the first coat in by hand both with and against the grain. The sanding dust will get embedded into the grain, helping to fill it.
I let it dry 24 hrs, then apply a second coat, wait another 24 hrs and apply the third coat
This is after the third coat
I then wet sanded the stock using the Minwax oil and 600 grit paper, the excess slurry of stain and sawdust was wiped into the grain.
We already have a nice satin finish, I will sand in one more coat and call it good
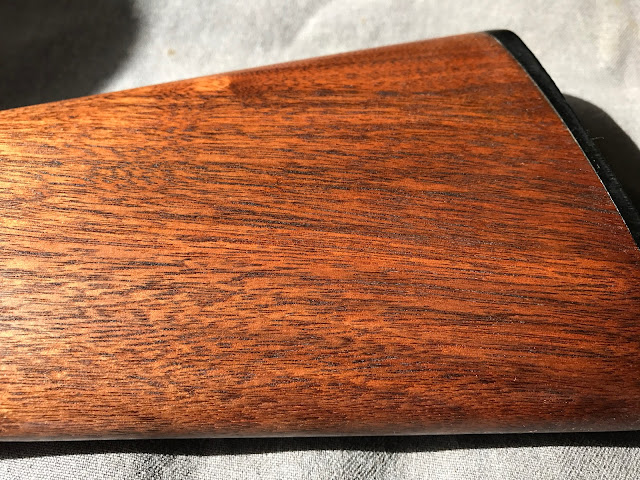
After sanding in the second coat (5th coat overall) I then coated it with some Carnuba wax and polished it with a flannel cloth, the weather was crudy out, so I took these pictures on my desk with some sunlight coming through the window, I will get some better ones outside when the rifle is complete. In this light you can really see the reddish tint in the walnut.
Here is an after and before picture showing one side of the butt stock
Stay tuned for Part 2 where we will strip the metal pieces, polish and blue them.


