Here is what the gun looked like before I decided to modify the stock some more.
I want to add a pistol grip like I did to my 10/22 Hoplophobe Project
And the post that inspired the build
I originally thought this might not be possible due to the rear trigger guard screw, but after a second look, I figured I could relieve enough material to still have access to the screw behind the trigger guard. Unlike the 10/22 the model 60's trigger guard mounts from the bottom of the stock.
The Phillips head screw at the rear can be removed or covered up, it is there for reinforcement. Marlin added it because they were getting stocks broken at the wrist. The screw apparently fixed the problem.
A comparison to a 10/22 stock: in addition to there being a screw to contend with the Marlin has a thinner wrist. I may need to add a metal rod and some wood to strengthen the wrist area.
Here are a few Marlin stocks where a pistol grip was added.
Someone out there is selling A2 grips with a longer bolt to attach to a factory Marlin stock....The angle is the exact opposite of what it should be, not to mention there is no room for your hand with the original grip still in place. This one made my Ridiculist.
In my opinion, none of these look as good as the stock I built for the 10/22. So my goal will be to duplicate the look the Hoplophobe Project while maintaining the strength and integrity of the stock.
To start on the pistol grip, I took a piece of 1x4 poplar and measured out 11", I then marked it at 4.5" and 6.5", then I drew a 30 degree line connecting the marks. Then cut along the line to make two opposite pieces. The 30 degrees will be the rearward angle the grip will have.
I rough up the surfaces before gluing them together
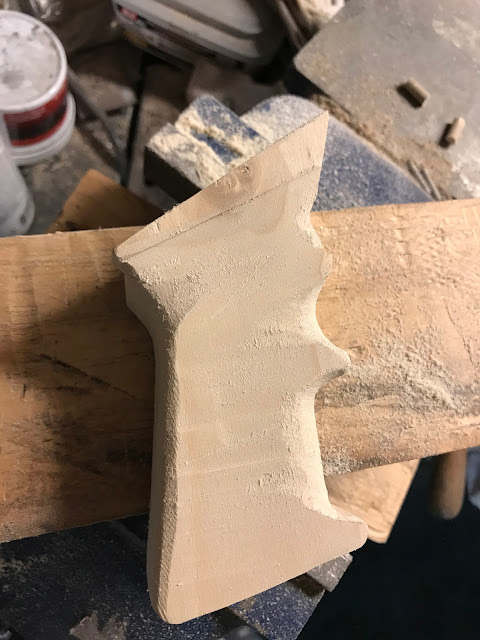
Before gluing I traced out an AR A-2 style grip onto the wood
I then cut it out in the rough shape
You can see there is still plenty of material to remove.
Using the belt sander and a file I begin shaping the grip to fit my hand
Once I had the pistol grip close, it was time to disassemble the rifle
The infamous screw
Checking the pistol grip for fit against the trigger guard, I removed material from the front of the grip to allow the trigger guard to be installed/removed
The lines represent the amount of material we may need to remove, you can see how thin the wrist will be when we are done.
I will need to add material to the comb and top of the wrist, so I traced the outline of the stock
and glued in place with 2 part epoxy
Time to start removing material, I cut the stock flat at the grip
Then begin notching the cut-out for the new pistol grip, I cut short of the lines
The belt sander speeds things up a bit
That wrist is pretty thin now
Once we have enough room for the pistol grip, we need to remove material behind it to make room for the shooter's wrist
Checking the fit, almost ready to be glued on, the stock will need more profiling
Glue has dried overnight, I installed the trigger to see if the angle and distance were acceptable, they were
Stay tuned for part 2


