
If you missed the first three posts, you can see them by clicking the links below:
Part 1
Part 2
Part 3
I got the parts reblued, now I need to get everything else ready to reassemble.

I didn't like the look of the rear sight and barrel cover, so I sanded them back down and polished the pits out


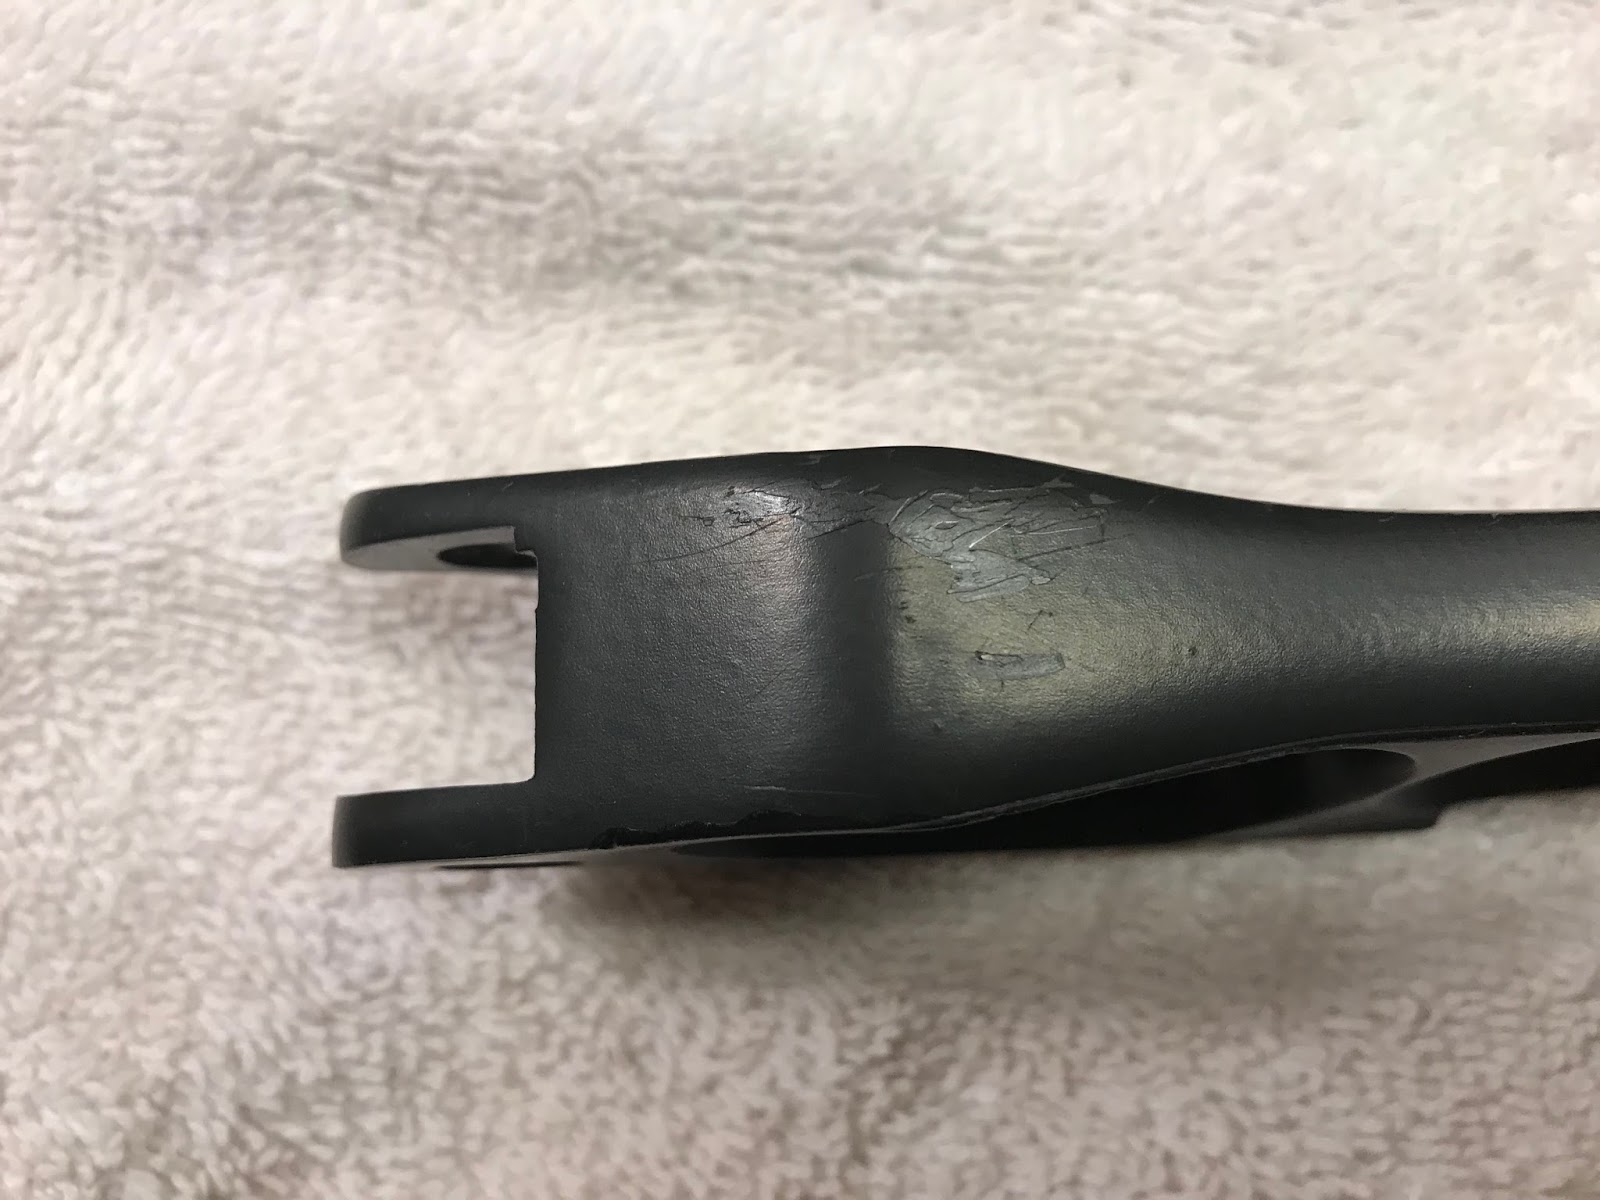
Time to strip the receiver so I can paint it satin black. I tried using some Aircraft paint stripper, I had never used on anodized parts before, so I thought I would see what it would do.

as I suspected it did nothing, there may have been a clear coat that was removed, but that was about it.

I cleaned it up on the wire wheel, I didn't need to remove all the anodizing, just the get the metal clean and free of debris (there was something melted to the side of it).

After 3 coats of RustOLeum Satin black and 2 coats of satin clear coat, the receiver is ready

You can see the color is a close match, but the big difference is the "orange peel" finish, which is difficult to avoid when using spray paint.

While I was at it I touched up the lever with the same paint

I also repainted the red on the safety with some Testors enamel model paint

I wanted to replace the steel mag tube with a brass one, but I needed to keep an eye on the budget and the stock set cost me nearly $100 so I decided to clean it up and re-use it.
The inside was cleaned up with a .35 cal brass brush on my cordless drill. The outside was cleaned up starting with 280 grit sand paper, working up to 600 grit then put a final shine on using the buffer.

I also needed to clean up the follower. I did not have any safety orange paint, but I did have safety green (zombie green).

I cleaned up the follower on the wire wheel, then wiped it down with acetone and coated it with 3 coats of green paint and 2 coats of clear


I then reassembled the mag tube


The NOS (new old stock) stock set arrived.

The butt plate and especially the white spacer were not centered on the butt stock

You can see the white spaced holes were drilled incorrectly, simple quality control. These were never installed on a gun, so maybe they were some of the last stocks to be made?

I noticed the white stuff in the grooves of the butt plate, it appeared to be paraffin wax, maybe part of the manufacturing process or a preservative?

I removed the wax with a pick and a stiff bristled brush, then a spray and wipe with armor all

I then opened up the holes on the white spacer with a broken chain saw file....you never know what tools you will end up using...

The fit is better, still not perfect. The wood is a bit larger than the plastic butt plate, not much I can do short of sanding and re-staining the wood..

Stay tuned for part 5 where I will reassemble the gun and get some pictures of the finished product.
No comments:
Post a Comment