If you missed part one, click here
I checked the headspace before moving forward. I disassembled the bolt (removed the firing pin) and attempted to close it on my No-Go gauge. It would not close all the way. Then I inserted a new commercial cartridge (Federal) and the bolt closed as per normal.
Here I am test fitting the military surplus Mauser trigger guard/floor plate to the stock. It appears so more inletting will be needed to get it to fit flush
I began removing material at the front screw area and cleaning up the inletting
There were several places that needed inletting
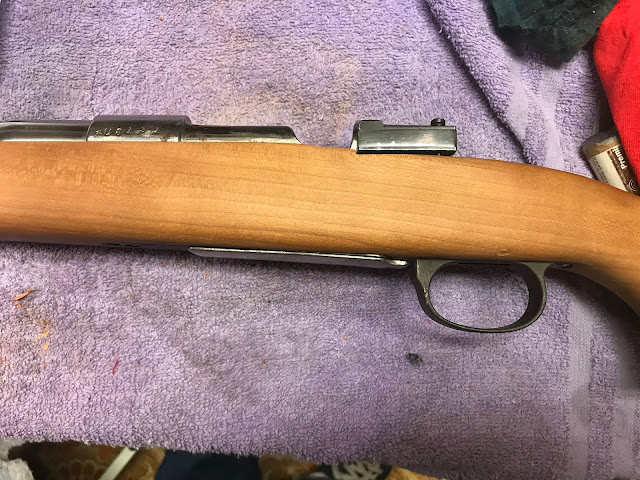
We now have the parts pretty close to flush with the stock
The trigger guard has a swept up part at the rear that matched the military stock.
I used a file to remove some metal so it would fit flush
I then put the action in the stock and tightened the screws down snug, the barrel was already free floated. I will remove just a bit more material, then maybe bed the barrel channel with bedding compound
The rear of the tang stuck up a bit
some quick strokes with the file brought it down flush
I plan on bedding the pillars, the front screw already has a built in pillar, for the rear I robbed this one from a Mauser military stock that I had laying around.
The next step was to measure and cut the butt stock. I clamped the stock to the bench on the top rail of the forend, making sure it was flat and level. I then measured the length of pull with the new recoil pad in place and marked the line with a square. This will put the butt stock square to the bore (or very close to it).
The gun will have a 13 3/4" length of pull.
I marked and drilled the first hole
Then the bottom hole, the yellow stuff is carnuba wax, it lubricates the threads of the screw
It might look like it is at a weird angle, but the recoil pad sits at 90 degrees to the bore axis
Mostly fitted, I will do the rest by hand
Stay tuned for Part 3


What did you use to cut the rubber butt pad?
ReplyDeleteI used a belt sander, which is the easiest way to do it....takes a gentle touch though
ReplyDelete