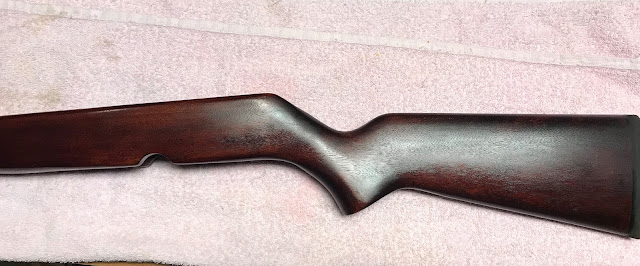
When we left off we were steaming the dents out of the rifle, see part 1 here.
After getting as many of the dents out as I could, I started sanding the stock with 150 grit, then 220, then 320 and finally 400 grit.
I then raised the grain by getting the surface of the wood wet and letting it dry for about an hour, I did this twice to try and prevent the grain from raising during while applying the dye.
I am finally going to try my Keda Dye kit that I bought a while ago....
I mixed a small amount it a disposable cup of hot water
Then applied the dye with a cotton ball
after three applications it quit getting any darker...
So I tried the Fiebings Leather Dye, I have use it on its own with mixed results, maybe it will work better with a base coat already on the wood?
The Fiebings provided the dark color, but we did get some splotchy areas.
Before starting the Tru-Oil, I decided to drill the rear sling swivel stud, probably should have done this during the sanding stage....I marked a spot about 2.5" from the toe, and as close to center as I could get
As mentioned above, we will be using Tru-Oil on this one, I am shooting for a high gloss finish, with multiple layers of oil
I rubbed in the first coat of Tru-Oil with my finger, until it was dry, then let it cure for 4 days, normally I would only wait 24 hours, but I had to leave town on business, so it got some extra time to cure.
The color is pretty dark, but I think the grain will show through after some more applications of oil
After four coats of oil, I gently buff the surface in between coats with some fine scotchbrite
and finished, 6 coats of Tru-Oil rubbed in. It is darker than I wanted, but better than being too light I guess, I'll have to see what it looks like in natural light


No comments:
Post a Comment