
Featured Gun: Stevens 325C
Project Deer Stalker Part 1
Project Deer Stalker Part 2
I cannot blue the gun in tank (hot salts) with the trigger mechanism attached, the salts will get into the space between the parts and leech out later. So it must be removed.
The trigger mechanism is riveted together and the screws holding it to the receiver it are inaccessible. I needed to find out if there was a way to reassemble this if I drilled out the rivets.

I went to Gun Parts Corp and found that they sell new rivets. so I am taking the dive and drilling out the old rivets.


I'll need to remove the safety lever screw and then see about getting the rivets out

I decided to try and drive the rivets out with a punch and they came out without a fuss, the mechanism is pretty simple

Here is the back side of the screws holding the trigger group assembly to the action, you can see they have been staked in place

I figured they would be hard to get out and I was right, I tightened, then loosened, tightened, then loosened...finally they broke free. They had been screwed into that receiver since 1948/49 and never came loose.

The threads survived ok, but the screw heads not so much, Gun Parts has them for $5, might not be worth restoring them for $5

A quick bath in Hoppes #9, these parts do not need refinishing, so they will go in a zip-lock bag until reassembly time.

Now we can strip the old bluing and begin polishing the metal
I used vinegar this time, it didn't work near as well as Naval Jelly, but I was sanding every part of this gun anyway, so I really didn't need to remove the bluing chemically

I started with the barrel nut and recoil lug, I burnished them on the wire wheel, this will give them a satin appearance

There was some light freckling and dents in the metal, but over all it went smoothly. I started with 100 grit, then 150, 220, 280, 320, 400 then 600, I finished with a light buffing on the buffer


Note the contrast between the polished and burnished pieces.

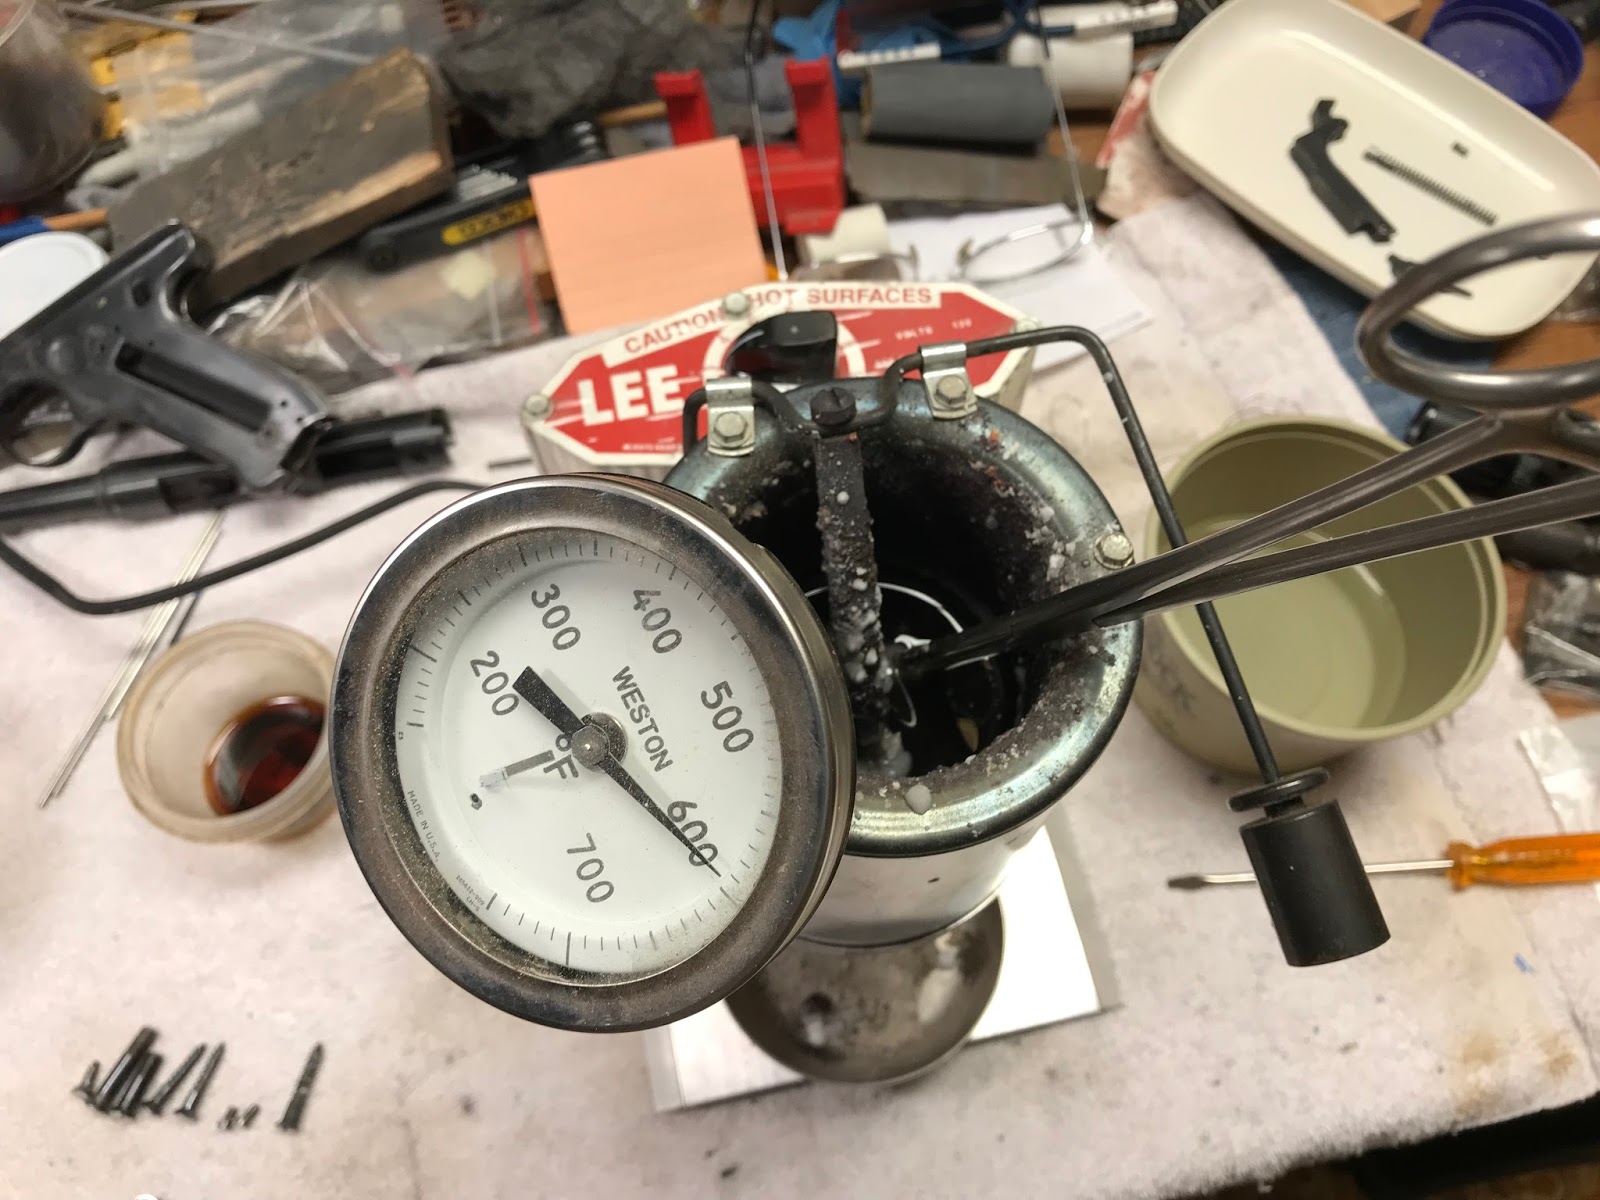
I blued the front sight along with some other parts in a small pot, the bluing didn't turn out that great, but we'll see how it looks on the gun, I may strip it down and reblue it.

I then started on the stock, I wanted to add some sling swivels so I gathered the tools

and found the proper places to put the holes, had to measure multiple times to make sure I had the holes centered


Then drilled the holes


I then put the first coat of oil on the stock, I am using Minwax Antique Oil. I rub it in hard and then let cure for 48 hrs
Here it is after curing

Now I fill the grain, I use the Minwax oil and 600 grit sand paper

I put 5 or 6 drops onto the stock and then sand with the grain, the result is sanding dust that is suspended in the oil, I then rub the slurry into the grain (in all directions). This does two things, it removes the high spots and fills the voids in the grain. We will do this two more times

After 3 sanded in coats and one top coat, rubbed in by hand and then wiped off.

close up, showing the satin finish

While the stock was curing, I prepped the screws and nitre blued them.
There are two take down screws, one escutcheon, two butt plate screws, one trigger guard screws and two front sight screws (not shown). The two small screws and larger pair of butt plate screws are for the Marlin 1893 project

Hard to tell in this light, but they are a peacock blue color

I went ahead and installed the butt plate screws

Stay tuned for part 4
Nice work. What is the blueing chemical you use in your pot to get the screws looking that great?
ReplyDeleteMostly Potassium Nitrate, with some Sodium Nitrate and Manganese oxide
ReplyDeleteThis comment has been removed by the author.
ReplyDelete