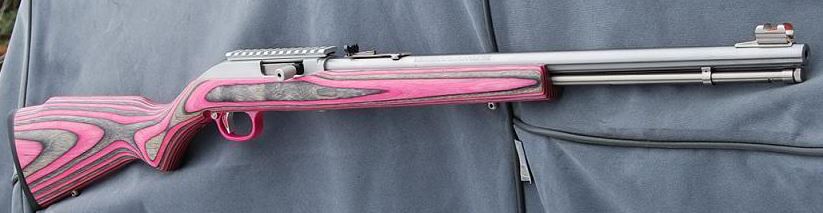
We'll finish off this month's posts on the model 60 with some gun porn
Most of the pictures above were found freely on the world wide web
and are used for education and entertainment under the guidelines of Fair Use, per Title 17 of the U.S.
Code. Where possible the source has been credited.
If you own the copyright to any of these images and wish them to be credited or removed, please contact me immediately.
Part five of this continuing series.
See the previous posts by clicking on the links below
Project Night Prowler
Project Night Prowler Reduex pt1
Project Night Prowler Reduex pt2
Project Night Prowler Reduex pt3
Project Night Prowler Reduex pt4
One of the last things on my list was to replace the gold trigger with a black one. I found this broken trigger assembly with a black trigger for $3 at a gun show
The proper anodized black trigger compare to the gold anodized, but blacked out, trigger
I cleaned up the parts, reassembled and added some lubrication.
I trimmed the bolt on the vertical fore grip
I swapped out the rear action screw, as the the replacement (and original one for that matter) were a bit too short and had messed up the threads.
Luckily I had an 8-32 tap, so I cleaned up the threads and added the longer cap screw
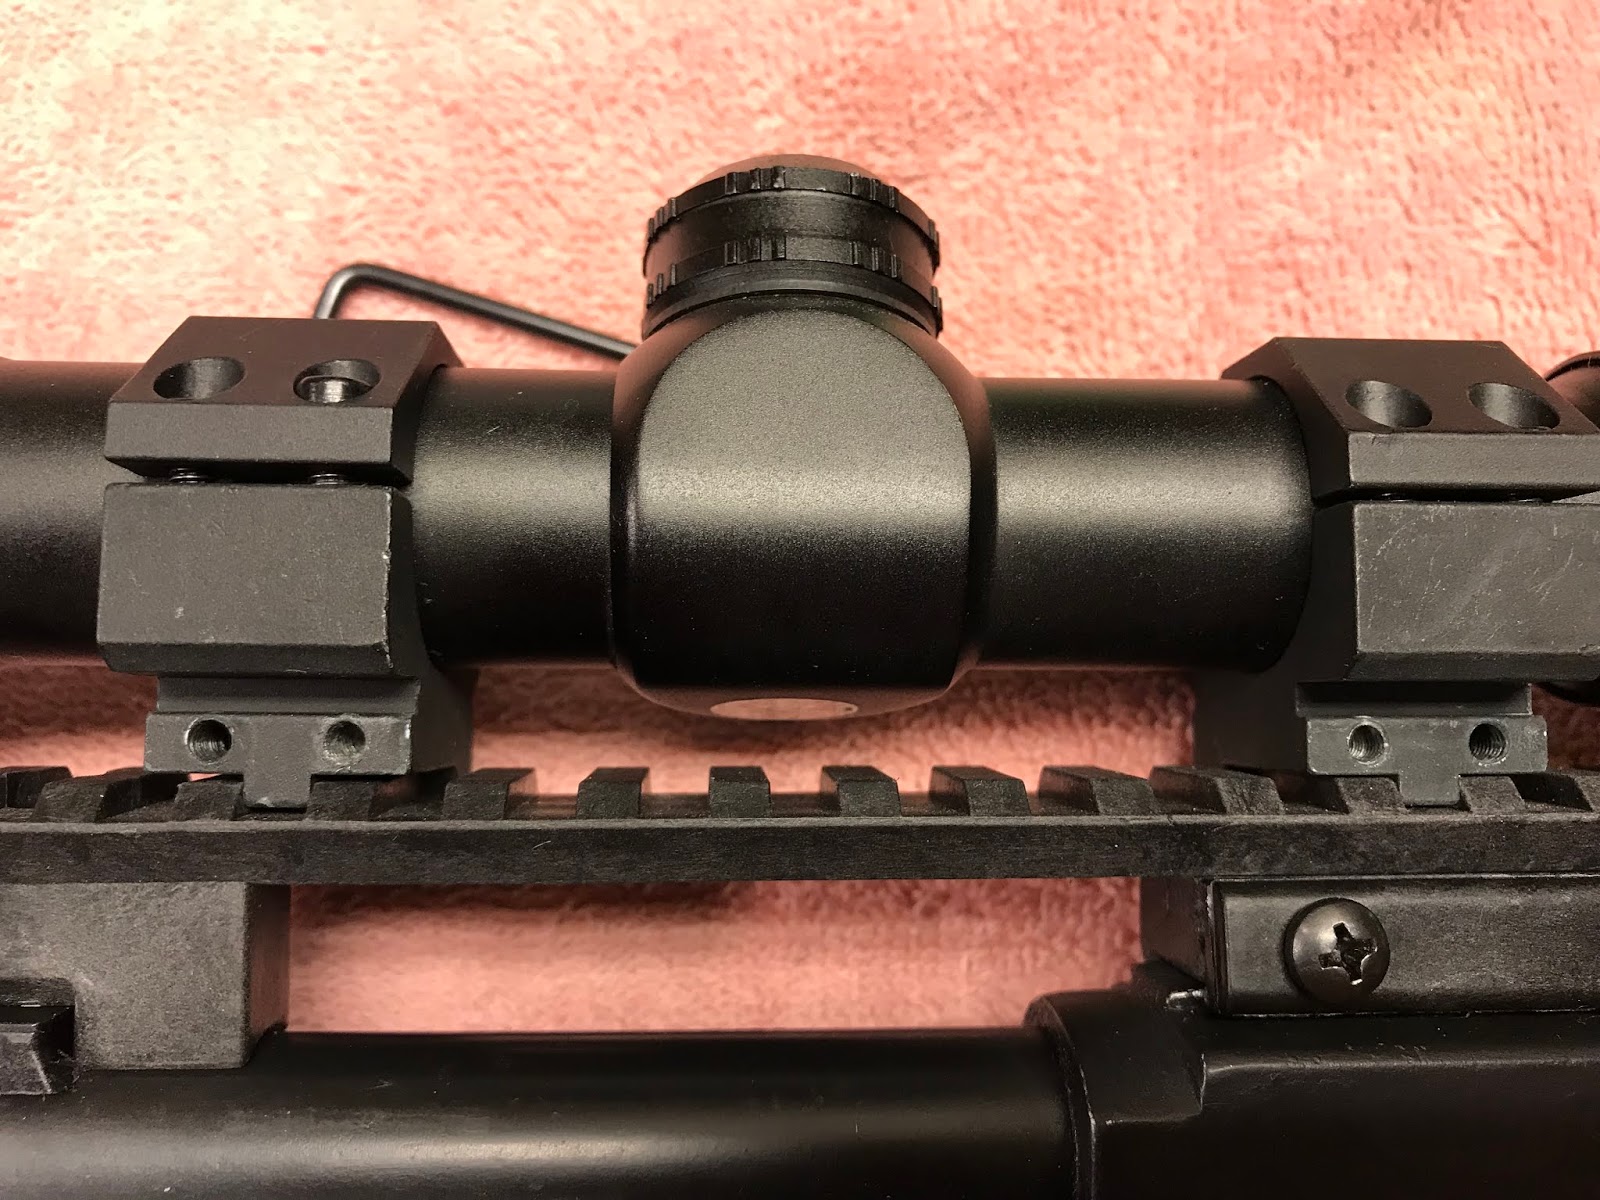
Lastly I was not happy with the scope location, the line of sight was way too tall
I happened to have the same scope (different brand, but obviously made in the same factory) that was a 42mm objective instead of the 50mm
I then ordered a set of low rise scope mounts to get the line of sight closer to the bore
The new scope rings have bump outs that fit the picatinney rail, making for a very secure fit
When fitting the scope and adjusting the eye relief, I noticed that my low profile rings combined with the large ocular aperture made for the need for some clearance
So I filed off the first two rails, you rarely ever use the first two anyway.....
Finished:
The new total dimensions of this rifle are:
Overall length: 29 1/4" (74 cm) (we cut 10 3/4" off the factory length)
Barrel length: 18 1/2"
Overall height: 6 1/4" without scope, 9" with scope
Recap of what we performed:
- Installed new Badger bullpup stock
- Blacked out the bolt by bluing it, also cleaned and polished the internal parts
- Swapped the gold trigger for a black one
- Swapped the scope and rings for smaller/shorter ones
- Shortened and recrowned the barrel
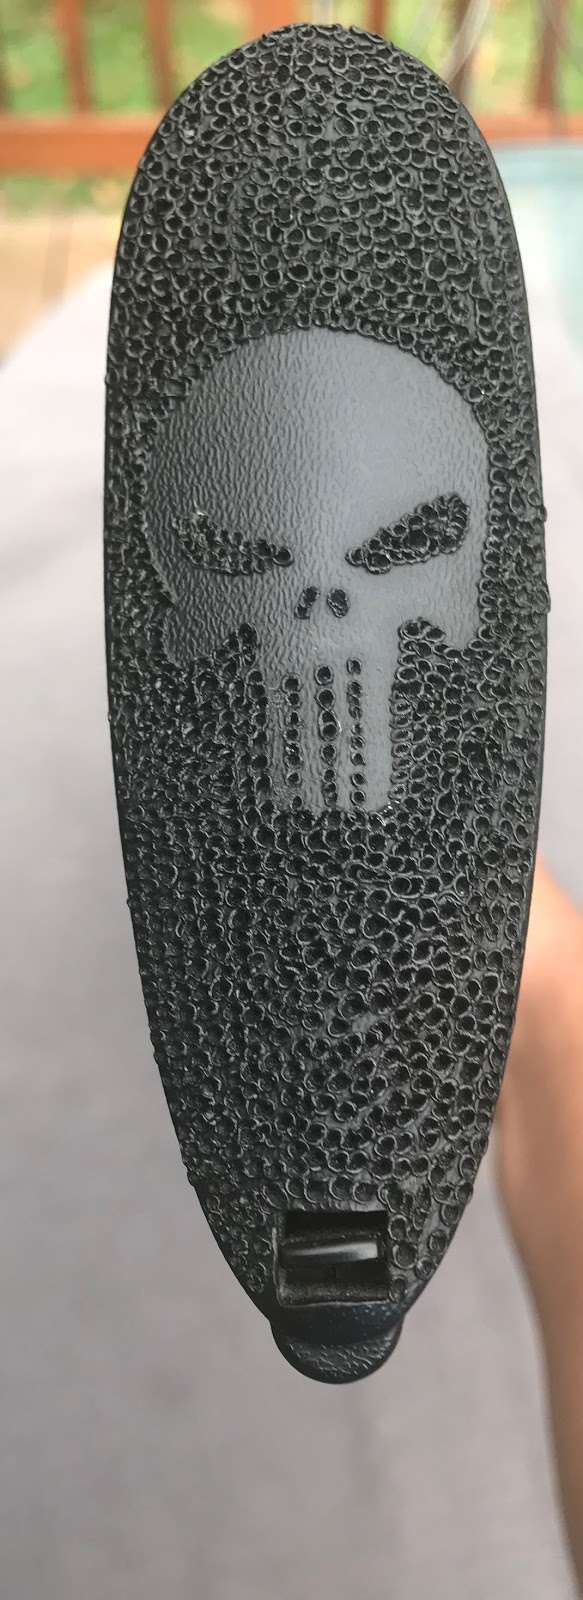
- Added some gription to the butt plate along with the Punisher skull
- Added a vertical, folding fore grip
Total costs for the project (this version of it anyway)
Rifle: $50.00
Badger Stock & Scope rail: $144.00
Fore Grip: $0 (came off another project)
Scope: $0 came in a lot of parts I bought
Scope Mounts: $14.88
Laser: $3.99 (discount code)
Trigger parts: $3.00
Total: $215.87
Part four of this continuing series.
See the previous posts by clicking on the links below
Project Night Prowler
Project Night Prowler Reduex pt1
Project Night Prowler Reduex pt2
Project Night Prowler Reduex pt3
When we left off we were going to perform some mods to the barrel and stock.
I ordered up a new scope mount
and a green laser kit
I stripped the gun back down and removed the bolt and handle. The bolt was disassembled and the handle stripped on the wire wheel so they could both be reblued
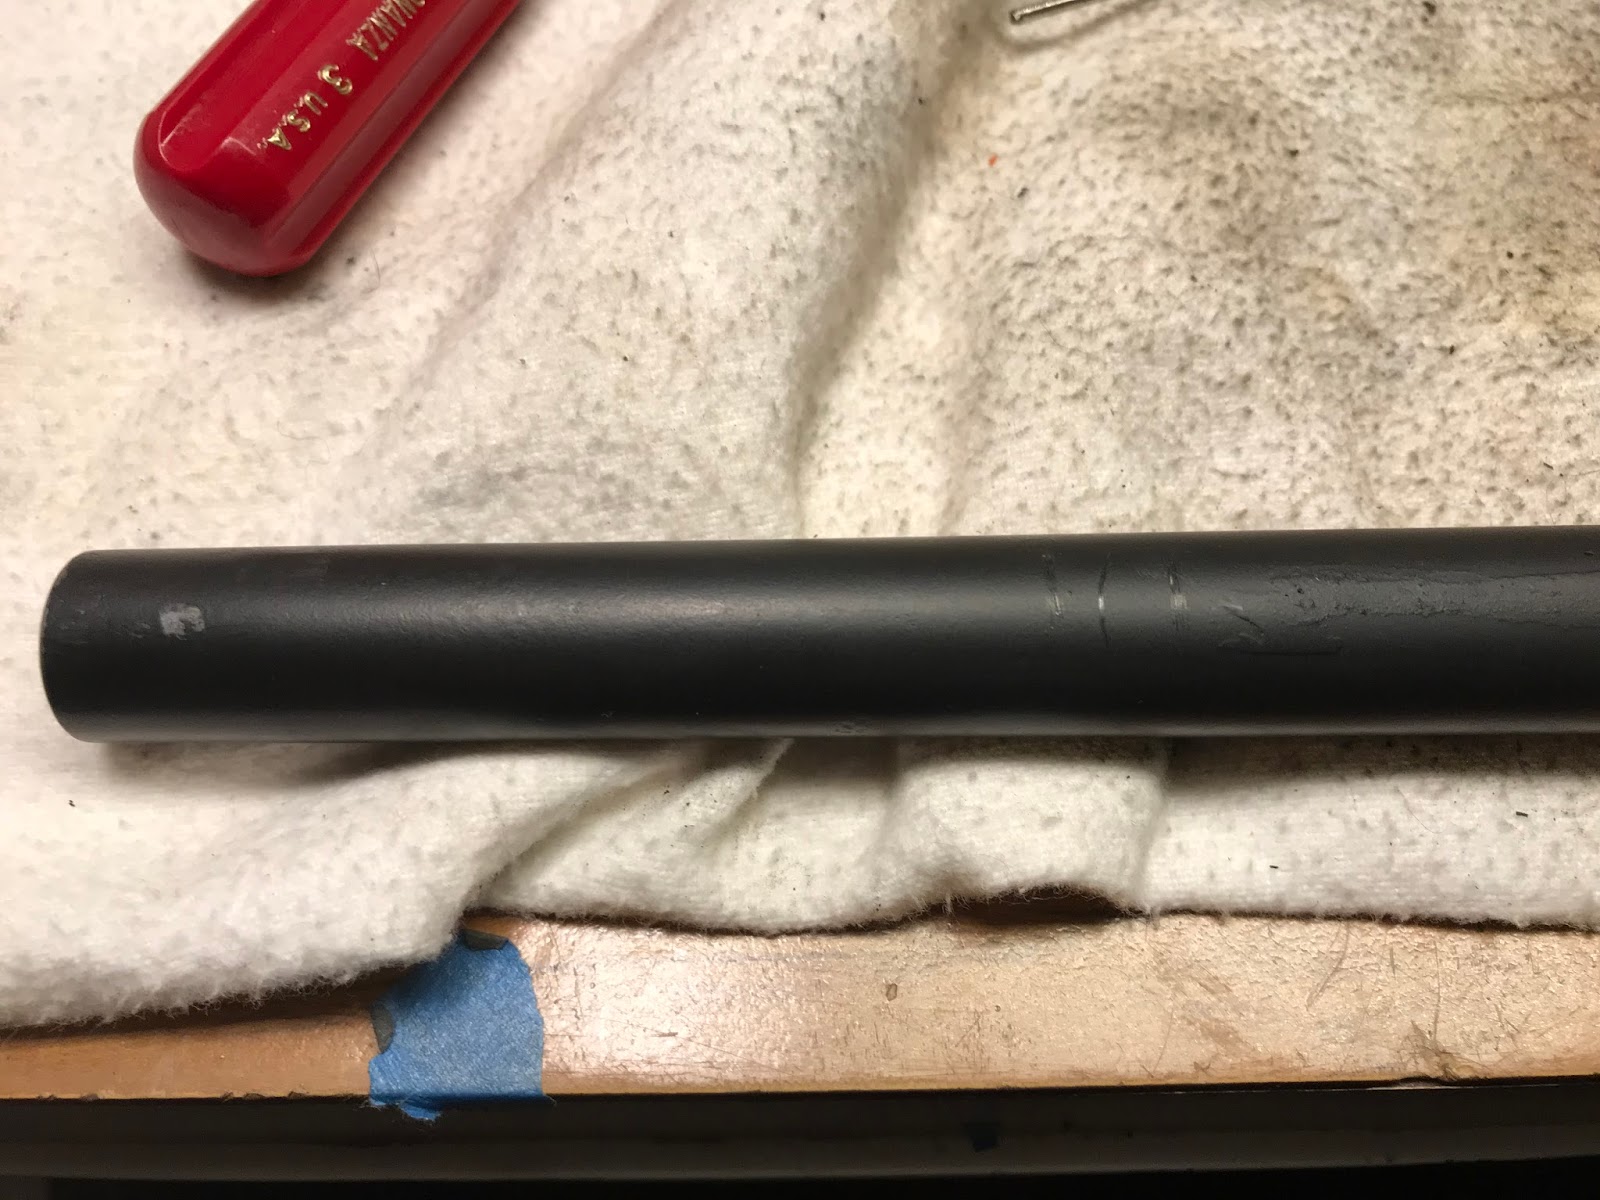
I then marked 3" from the end of the barrel and marked the end of the magazine tube knob, I need to cut somewhere in between these marks
Hack saw did the trimming
After cutting I put the dovetail jig on the barrel, just below the cut line so I could file the end square. The jig is hardened so the files will not cut into it, you simply file until you hear the "sing" of the file hitting the hardened steel
Some sandpaper and a block cleans it up
I then put a cleaning patch just inside the muzzle and chucked a brass stove bolt into my drill, added a copious amount of valve grinding compound and started cutting a new crown
Just a small rebated crown is all that is needed to protect the rifling. I also broke the edge of the outside of the muzzle.
After a thorough cleaning I put another patch in the barrel so I could paint the barrel with flat black
Now the barrel is just a bit longer than the mag tube
I got the bolt and charging handle blued
And reassembled
I replaced the screws with some thin/low head Allen screws
I also cleaned up the casting flash to make the gun more comfortable to handle
I added some covers to the right side picatinney rail
I decided that I wanted a vertical fore grip, I removed the front sling swivel mount and found a replacement screw to hold on the extra picatinney rail
I drilled the rear hole into the front cover and attached the rail, I used what screws I had available, they will be covered by the VTG anyway
The next thing on the list was to create some sort of traction on the butt plate, so I ordered up a small soldering iron and tried my hand at stippling.
I decided I wanted some sort of design, so I added a Punisher sticker and will stipple around it, leaving the area under the skull intact
Stay tuned for part 5