
So when we left off we were still cleaning parts, now we start on the bolt.

To remove the firing pin and ejector, we have to file away the peened over metal

The ejectors movement was being restricted by the gunk and the rusty goo sticking to its surface. The spring isn't in much better shape, we will replace them both

The extractor cleaned up fine and looks to be A-OK, you can even see the straw color case hardening on the inside

The firing pin looks good to go

The bolt after cleaning and removing the paint and gunk

Then we start sanding on the barrel

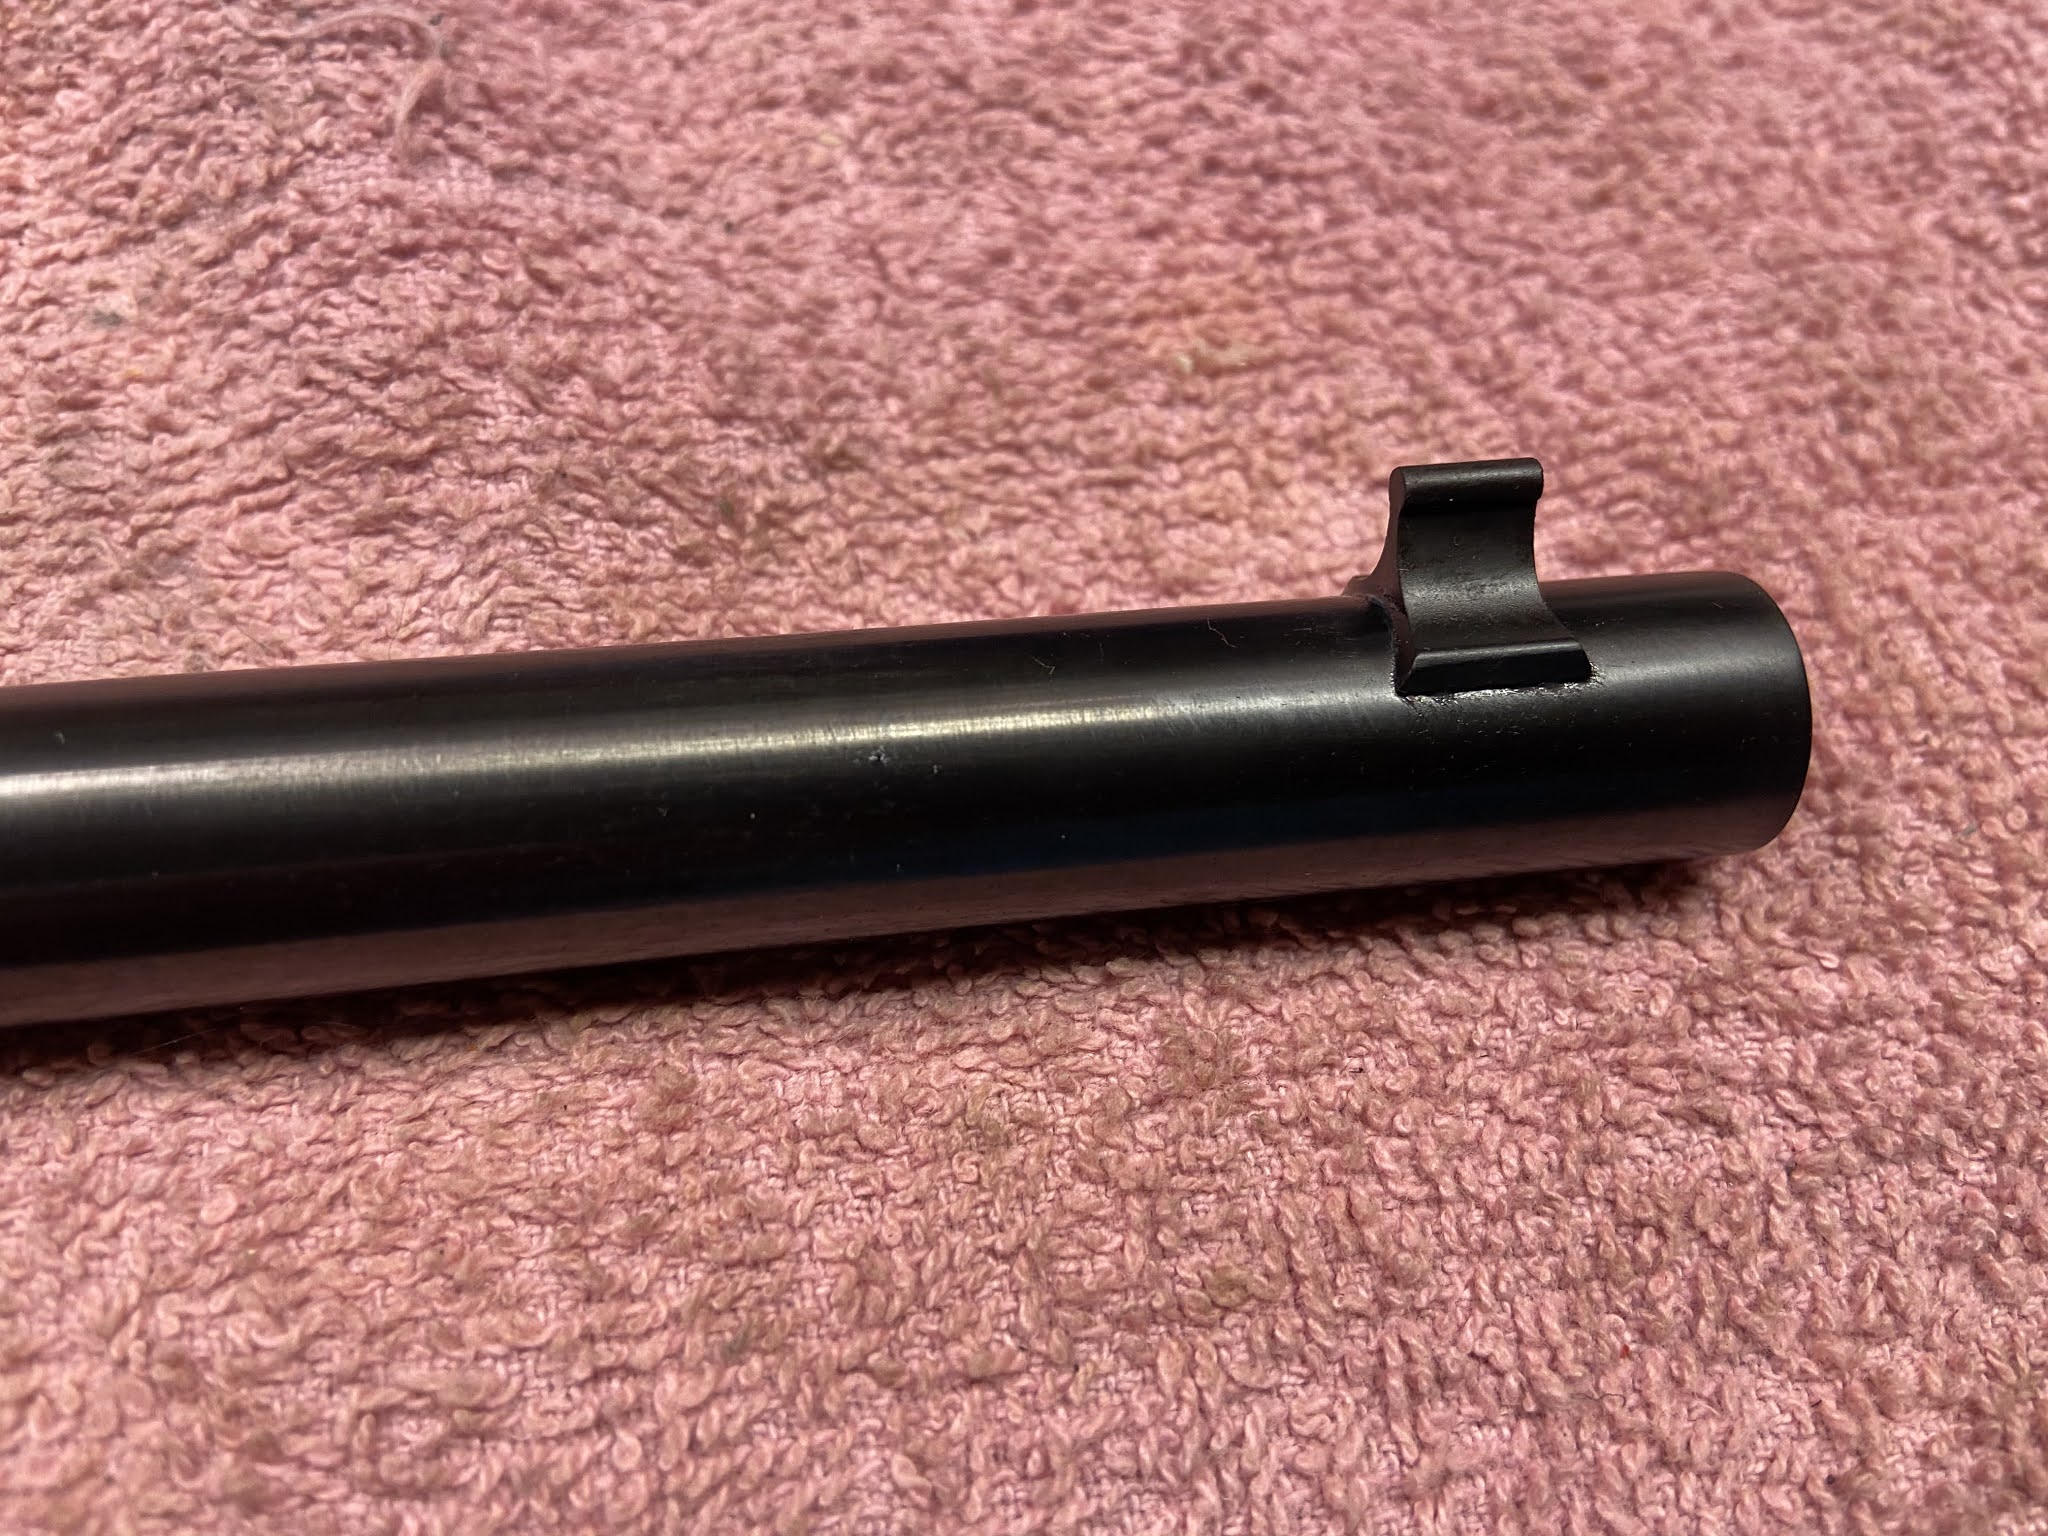
The barrel is ready for bluing


The steel parts after bluing

I ordered up a new ejector, but the supplier didn't have the spring in stock, I will search for one in my spring collection

Time to reassemble this rifle, I'll start with the front and rear sights. I always lube the dovetails with grease before installation, this also helps to prevent rust.

Then the trigger group

 Assembled
 Next we assemble the bolt, the ejector goes first, followed by the spring, then the cross pin
 The firing pin goes in a slot, it is held in place and its travel is limited by the distorted metal (which we filed away during disassembly), so I used a chisel to distort the metal again


Assembly of the bolt into the barrel is complicated. You have to slide the receiver over the barrel extension, then install the bolt, then push everything home.....but I ran into a snag...a big snag. Here I am trying to spread the barrel extension apart to get the bolt to fit. The barrel must have been dropped or somehow shrunk during the time it was apart....I have never had this happen before.


I found a suitable pin to act as a slave pin for the installation of the trigger and sear


Assembly of the bolt into the barrel is complicated. You have to slide the receiver over the barrel extension, then install the bolt, then push everything home.....but I ran into a snag...a big snag. Here I am trying to spread the barrel extension apart to get the bolt to fit. The barrel must have been dropped or somehow shrunk during the time it was apart....I have never had this happen before.

I was able to open the channel with the screwdriver, then gently tapped it with the hammer until the fit was about right, the bolt moves easily, but is not sloppy
In part three we'll show you the pictures of the finished gun and a before and after comparison....
No comments:
Post a Comment