
When we left off the varnish on the butt stock was being removed with a stripping agent.
Her it is after a wipe down.


Here it is after soaking the wrist in acetone, it does a good job of getting the oil out of the wood

I then flipped it around and let the butt soak for a bit

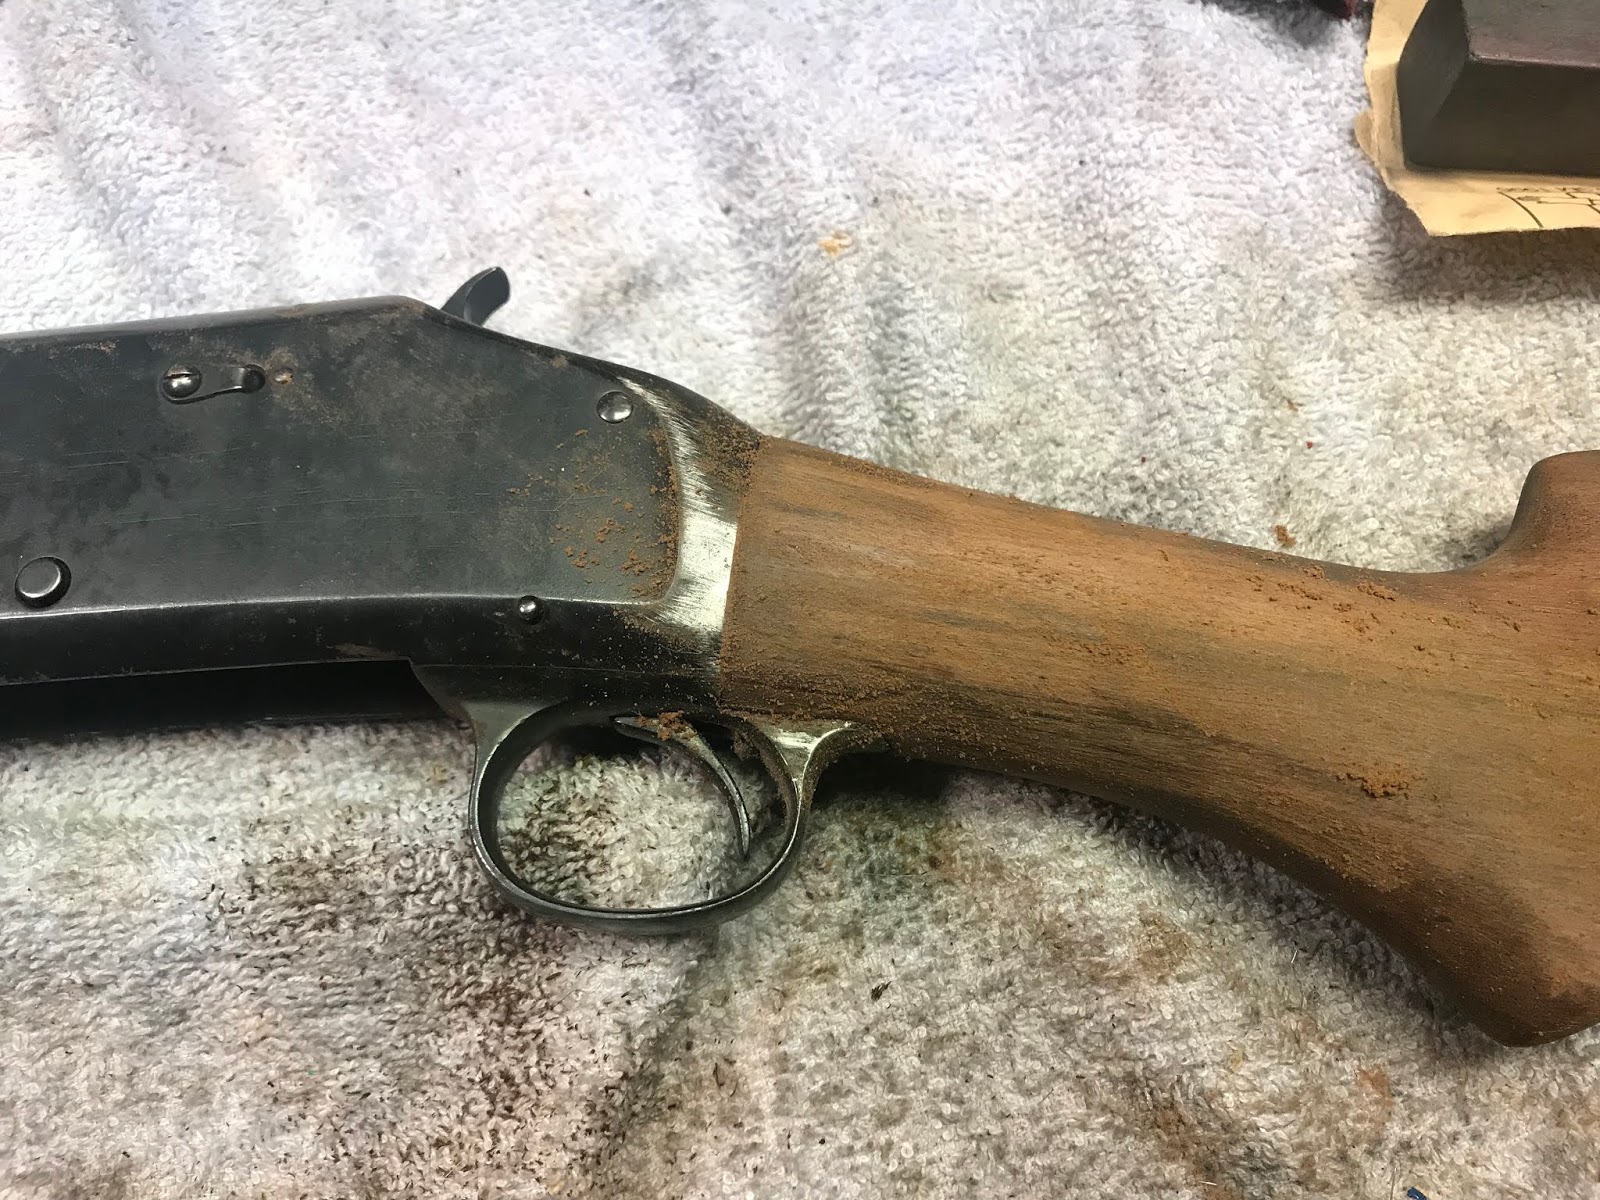
Next I will reinstall the butt stock and recoil pad and sand it smooth, then removed it and begin the finishing process.
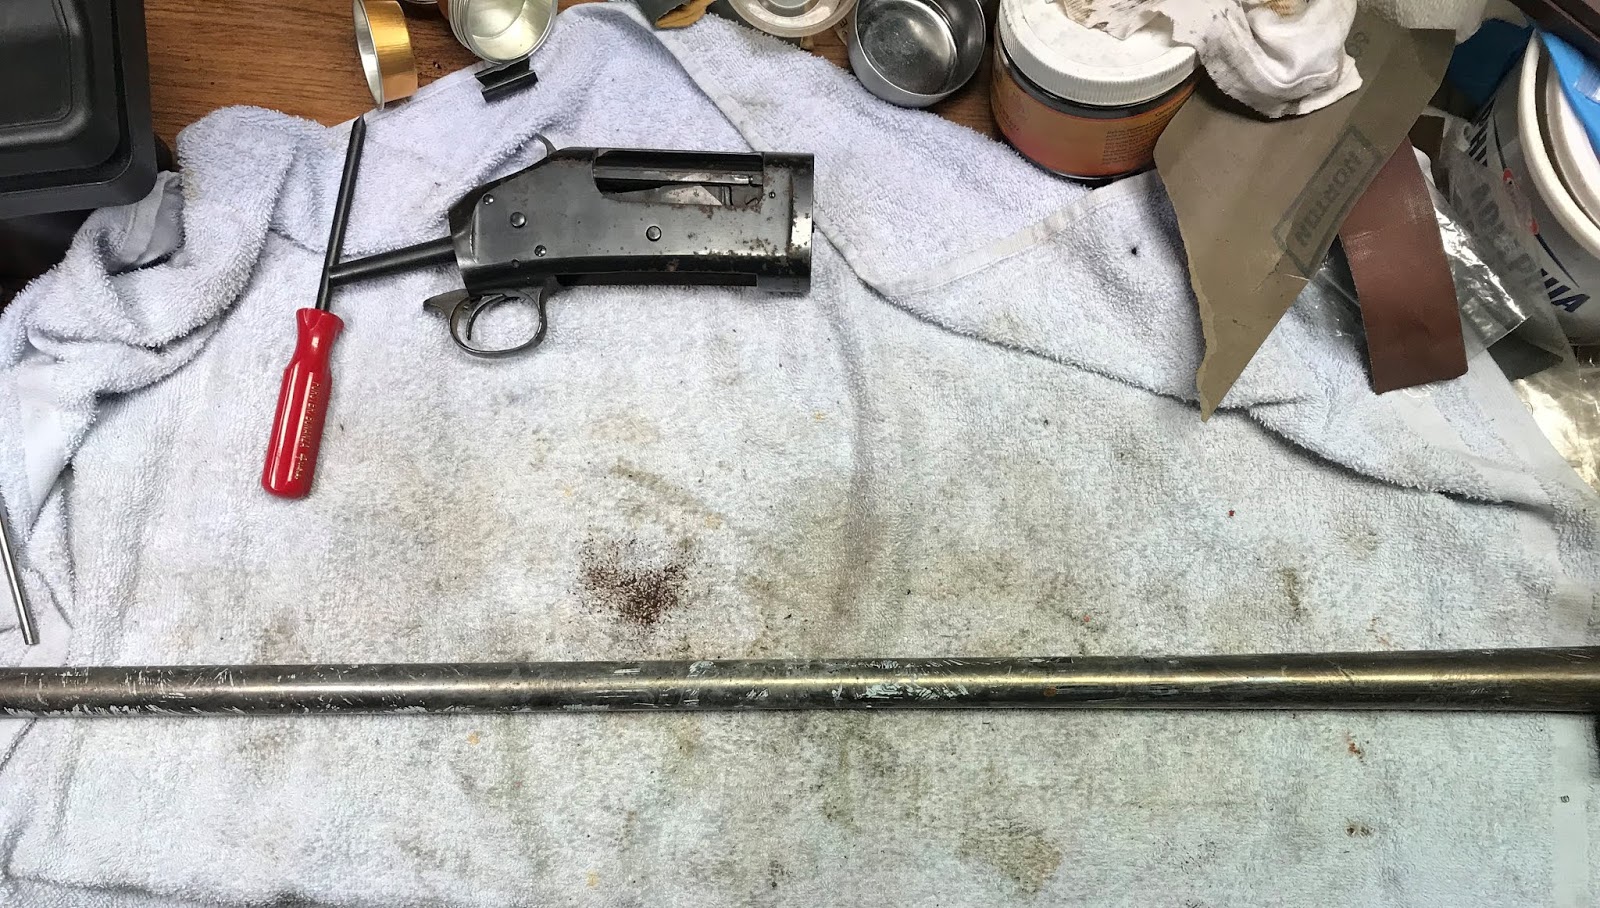
Meanwhile I got to work on the barrel. I removed the brass bead and put the barrel in to my vice and started sanding with 100 and 150 grit, there was some mild pitting, and a few dents.
I found the metal to be pretty soft, this is most likely old gun steel, not the modern alloy we use today. Evidence can be found at the muzzle, the metal is at least twice as thick as a modern shotgun barrel.
I used Naval Jelly to remove the old bluing. This is not 100% necessary, but if you plan on sanding the entire barrel, it will save on sandpaper.

After rinsing the barrel in cold water (hot water will cause "flash rusting") you end up with chalky residue
I use the wire wheel to remove the residue, now we can really see how bad the pits and dents are

The pits and dents are mostly gone, this is a 150 grit finish, from here on out we are mostly just removing the scratches left by the 100 and 150 grit paper.

I then stepped up to 225 grit

Then 280 and 320 grit

Then 400 grit, 600 grit, then buffing it lightly with crocus cloth to even out the finish

So back into the acetone for another overnight soak


After putting the recoil pad back on, I decided it needed to be refitted, I will put it on the belt sander and try to clean it up while removing the least amount of wood possible

We have some dents to remove, if the sanding doesn't remove them, we'll steam them out


After sanding on the belt sander, it looks better, but now we switch to hand sanding

Here we are at a 320 grit level, next we'll sand the fore end and then wet them with water to see if there are any spots we missed

I coated the foreend with CitriStrip

Here it is at the 320 grit level

wetted with water


Here the two pieces are ready for oil, this is a 400 grit finish

We will be using Minwax Antique Oil Finish

Stay tuned for part 3
I can dig it!
ReplyDelete