
A friend of the blog brought his 700 Remington over and asked if I could reblue the steel parts and install a new Timney trigger while I was at it.
Here is what it looked like when he brought it to me (in pieces)


The only pitting was on the left side of the barrel near the muzzle


First step is to remove the old bluing, I am using naval jelly (phosphoric acid)

just brush it on and let it do the work

It leaves a chalking surface and streaks of old bluing, the wire wheel on the grinder cleans it up

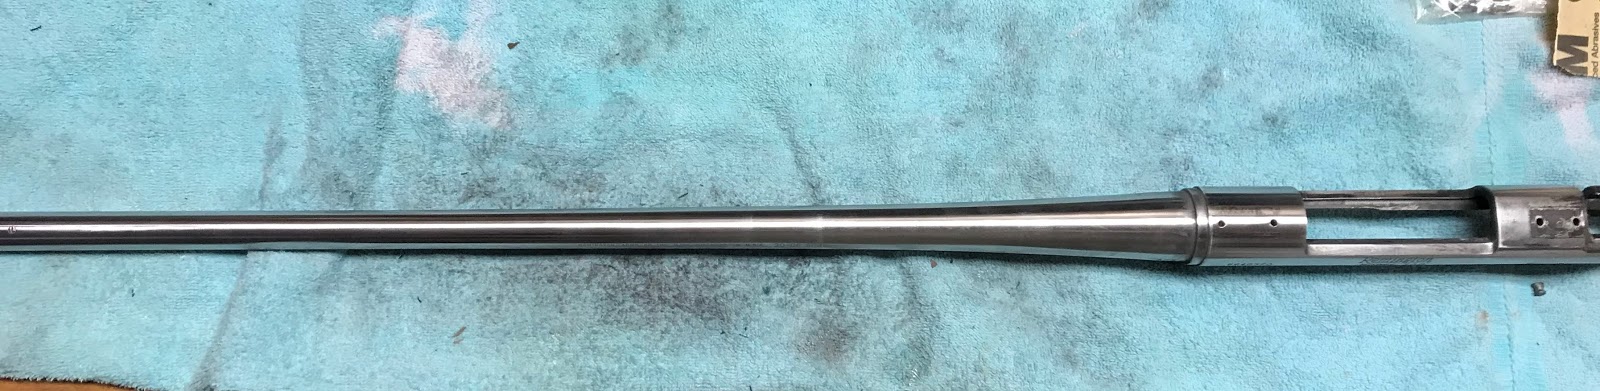
Before polishing I installed some filler plugs. I am going to sand them with the barrel, so they will blend in, but not be a permanent fixture


Ready for bluing, this is a 600 grit finish

Then I start on the bolt, they make special tools to disassemble and reassemble the bolt, because I don't work on these very often, I decided to do it manually....with some help

The cocking piece is stainless, so I gave it a high polish, which will contrast nicely with the polished blued surface

When this gun was built Remington wasn't spending a lot of time polishing the parts, the polishing/finishing is usually the first step cut out when cutting costs

Ready for bluing

Next I polish the screws

They weren't too badly mangled, so I wrapped the threads with tape, chucked them into my cordless drill and polished them with sand paper at high speed.

and reblued them

I also reblued the small screws for the scope mounts and front sight

The barreled action and bolt parts reblued

I polished the body of the bolt, I would have liked to jewel it, but I do not have a jeweling fixture for bolts with permanent handles

Reassembly was a bear, needed help from my son-in-law to get it done

I installed the scope mounts with some Uncle Mikes thread locker

Assemble and function test, all good. The bolt in the upper left corner is for a Mauser sporter project that I am just getting started on.

Stay Tuned for Part 2
No comments:
Post a Comment