
I found a stainless steel, Chinese made Bayonet at a swap meet, it was missing the handle, but otherwise looked GTG.

I paid $3 for it and figured I could make a set of handles from wood. Then maybe wrap it in tactical black paracord..... like this one:

Here is the Chinese Bayonet next to a military issue M7

Some may think bayonets may be from a by-gone era when hand to hand combat was still a reality of war, but I like 'em.
One of the reasons I like them is because the Hoplophobes hate them....they may not even know why they hate them...(see my blog post "Something for the Hoplophobes"
Before starting the project I test fitted the bayonet on my 10-22....wouldn't you know it, it didn't fit....it figures.
The Chinese person who made this probably was reading the wrong specs or the translation juxtaposed an 8 for a 6 or something.

You can see the hole is way too small for a mil-spec AR bird cage flash hider.
So the first step was to open the hole, I used a Craftsman 5/8 spark plug socket as my guide/gauge. It would slide in with a "slip fit" in my M-7 Bayonet. This way I wouldn't have to keep trying it on the gun.


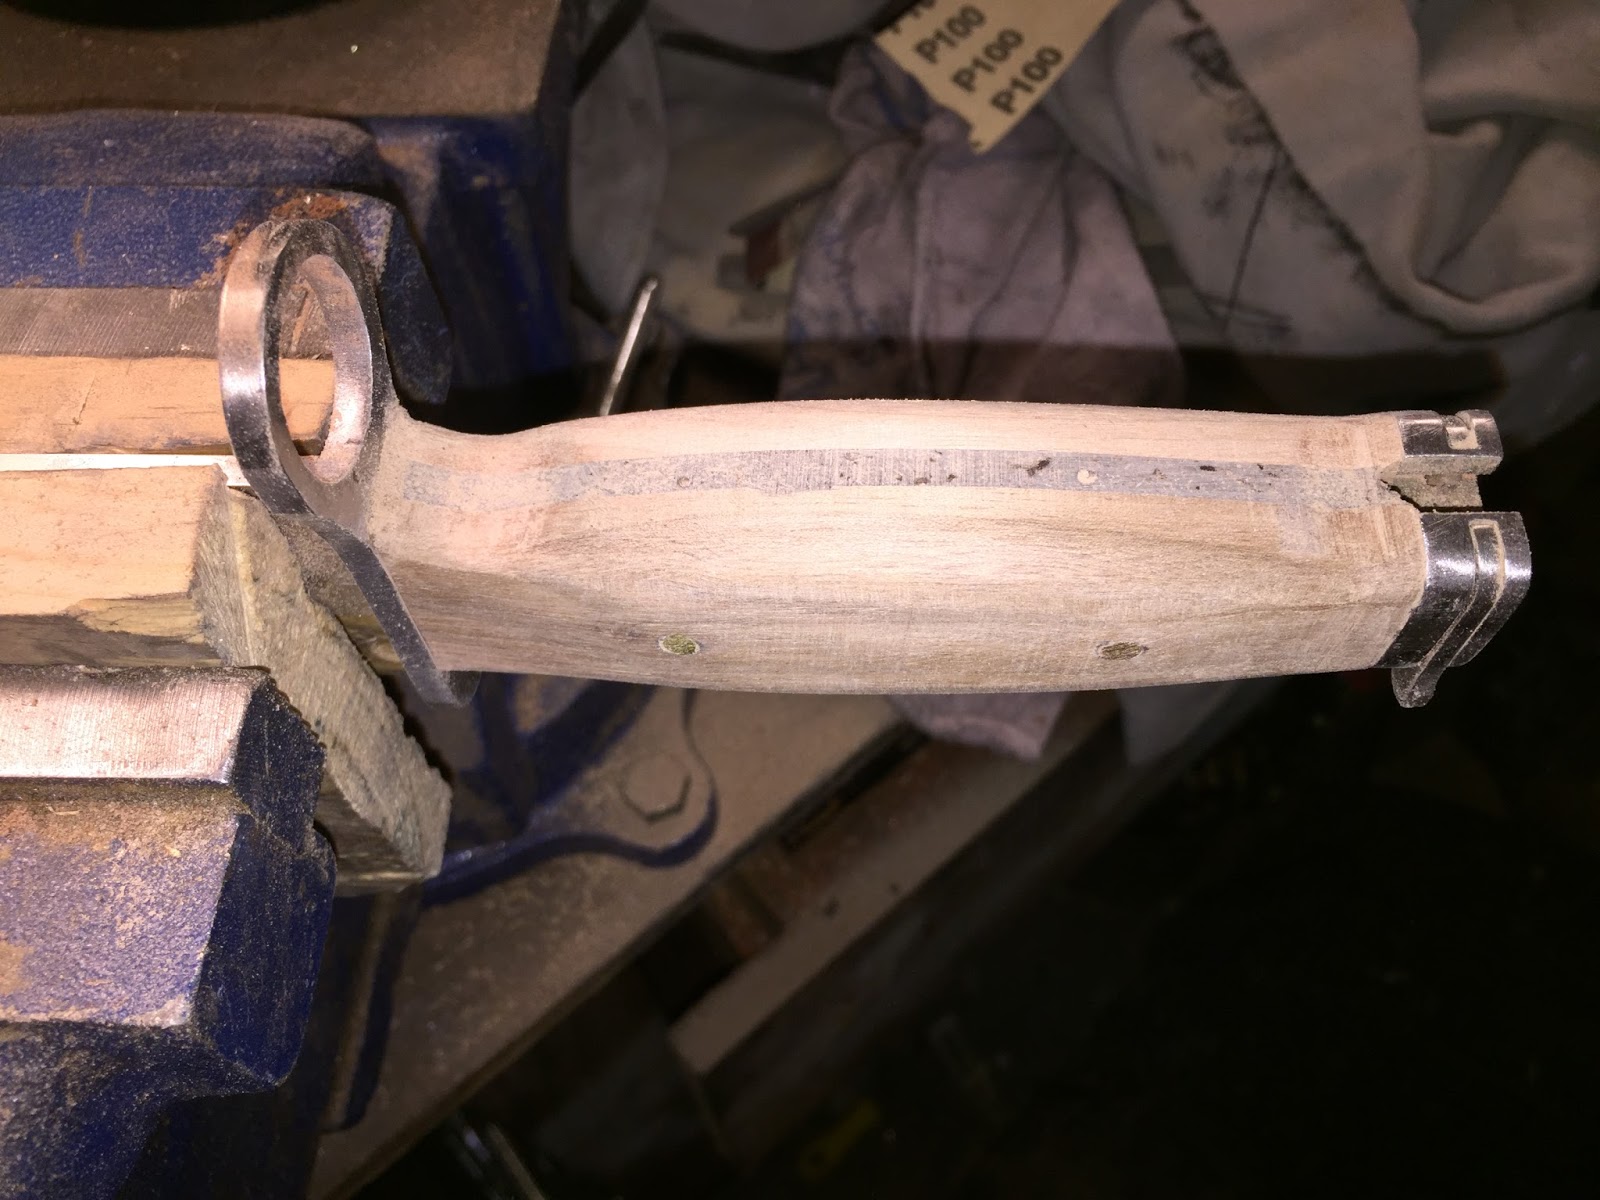
I plan on mimicking the profile of the M7 bayonet handle, it is fat in the middle and skinnier at the ends.


A good couple of coats of Minwax spray Spar Urethane and the bayonet is finished...and less than $5 invested

