
Here I will chronicle my journey in restoring guns, primarily the finish on the wood and metal.
I started with the "over the counter" kits for cold bluing the metal and refinishing the wood. While the Birchwood-Casey Tru-Oil is great stuff, the cold bluing isn't really the cat's pajamas. It looks OK, but I knew I would someday have to step up to a better process.
Before we begin with the pictures, here is a quick run-down of the different types of finishes on firearms:
Real bluing is actually rust, to be specific ferric oxide. What we commonly refer to rust (the reddish brown stuff) is ferrous oxide. Ferrous Oxide (red rust) can be converted to Ferric Oxide (black/blue rust) by applying heat. The level of the finish is directly affected by the smoothness of the metal, just like a paint job on a car, the smoother the surface the shiner it will appear after bluing.
Cold Bluing: using Selenium, Copper Dioxide or other chemicals, the metal is "stained" to look like bluing.
I believe the color is the result of a chemical reaction between the iron and the solution being applied.
This is the cheapest and easiest ways to touch up a worn spot, but not recommended for whole guns. It is also more difficult to get the solution to take if the metal is highly polished, it works best on satin finishes. The picture shows the color to be a matte black, I have achieved slightly better results than what this picture shows.
an example of Cold Bluing (from the Birchwood-Casey website):
.jpg)
Rust Bluing: Using a weak acid solution (nitric acid is commonly used) the clean metal is swabbed with the acid and is allowed to form a thin rust coating (red rust is also known as ferrous oxide), the metal is heated in boiling water to turn the ferrous oxide into ferric oxide, the change turns the red rust to a black color. The gun is then "carded" using steel wool, a fine wire brush, denim material or other fine yet rough material, this removes the flaky layer but leaves the smooth coloring intact, the process is repeated numerous times (as many as 10 times). The result is a very fine satin blue/black finish. This is an easy process but very time consuming, each stage of rusting can take 24 hrs or more, many people build a "sweat box" to add humidity to the metal to help encourage the rusting process. Most older guns were blued using this method, it is the oldest known method of bluing gun metal.
here is an example of a gun being rust blued, you can see the red velvet rust, which is heated in boiling water to convert it to black rust:

Browning: Just like Rust Bluing except no heat is used. The rust is simply "polished" into the metal. The color retains most of the red oxide rust, not as durable, but over time will patina quite well, this is how really old muskets were "seasoned".
Here is a damascus shotgun barrel that is being bowned:

Hot Slats Bluing (aka Hot Bluing, Hot Caustic): using a chemical bath containing Sodium Hydroxide (Lye) and one of the 3 following Nitrates: Sodium Nitrate, Potassium Nitrate or Ammonium Nitrate and water (distilled water). Some recipes call for Sodium/Potassium Nitrite and TSP as well as a host of other ingredients. Every company has their own concoction, while the DuLite company now supplies chemicals to most of the bigger gun makers. (http://du-lite.com/)
The solution is heated to 270-290 degrees F and the clean & polished metal is soaked in the solution for 20-40 minutes. The result is a deep dark black coating that is both durable and rust resistant. This is how most modern guns are blued. The color takes to polished metal as well as it does to rough surfaces.
an example of hot salts bluing, done by the folks at Ford's

Charcoal Bluing: Charcoal (carbon) can help impart blue/black/gray colors. Some processes involve burying the guns in hot charcoals and allowing the guns to "cook". Others involve an oven with racks of charcoal and the guns sitting on a perforated rack above the charcoal, the heat and carbon impart a heat treating/coloring on the gun. The surface gets a bit harder due to the increased level of carbon on the surface, also known as "carburetion". Colt used this method prior to WWII, legend has it that Colt used rags soaked in some sort of fish oil to quench their pistols after removing them from the ovens, helping to impart or seal the black color in the metal, the process would be repeated several times (and was reported to be quite smelly).
here is an example of charcoal bluing (done by master gunsmith Doug Turnbull)

Carbonia Bluing: This is a process developed by Smith & Wesson sometime after WWI. S&W hired the American Gas Furnace Company to develop a special oil that included (among other wicked ingredients) Sperm Whale Oil. The guns were placed in a rotating drum filled with charcoal and this special oil, the drums were heated in the oven while the charcoal/oil mix rotated around the parts inside the drum. The result was the S&W signature bluing. The exact process & recipe was a trade secret and legend has it that the widow of the recipe holder tried to sell it back to S&W, but S&W had moved on to another process, so they declined, many believe that the recipe has been lost to the ages....it may be stored in an ex S&W employee's steamer trunk somewhere....who knows? Doug Turnbull and others believe they have recreated the process.
This is a pre war (WWII) S&W that was blued using the Carbonia method (original S&W finish)

The small parts that have the peacock blue color have been nitre blued:

Heat Bluing: Also known as flame bluing, this process is more or less heat treating that imparts color based on the temperature and the ingredients present during the heating.
By heating steel you can achieve colors from straw (yellow/tan) to deep blue and black.
You have probably seen chrome headers or exhaust on a car or motorcycle that exhibit a rainbow of colors, this is a result of the different temps that exist in the pipe.
After heating the metal is quenched with oil. Similar to color case hardening, the metal will be hardened on the outer layers.
this is a golf putter that has been heat blued

Color Case Hardening: Originally developed to harden gun steel before the modern steel alloys were invented, the resulting color was a byproduct.
A combination of Heat & Charcoal Bluing, the gun parts are placed in a container with charcoal made from bone, leather and hardwood, then placed in a kiln to 1400-1600 degrees. After some time (20min - 1hr) they are removed and quenched in an aerated bucket or barrel of water. The air bubbles cool the steel at a variety of temps, thus creating the effect. The colors can be simple straw or gray to a rainbow of red, green, blue and tan. This can be duplicated by using a potassium cyanide solution (Ruger Vaqueros and H&R shotguns use this process). The Cyanide method is much faster and cheaper than the old way, it supposedly provides some hardening of the metal surface, but is said to be much less durable. I have also seen the colors duplicated using heat, cold bluing solution and iodine (for the reds/pinks).
the receiver, lever & hammer of this Winchester have been color case hardened, again by the legendary Doug Turnbull:

Anodizing:
Many guns contain aluminum receivers, frames or parts. Aluminum cannot be blued, bluing is a form of iron oxide and since aluminum is not iron, it wont rust. The process to color aluminum is called: Anodizing.
Anodizing involves the stripping the part back to bare metal, polishing, soaking the part in an acid solution, using DC electricity to etch the metal. The parts are then soaked in the heated dye solution to color the metal (sometimes using DC electricity). Finally the part is sealed in boiling water.
The pink parts in the picture below were anodized pink. The beauty of the process is the amount of shine and the color options are limitless, you can mix and match any color in the spectrum. Photo courtesy of Gun Candy

Parkerizing: the name comes from the early U.S. Patent Right holders, The Parker family. The cleaned gun parts are put into a heated solution that contains phosphoric acid and a powdered metal such as Manganese or Zinc, sometimes other powdered metal like iron is used.
It can also be applied using electricity (like plating). Military firearms were often parkerized, it offers great rust protection, requires almost no maintenance, holds oil on the surface and has the added benefit of not reflecting any light (for stealthiness). Many new guns come with a version of parkerizing. The Glock pistols have a finish known as "Tenifer" which is a combination of parkerizing and hardening.
Here is a parkerized M-1 Rifle (many of them have a greenish tint for some reason):

Nickel Plating: Guns were often nickel plated during the latter part of the 19th century and into the 1st part of the 20th. This was originally done to protect the metal from the acidic black powder residue. Many people preferred the look and it has since been replaced by stainless steel. The process involves the use of electricity to impart a coating of nickel on the steel. It can also be done without electricity (called electroless nickel) using a chemical solution.
Here is a nickel plated S&W:

Paint: Another finish used on guns that has become quite common lately is paint. There are several companies that sell special paints for use on guns. Duracoat, Cerakote, KG Guncote, Brownell's has some of their own formulas as well. I am not a fan of paint, but they do have their place. They also allow people to customize their guns to their own tastes.
Here is an example of a Colt Gold Cup 1911 that was Zombified:

Hydro Dipping: Something new to the gun world is hydro dipping, as the name suggests it involves dipping the gun parts in water. A thin film is floated on the surface of the water and the parts "pick up" the coating as they pass through the film. This is very interesting science.....you can see the process here:

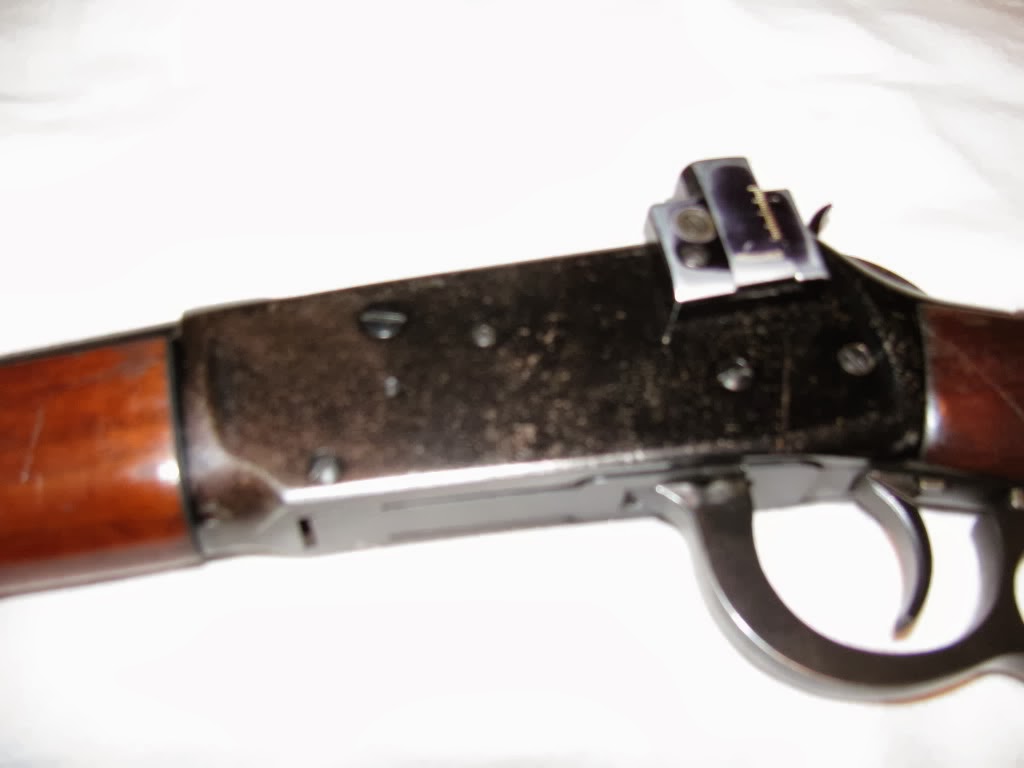
OK so below are some of the first few guns I restored, the process has been more about learning than saving guns, but saving a gun from the parts bin is a very rewarding facet of the hobby.
Here is the first gun I restored. It is a High Standard Supermatic Semi-auto 12 Gauge. The gun looked like this when I got it:


After getting it apart and freeing up the parts, I stripped the metal, the trigger housing, fore end cap and magazine cap were aluminum so I polished those on the buffer. I used the Birchwood-Casey rebluing kit on the steel. I used the Tru-Oil kit on the wood.
Here is what the kit looks like:


Here are the before and after photos

I also refinished the stock on this High Standard .22 Semi-Auto rifle

The great thing about 50s & 60s vintage guns is that most of them came with genuine walnut stocks, which Tru-Oil really brings out the beauty of.


Here it is after we reassembled the gun, the finish was complete, but blotchy. The drain cleaner really foamed up when heated, I'm not sure if the gun remained submerged the whole time.

I cold blued the metal and used Tru-Oil on the stock. This is one of those guns I wish I hadn't sold....
Before:

and after


I also refinished this Ruger 44 Carbine (both the wood and metal) using the Birchwood-Casey kit, it turned out pretty good, enough that I don't think I need to reblue it with the hot salts method.


