
After getting the gun back together I still needed to find a butt pad.
The original butt pad was plastic or aluminum and has a slight curve to it. This butt stock had been cut square at some point to install a softer recoil absorbing pad. So I needed to find a recoil pad that would fit the look of the gun. The factory Remington ones I found online would not fit the older models, so I looked for a black one that wouldn't clash with the classic look of the model 1100. We also didn't want to spend an arm & a leg.
I found this one on ebay for just $10, it was slightly longer than what I needed but the other dimensions were really close and it was a grind to fit design

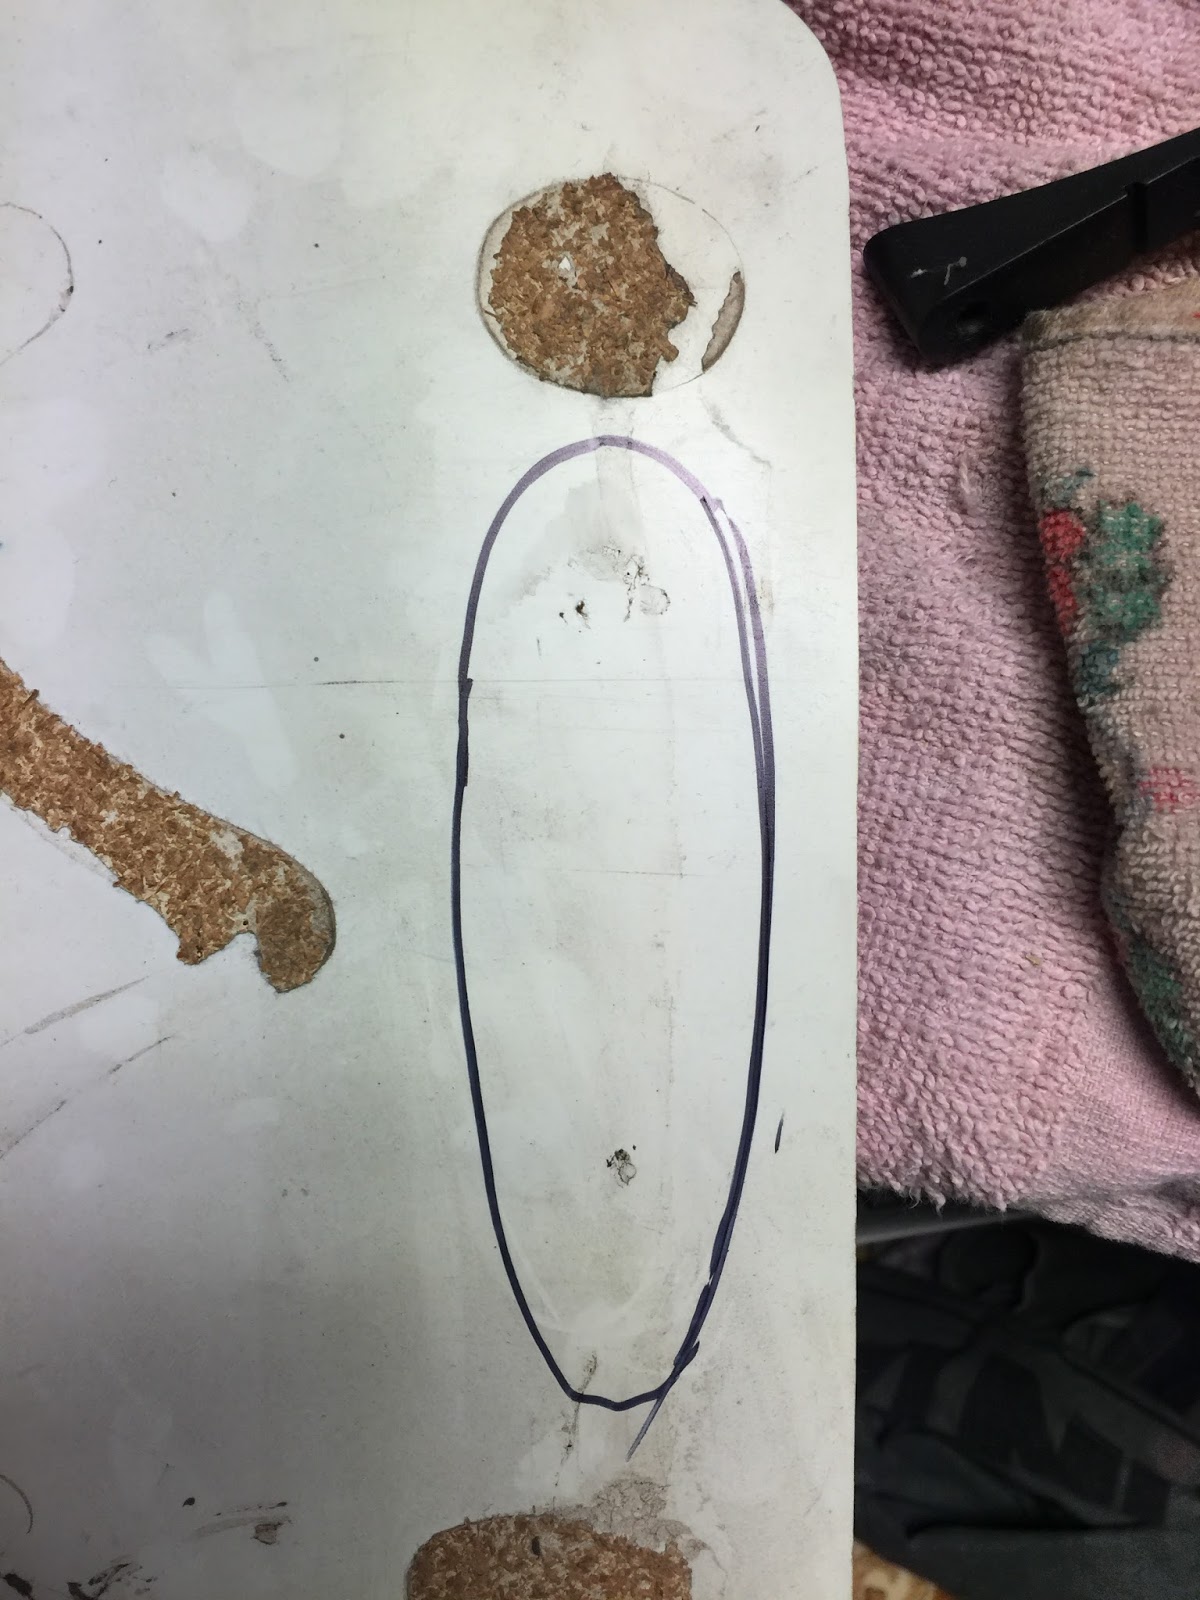
After a trial fit I realized that to bring back the classic look I needed a white spacer.

I found a piece of white plastic that was close to the color and thickness of the spacer on the grip cap, so I traced out the recoil pad and trimmed it (a little larger than needed)

I was able to fit the pad with only some minor scuffing of the wood


Then I coat the butt stock with several coats of Tru-Oil to get it to match the rest of the wood. Here is coat #1

After three coats we had what I thought was a pretty good match for the rest of the wood. So I reassembled the gun for the final pictures
I forgot to take pics of the nitre bluing of the pins and charging handle, but you can see the color below


Before and after


