I bought this generic rimfire scope (nearly identical to my Tasco scope I installed on my Savage Model 93 Varmint Sniper Project).
It has a lighted recticle that lights up in red or green, a 50mm objective and 6-24 power adjustable magnification.


For the paint I chose Rustoleum Silver Metallic. Based on this guy's tests, it seemed like a decent paint and it was affordable at just $3.95 a can.

I removed the sun shade and end trim along with the turret covers. I then taped up the lenses and the other parts I didn't want painted. This scope (as many of the newer ones are) is coated in some sort of teflon like, non-stick coating.....the tape didn't want to stick to it.


After a few light coats I removed the tape and re-assembled the scope

I then turned my attention to the aluminum and stainless scope mounts, before:


After looking at the scope I decided against attempting to fill the letters in with color, I can read the numbers just fine.
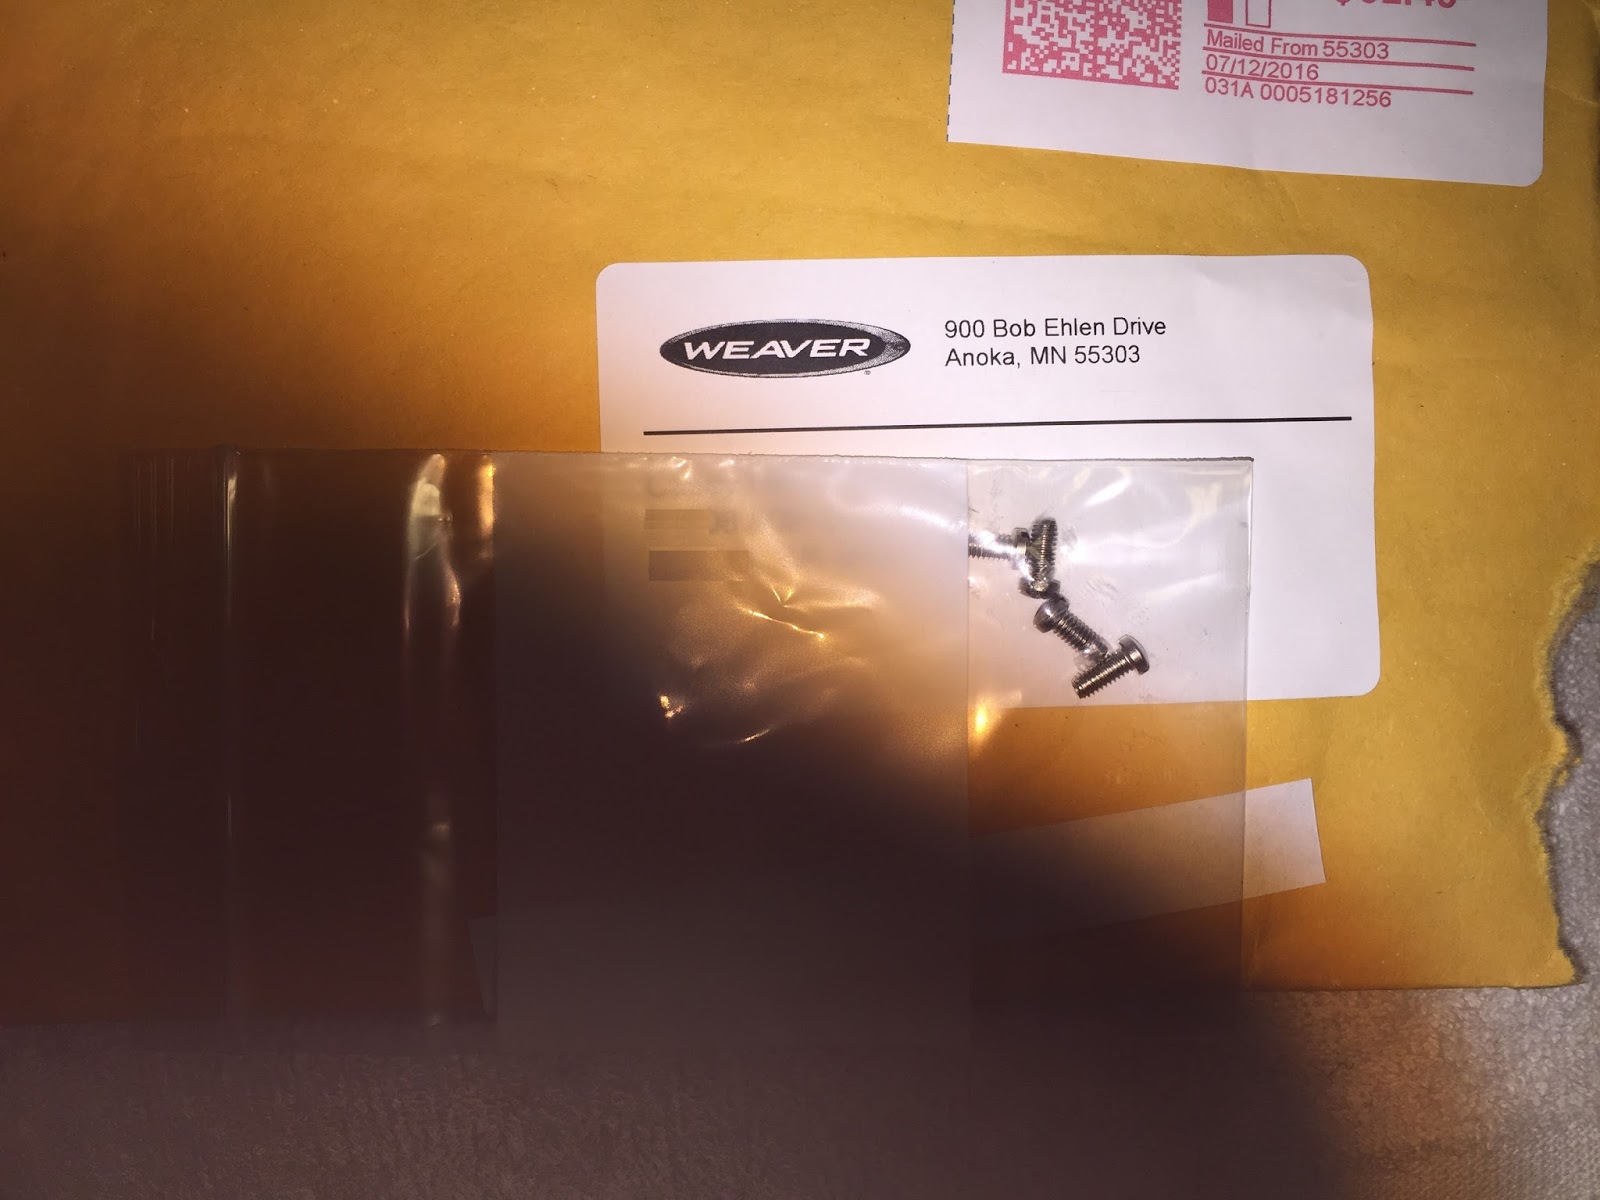
Also just a side note.....when I opened the scope mount packaging I noticed there were only four of the eight screws needed to hold down the upper clamps. I sent an email off to Weaver. They sent four more screws right away without question.