
For the last year or so I have hemmed and hawed about building new tanks or buying a complete set-up from Brownells or Du-Lite
The Brownells kit comes with just about everything you would need to start bluing guns, five tanks (three with burners), chemicals, safety equipment....
see it here

- Chemical cleaner (heated)
- Warm water rinse
- Bluing Salts (heated)
- Chemical cleaner or Hot Water rinse (heated)
- Water Displacing oil (not heated, nor placed near other tanks)
Du-Lite, the supplier to many of the major firearms manufacturers, also sells a few gunsmith bluing kits.
See their website here

- Chemical cleaner (heated)
- Warm water rinse
- Bluing Salts (heated)
- Chemical cleaner (heated)
- Cold water rinse
Neither of these kits are cheap nor inexpensive and because I already had one tank built I decided to save the money and build another one and a stand
Here is my original tank, built for me by a friend out of 1/8" cold rolled steel

The legs were short, which required me to bend down over the tank, it was also not very stable.
The second problem was the burner. He modified a BBQ grill burner and it did not cover the entire bottom of the tank and it was not very efficient, it burned very rich (yellow flame, too much smoke).
We had some steel cut, this time 42" in length (just in case we needed a bit more length, the old tank is 40") 6" wide and deep.
My friend (same guy who built the 1st tank) welded up the tank
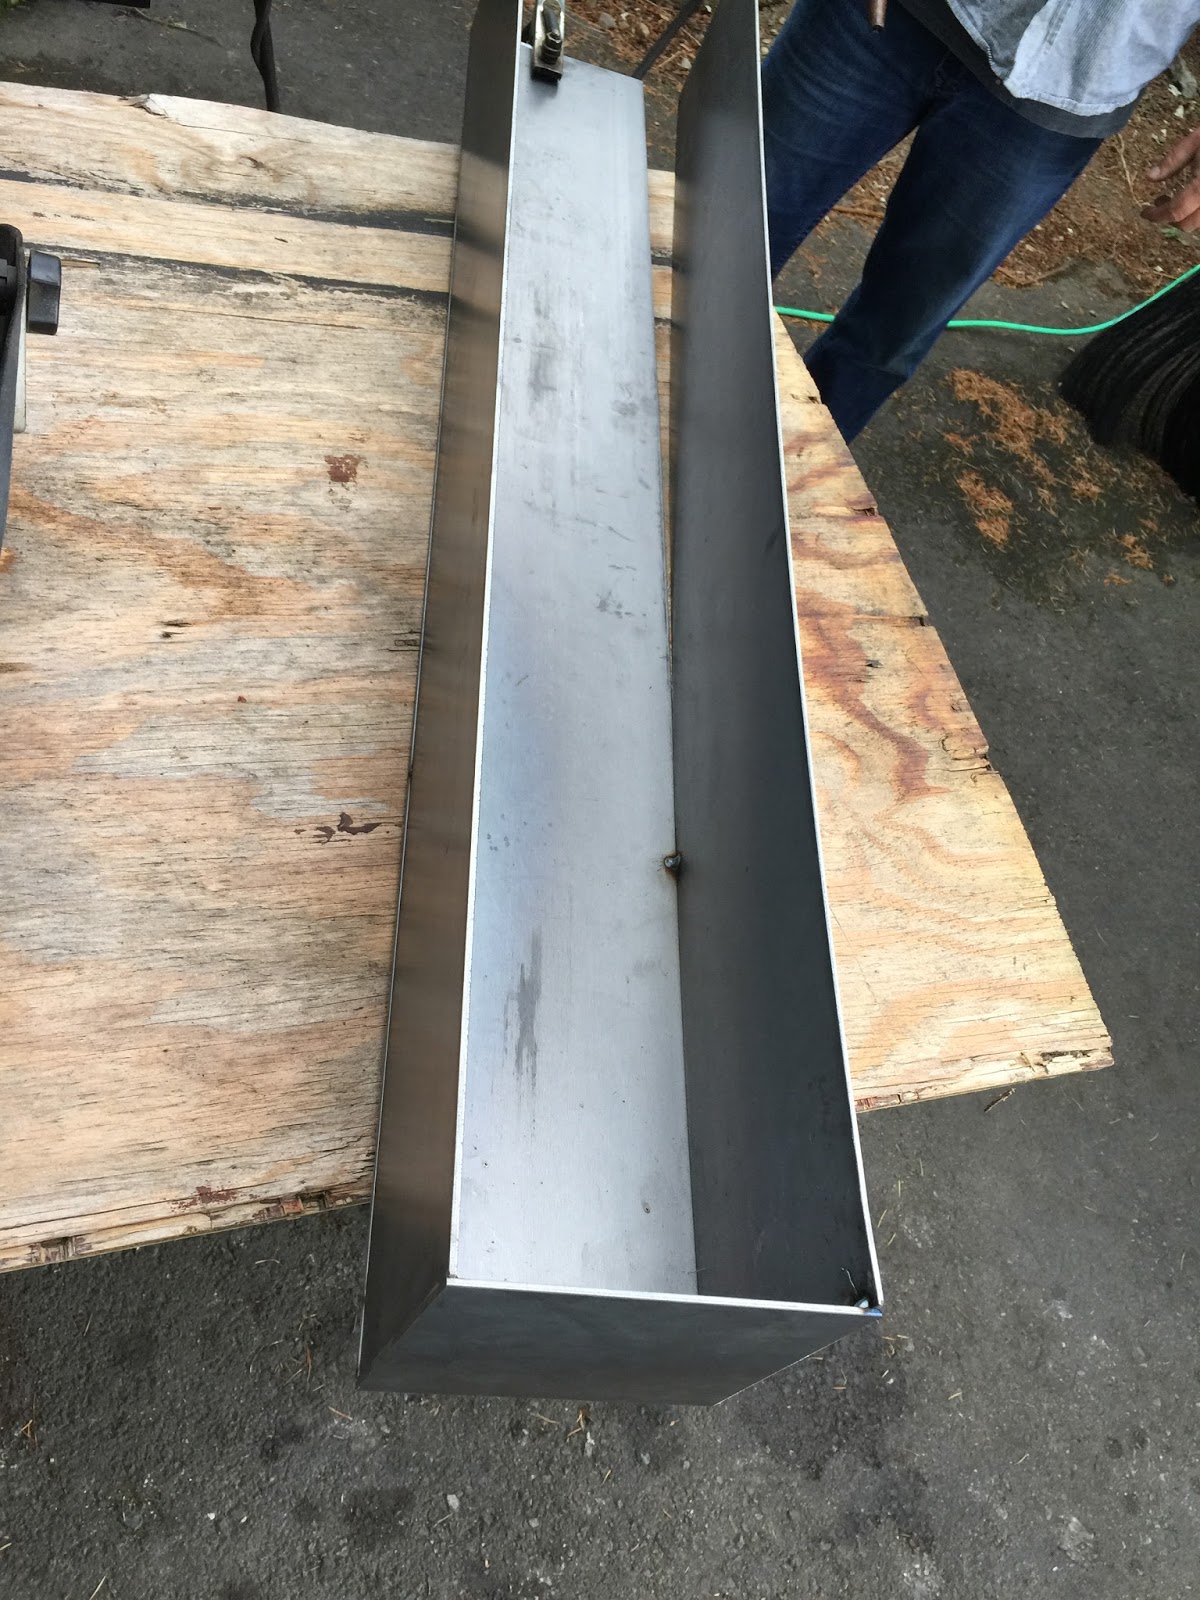


Testing the integrity of the weld, it held the water, no leaks!

The stand we are using was from an old rabbit cage my Dad had in his backyard....I figured the frame would get rusty anyway and we are trying to save a few dollars


The local iron monger provided the necessary gas regulator, lines and fittings

Here is the unit assembled and ready for a test

We have a nice blue flame with light yellow tips. I may adjust the amount of air getting in to lean it up a bit, but I think it will work fine as is.

If building a new set-up you will also need a cold rinse tank and an oil bath tank
For these secondary tanks, you do not need a heavy duty steel tank, you can use plastic or light weight metal.
Some people have made tanks from gutters, which is fine for a rust bluing tank or a rinse tank, but if using for Hot Salts Bluing make sure the gutter material is steel and not aluminum, the caustic salts will destroy aluminum in no time.


You might be able to find some food or chafing dishes large enough


