Part 1
Part 2
Part 3
The wood is ready and the barrel and receiver have been blued, time to assemble this bad boy
First we install the sights on the barrel, one trick I learned was to use a pencil to cover the edge of the sight with graphite, before using a brass punch to drive the sight on, this prevents leaving any marks on the sight.....and yes I know I put the sight on backwards....I fixed it after I took the picture.....
Then install the barrel onto the receiver
Then goes in the polished aftermarket bolt, the reblued charging handle and my own home made bolt buffer
Then goes on the trigger assembly, using some aftermarket pins that I sell.
Finishing touches, I had to install the plugs for the scope rail
We use a custom take down screw made by yours truly (see how I made it here).
Then a coat of wax
Finished!
A couple of before and after shots
Costs for the project
Modified stock: $0
Grip Cap: $1.00
Cerakote work: $50.00
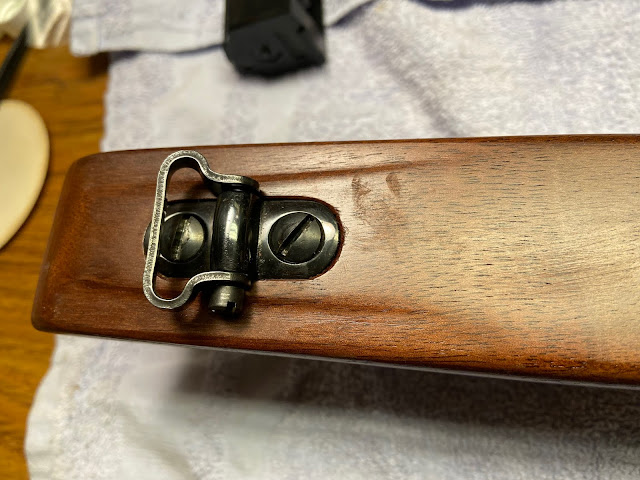
Sling Swivels: $2.00
Kingston Armory Receiver: $55.00
Used Factory Barrel: $0
Aftermarket polished bolt: $7.50
Trigger housing and parts: $0
Misc parts: $12.00
Total: $127.50
On to the next project......


