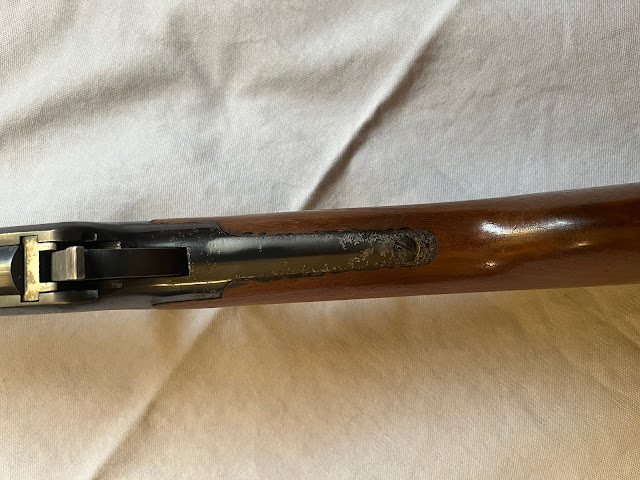
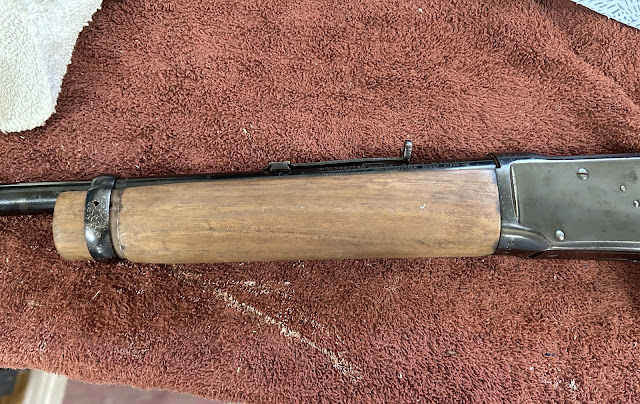
Another lever gun, this one a classic Winchester model 94. This gun was brought to me by a friend who inherited it from his uncle. The gun is in very good condition with some minor pitting in places.
One of my first steps, before restoring the gun is dating when it was made. This is especially important for this model of rifle. For those that do not know in 1964 Winchester made changes to the production process for the model 94, model 70 and a few others. One of those changes was the way in which the receiver was made.
Prior to 1964 the model 94 receivers were machined from forgings; this was very time consuming and labor intensive.
Winchester decided to make their receivers using a reverse casting process. Instead of pouring molten metal into a mold, they would fill a mold with powdered (sintered) metal and then put the mold into an oven and melt the alloy.
This produced a nearly finished receiver that needed minor machining. We can probably thank Ruger for this as they brought the use of investment casting to the firearms industry in 1953 with the introduction of their Single Six revolver.
The reason this is important is because the alloy, while plenty strong enough for its job, was not uniform in the amount of iron near the surface, which meant that the receiver could not be blued using normal methods. Bluing is black iron oxide, so you need the iron to oxidize, no iron equals no iron oxide.
Winchester employed several different methods to blue their receivers between 1964 and 1982 including plating the receivers with iron, so they could be blued with traditional means.
Read more about the history of this gun here.
This guns serial number dates it to late 1957, so we can reblue this gun without any worry.
Here is what the gun looked like when he brought it to me.
Because we will be refinishing the wood as well, that is where we will start.
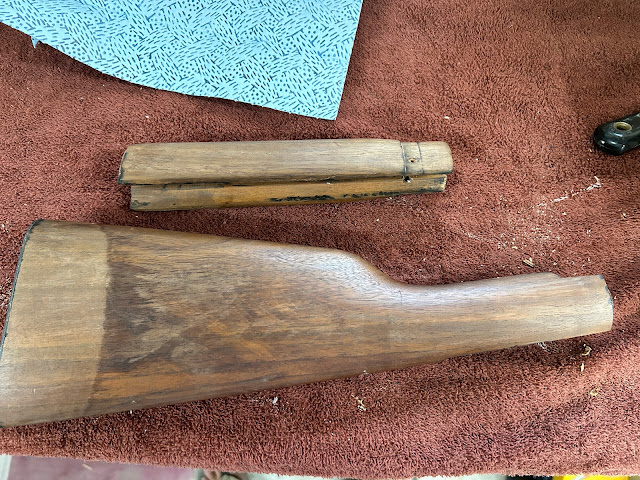
I removed the stocks and coated them with citristrip
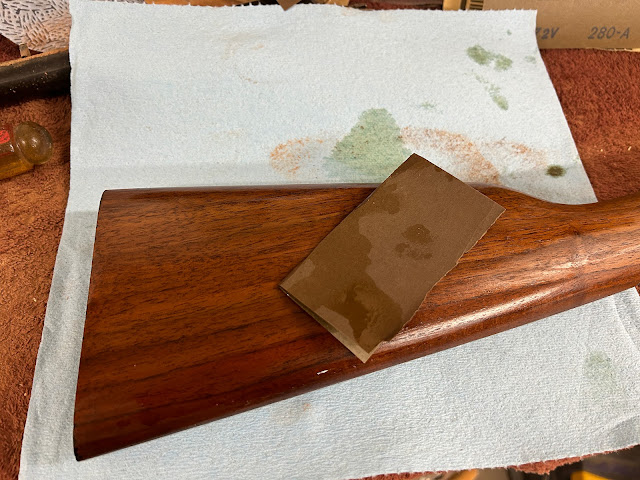
after curing the wood is smooth but still needs a buffing, which will come when we are ready to assemble the rifle.


No comments:
Post a Comment