If you missed the previous post on this build click the links below:
Part 1
Before we begin adding wood and sanding I need to fit the custom butt pad to the stock


Next I cut out the birch wood for the cheek piece


I then added the second piece of wood (no pictures, sorry)
Before I could add the third piece, I needed to make clearance for the bolt. I also started on the thumb hole


I decided to forgo the third piece as it would interfere with the operation of the bolt, so I will use body filler to fill and blend the area on the right side of the cheek piece.
Next I cut out some pieced of birch for the grip, they don't need to be identical or perfectly fitted, as long as I have enough surface area to get a good bond

Before gluing I knock out the poorly installed piece or mother of pearl, no one will have to see that again

Here they are glued on and ready for shaping

Once the glue was dry I started to clean up the pieces of wood added to the grip, making them more symmetrical.

And blending the old and new wood

Opening the thumbhole and starting on the finger grooves


I mixed up some body filler, to start with the blending of the pieces, I mixed it a little on the hot side as I had an issue with the hardening agent, it was separating in the tube.

While waiting for the "mud" to cure, I drilled the hole for the rear sling swivel

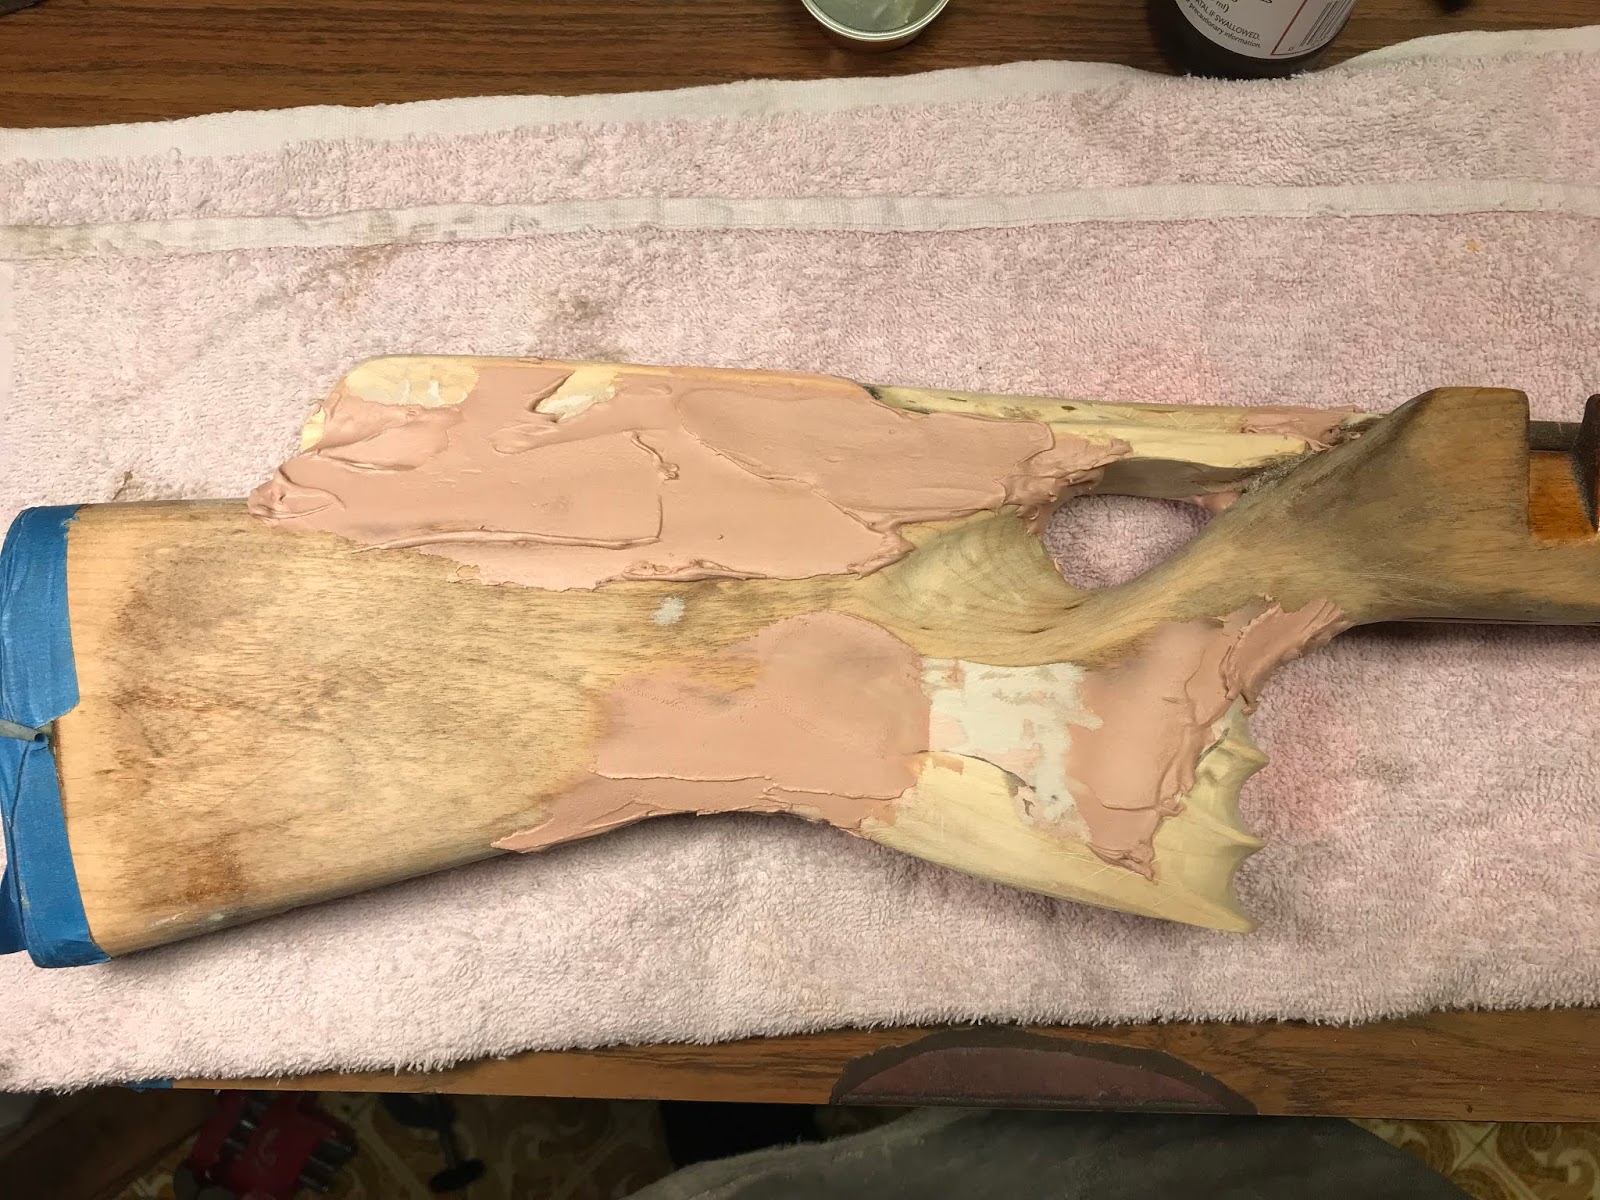
The first application of body filler after curing


More sanding and profiling


More "cake batter", I will slowly build up the right side of the cheek rest and blend in the other areas with the original stock wood

More progress

No comments:
Post a Comment