You may have noticed that a lot, perhaps even the majority of my restorations have been on .22 rifles. The reason is simple, everyone and their mother owns a .22 rifle. Hell, many people have one in the attic or closet that they forgot about.
These guns are also more often neglected. I believe this is for two reasons. First many of the people that own a .22 rifle are not gun people and do not know the proper way to store a firearm. The second reason is that they are inexpensive and thus people do not look at them the same as they would a piece of furniture, jewelry or other durable goods.
Anyway, I don't mind working on the .22s, they are fun to shoot because the ammo is still inexpensive and there are so many different ones out there.
I have also learned how to take good pictures now, it is all about the lighting, I should probably do a blog post on how to take a picture of a gun....something many gun sellers could benefit from....
The first gun I restored (once I got back into the hobby) was a High Standard Supermatic C-102 Shotgun. I paid $100 for it at a gun show (I paid too much... I know). The stock was broken, the metal rusty and the action frozen.
I found a butt stock from a newer model, refinished the wood with Tru-Oil and polished the metal, then refinished the metal using Birchwood-Casy cold blue.
Before and after pics

a better picture I took for inventory purposes.

Bolstered by my success with the High Standard I refinished the wood and metal on my Ruger 44 Carbine, using the same methods


Some better quality pics:


I also refinished this 1972 vintage Winchester 94 30/30 rifle, again using cold blue and Tru-Oil. It turned out pretty nice, but the cold bluing quickly began to slough off. Another lesson I learned, read more here


At the same time I reblued my first gun for a customer, this Ted Williams 30-30 (Win model 94) got the same treatment as the one above

The first gun I reblued using the hot salts method was an older Colt Detective Special. The gun had been repaired before and had a horrible looking finish. My Father and I sanded and polished the gun, then reblued the gun in a bath of distilled water and Drain Cleaner. If you didn't know, over the counter drain cleaners often contain the exact ingredients (and in the proper ratios) of bluing salts......except some also contain aluminum powder, which is no bueno....so the finish turned out horrible, but I was learning
I didn't get a picture before we started, but here is what it looked like after:

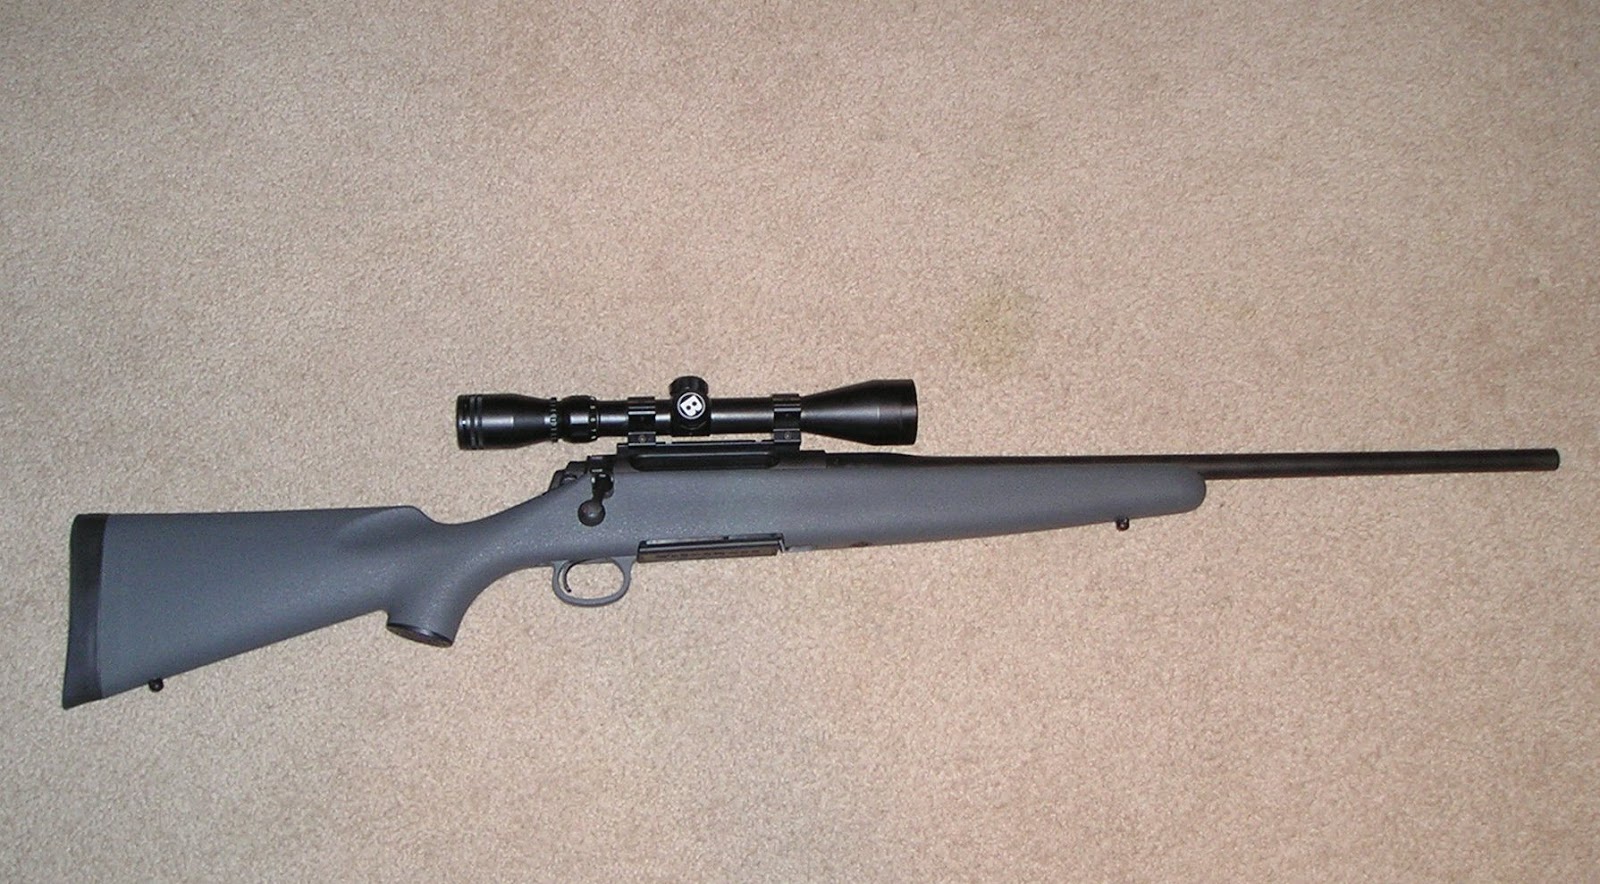
Around this time I purchased a "plain jane" Remington rifle, it was the super cheapo offering, the stock was synthetic, molded in gray, so I did a custom camo job on it , see more here

I then bought this JC Higgins model 583 bolt action shotgun for $80, it needed the wood refinished, but was in otherwise good condition. Even though it was a budget priced gun, it had a walnut stock, so I gave it the Tru-Oil treatment. See the process here


My learning curve was pretty steep and after researching how to mix my own bluing salts I had a friend build me a bluing tank. Once I had the tank and chemicals ready, I put out an offer to blue a gun for free, if the owner didn't expect good results.
A local forum member contacted me. He had purchased a new in box Marlin 1894 Cowboy rifle in .357 Mag. The gun came shipped in Styrofoam. The original owner had put the gun back into the box without wiping it down with oil and the moisture that was on the gun wrecked havoc. The result was a new gun with a bad case of cancer.
Here are the before and after pictures and a link to the blog post: A New Start


At this point I was buying any old rusty or broken gun I could find. I came across this Sears model 200 shotgun (Winchester 1200) for $40 at the gun show, it was rough and was missing the trigger assembly. The wood was birch and the receiver made from aluminum, this limited my choices. So I decided to paint the gun flat black and the stock flat olive drab, here it is before and after:

During the process I found a magazine extension and side saddle shell holder for cheap, then had a machinist friend build a muzzle device for it, see more here and here

I refinished the stock on this High Standard .22, again using Tru-Oil, I had yet to learn some of the great tips in getting a super smooth satin finish, but it sure looked better than before.

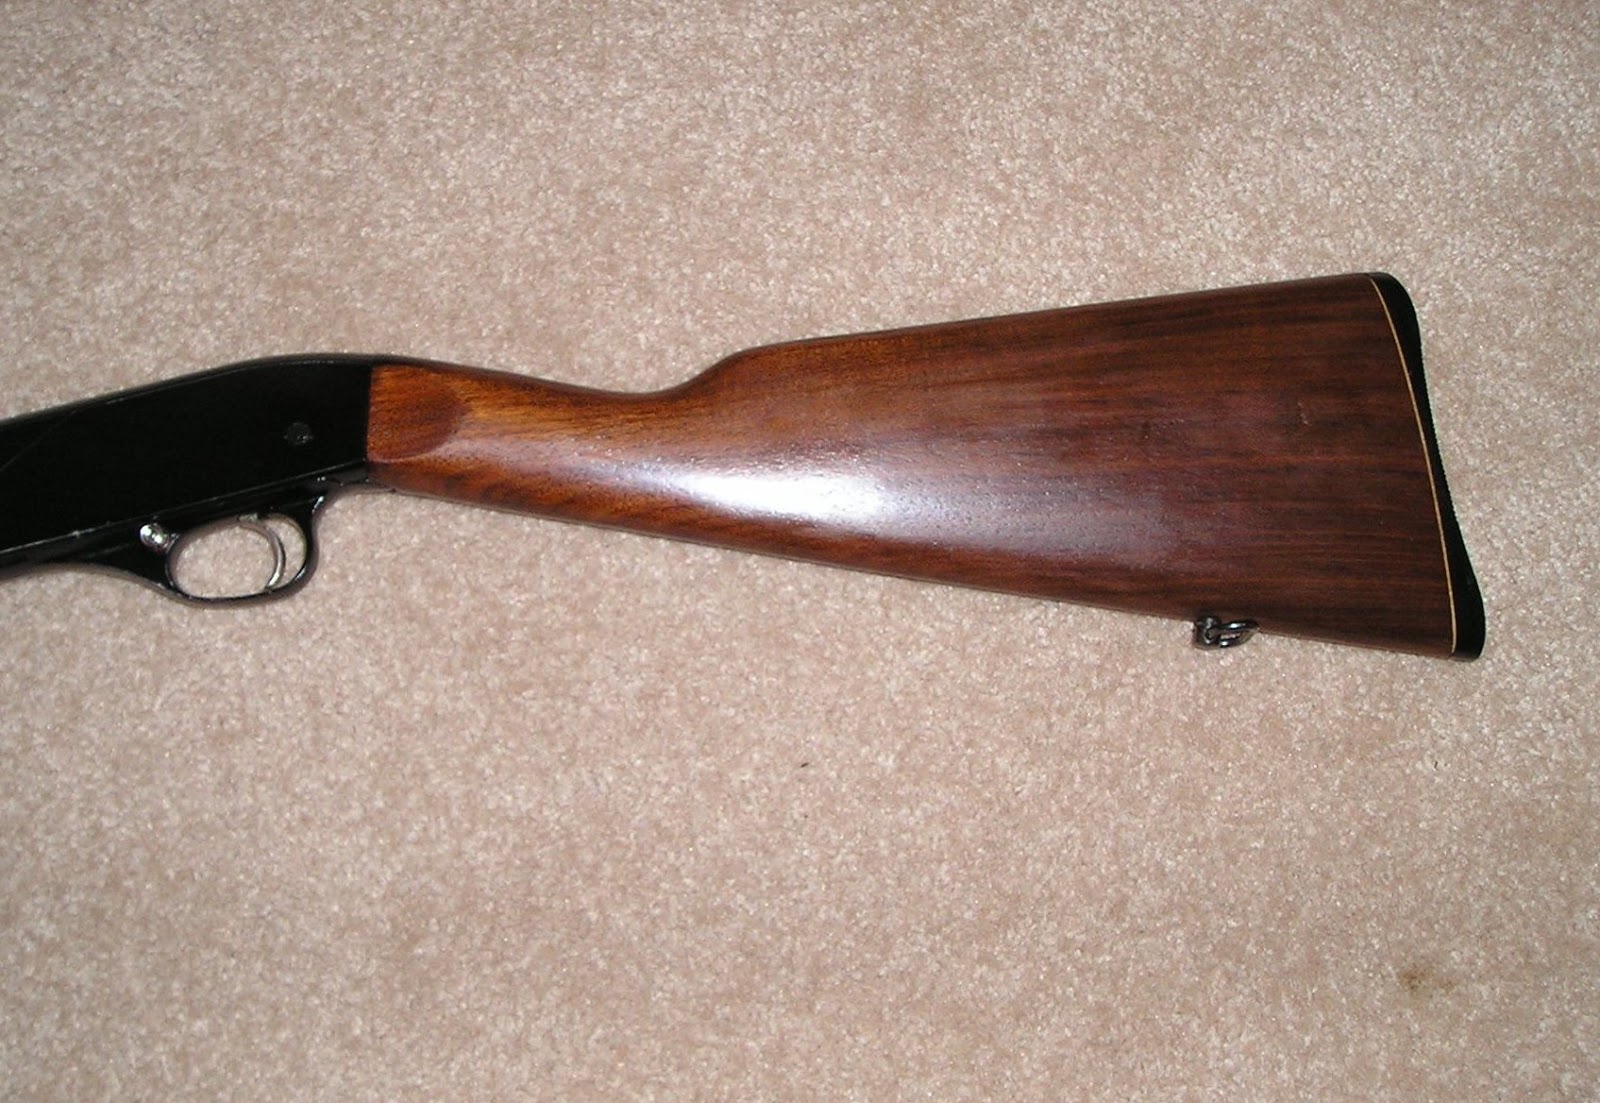
Now that I felt confident I could reblue a gun properly, my Father presented me with a project for the two of us to work on. A Winchester model 1906, which he was given by a friend. We bought new wood (walnut), polished the metal and refinished everything, it turned out really nice. See the whole story here


After I finished the Marlin 1894 Cowboy rifle I posted the pictures on a local gun forum....and the flood gates opened up, I had no shortage of customers, here are those early projects
One forum member brought me the parts to his kid's Winchester model 60, I polished them up and reblued them

The same guy brought me a Steyr M1912

Another forum member brought me his Marlin Camp 9 Carbine

One forum member challenged me to give his Norinco 1911 a high polish and blasted two tone finish like what Wilson Combat had once offered, I think I succeeded, he was happy with it anyway, see more here

That 1911 project sparked another forum member to ask for the same treatment for his Star model B 9mm pistol, click here for that story

A friend from work had used the incorrect oil or solvent on his gun (I never did find out what it was) and it removed the bluing on his Ruger Mark II pistol, so I gave it a high polish finish, sand blasted the top. When it was finished, it looked really nice, he later told me that it looked "too good to shoot" so he bought another one in stainless....One of the best compliments if you ask me, see more here
I wish I would have taken better pictures...

Stay tuned for part 2, this is only the beginning
No comments:
Post a Comment