The butt stock looked pretty dinged up and I was guessing there might be some rust and corrosion under the steel butt plate.
This is what the gun looks like with the barreled action separated from the stock

I was right, there was some rust under the butt plate. The screws did not want to come out and the slots were very shallow.
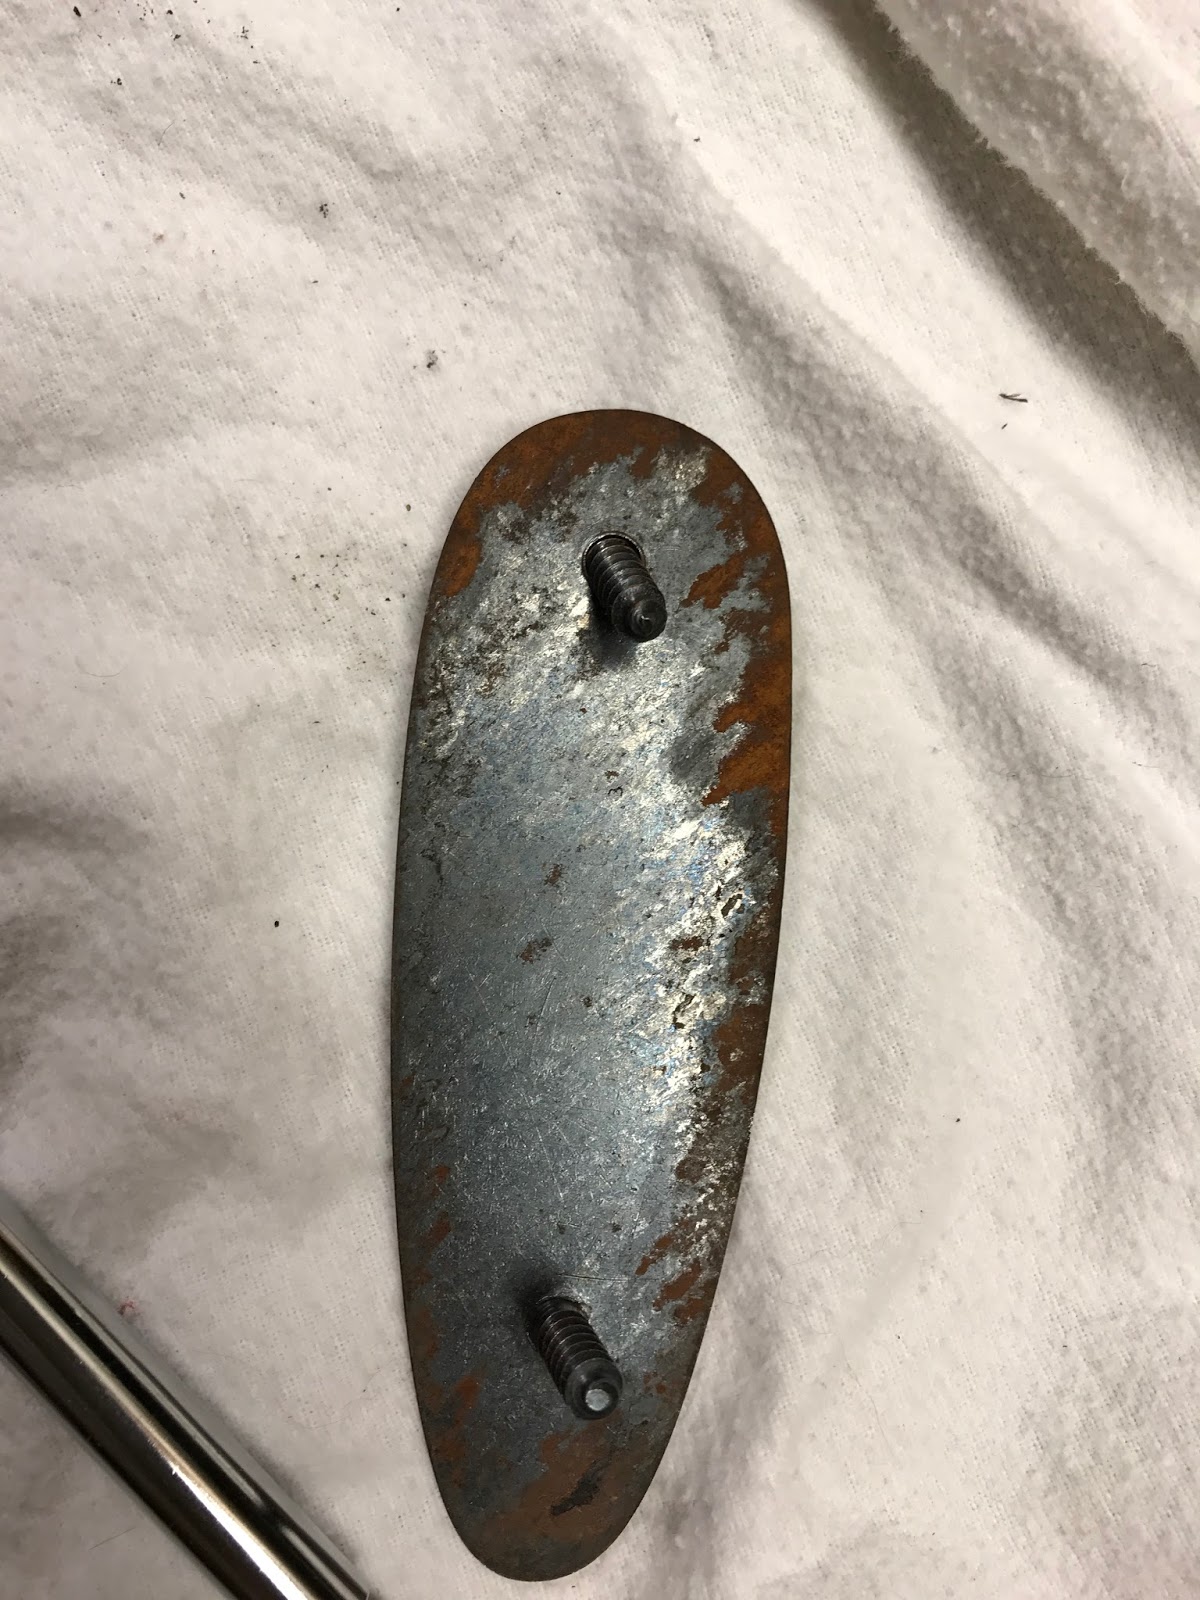
In addition to the shallow slots, the heads of the screws were not very wide. I won't be re-using them

The butt end with the plate removed, I will cut off a 1/16 of an inch to removed the chipped area and expose some fresh, clean wood

I tapped up the stock and using a "kerf" balde on my compound miter saw, I cut a silver of wood away

Due to my many 10/22 projects I had some extra #12 butt plate screws that should work for this, the third one is an original butt plate screw

I drilled the holes in the white line spacer

and attached them


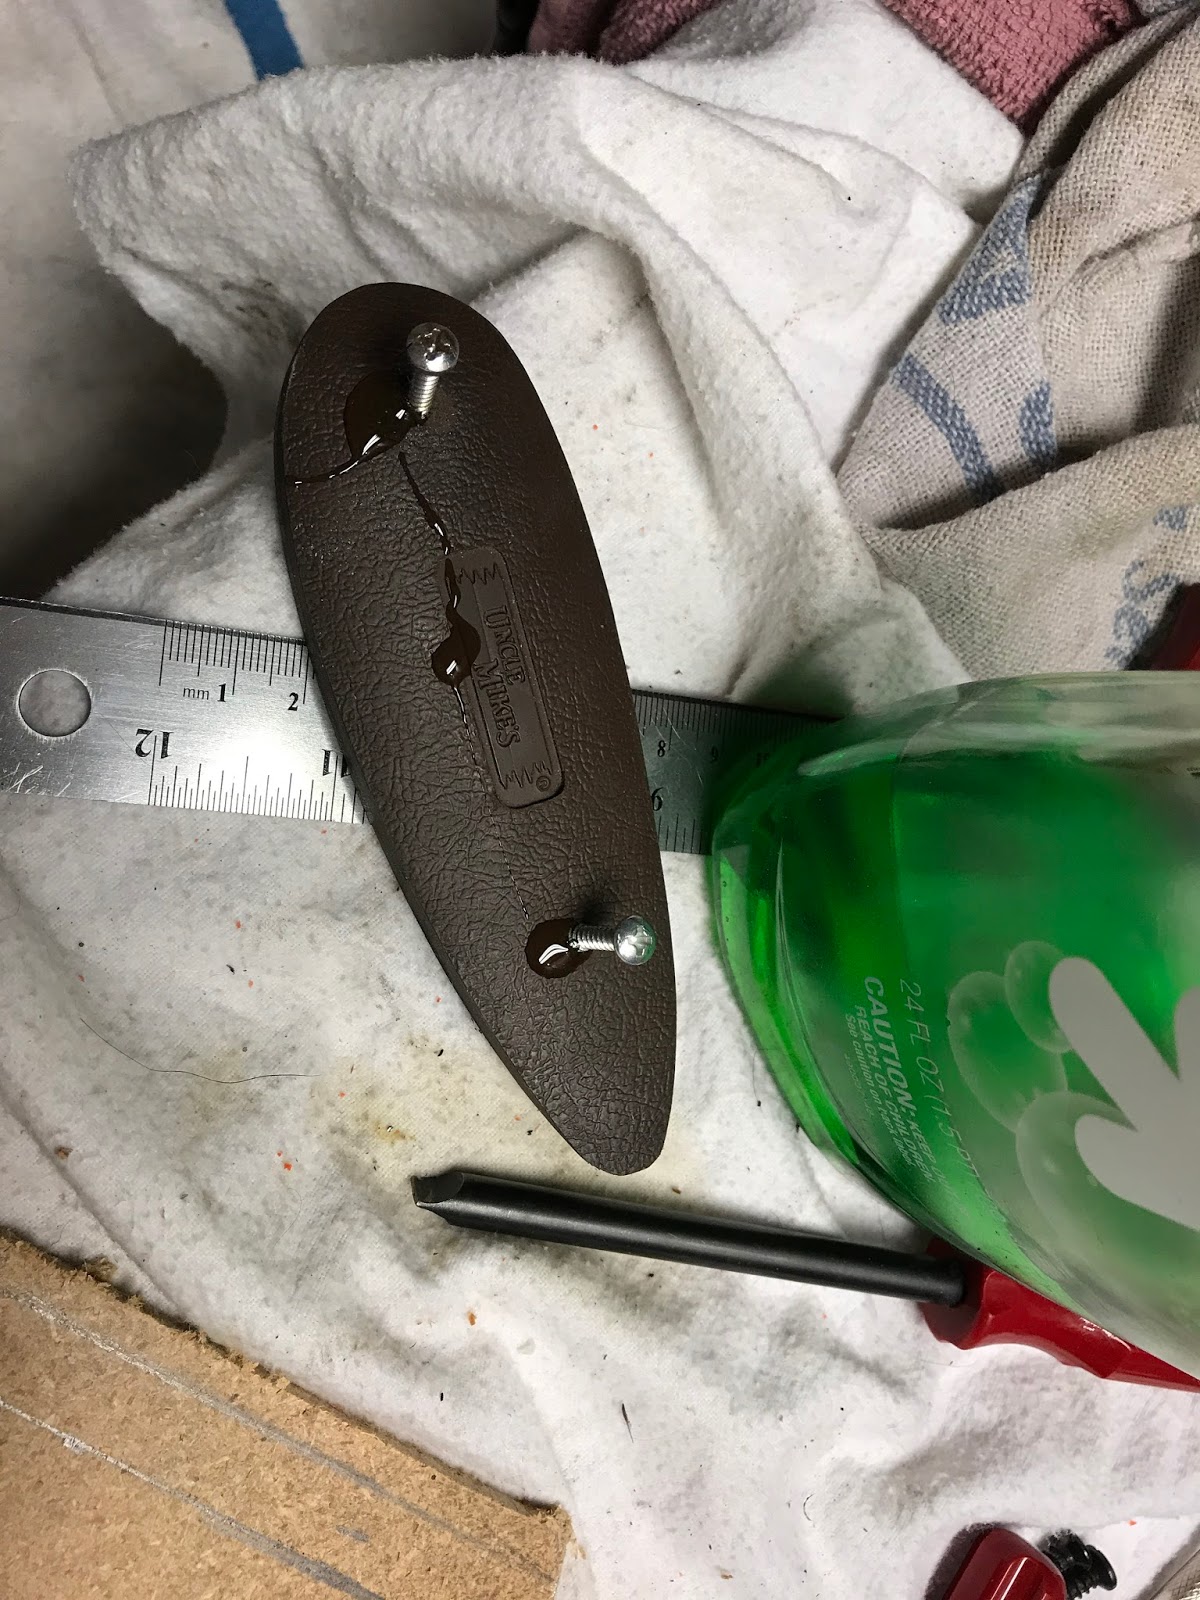
The following weekend I went to a gun show and found this Uncle Mikes rubber butt pad, in good shape for just $5


Before installing the new pad, I needed to plug the old holes with some dowel. I picked up these at the hardware store

I drilled out the old holes to 5/16" and plugged them with the dowels using from Elmer's MAX wood glue to secure them

I sourced from Phillips head screws from my nut and bolt bin (better to use Phillips head as the screw drivers are generally round shank and don't tear up the butt pad) remember to use dish soap as a lubricant
I then cut out the white line spacer from the same 1/16" ABS sheet

After the glue dried overnight, I cut off the excess dowel material and block sanded the butt

I then drilled the holes with the appropriate bit and installed the pad and spacer

I then used my belt sander to get 90% of the way, we'll finish it up by block sanding the stock and then move onto steaming out any remaining dents


Then I began sanding, I started with 150 grit because I had some dings and dents to sand out and I needed to finish fitting the butt pad

It turns out there were way more dents and boo boos in
the stock than I thought, some will have to stay, but most of them are
gone now.
I sanded it with 220, 320 then 400 grit, before applying the first coat of Minwax Antique Oil Finish, here it is before the oil is applied

Here it is after the 1st coat (dried for 24hrs), now we start to fill the grain and any left over imperfections

I put several drops of oil on the stock and sand it with 600 grit wet/dry sandpaper (with the grain of course) and create a "slurry" of oil and sawdust. Then I wipe the slurry across the grain with my finger, forcing it into the grain and any deviations.

I applied 3 sanded/slurry coats followed by one finish/top coat