See the previous posts here:
I need to shorten the barrel and recrown the muzzle. By law a rifle barrel must be 16" or longer (unless you file with the BATF and get a tax stamp for a Short Barrelled Rifle). The barrel on a standard 10/22 carbine is 18.5", so I will cut 2" off the end.

after cutting I checked the barrel length (with a cleaning rod in the bore) and we cam out just shy of 16.5"

Using my dove tail jig, I flied and sanded the end of the barrel so it was smooth and square

I then used my drill and a ball mill to chamfer the crown

I then removed the chatter marks with a brass stove bolt and some valve grinding compound

I stuffed a patch in the end of the bore to keep the valve grinding compound from getting inside.

I then cleaned the end with some 400 grit sand paper and my thumb....which now sports a blister...

I noticed that for some reason the barreled receiver fit very tight in this stock, I got out the lamp black and painted the bottom of the lug where the take down screw resides and checked to see if it was making contact. As I suspected it was not. When I pushed on the back of the receiver to get it all the way in, the front would lift up.
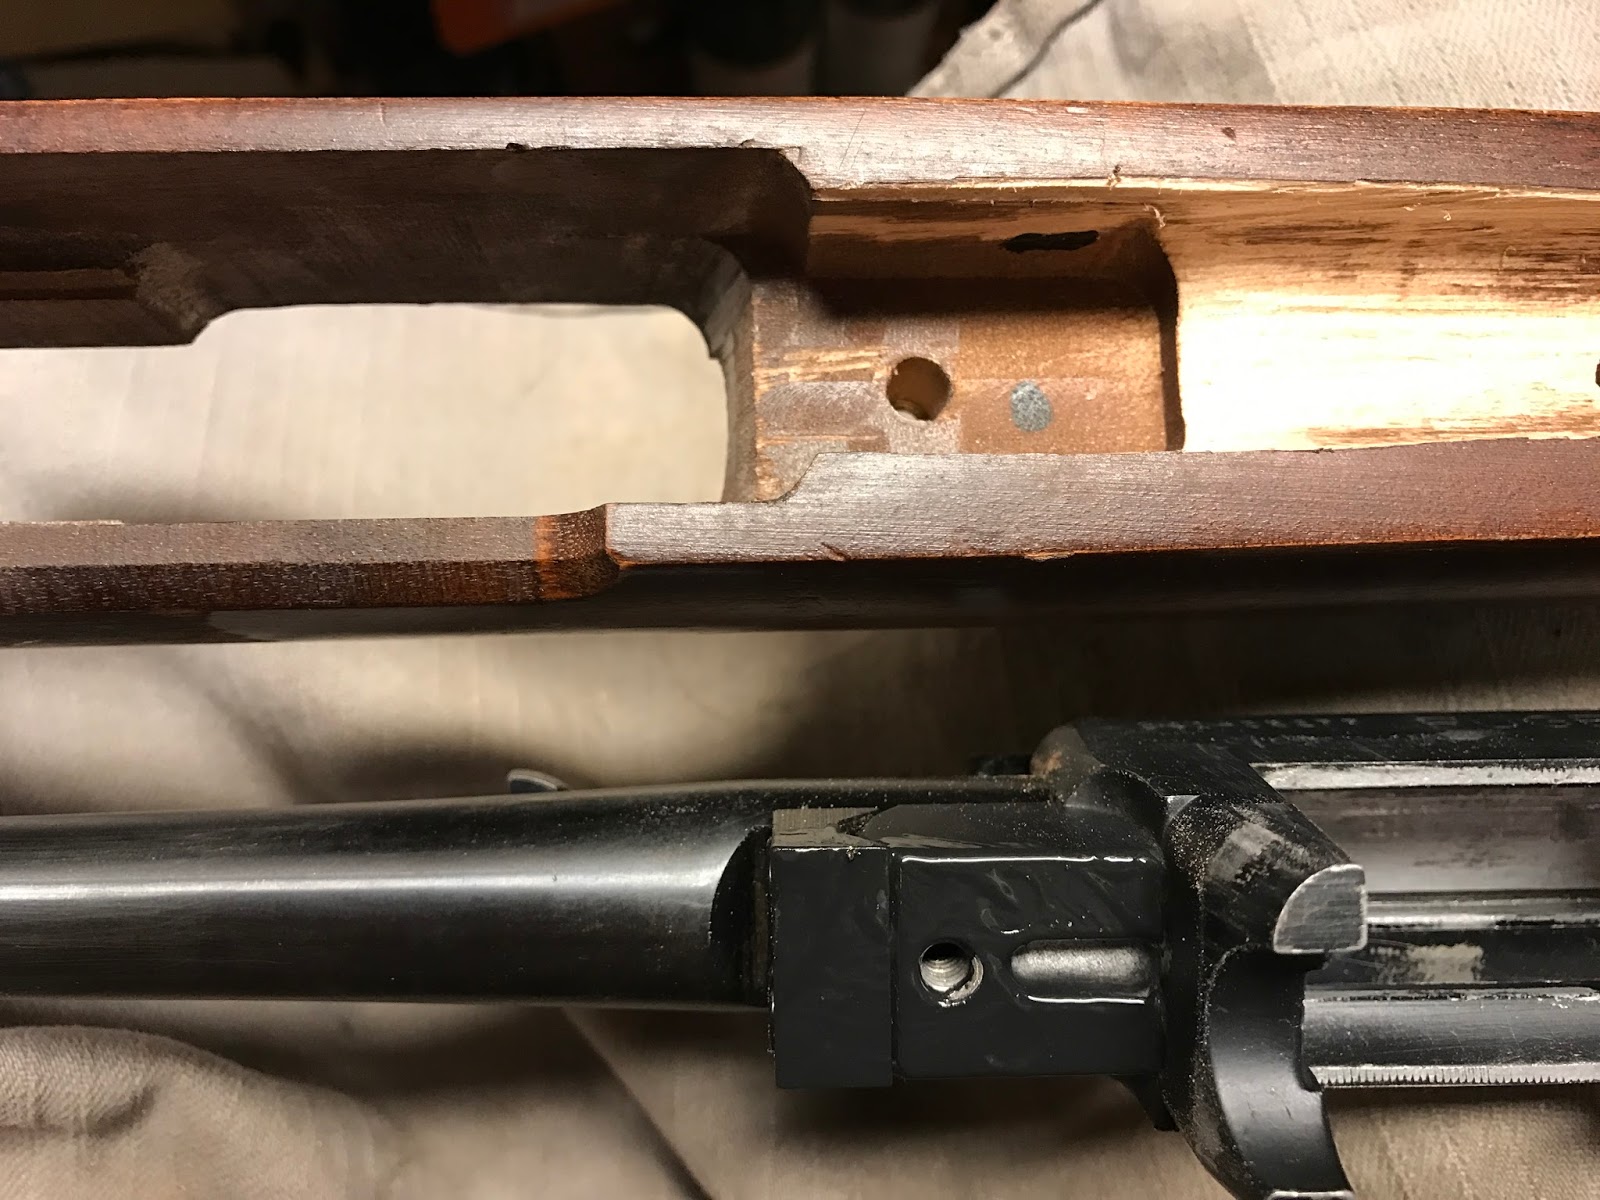
So I broke out the small files and sand paper, it now fits snugly, but easily and no more rocking back and forth.

Before going further we need to install a pillar for the factory take down screw and then figure out how to anchor the rear of the stock. I had a bunch of these flanged wahers in my parts bin, I used one on the target rifle project and it worked perfect, so I am using one here as well

I drilled a 23/64" hole down to the stock escutcheon and fitted the washer

I had to remove some material so it would touch the escutcheon while sitting flush and not raise the action in the stock

I covered the barre/receiver junction with tape and a liberal coating of car wax to prevent the JB weld from sticking to it

I mixed up the JB weld and put some under the washer and on top, when the barreled action is clamped it, the excess with squish out and the flanged washer and escutcheon will touch each other, preventing any movement.

The next day I pulled the the gun apart, there was a few small pieces of tape stuck to the JB weld, but otherwise everything is peachy. The fit is perfect, no rocking fore and aft and it feels rock solid.

I had planned on using the 10-24 x 2.25" long button head stainless screws to anchor the receiver.
The screws will go through the rear trigger pin hole which is 3/16".
3/16" is equal to .1875", a #10 cap screw is .190, slightly larger, which will fit, but will be tight.

So how do I drill the stock and get the holes lined up perfectly? I found this post on the Rimfire Central forum by Hipshot, he built a jig using a piece of angled aluminum and long 6-48 bolts, screwed into the scope rail holes.


I bought these #6-48 screws that are 1/2" long, which should be plenty long enough.

I couldn't find a piece of 90 degree angled aluminum, so I made one. The metal is from the same sheet I plan on using for the side panels.

A trial fit with the #10 cap screw

Then again with the trigger group installed. I drilled the front trigger holes as well, but I don't think I will be using them.

Stay tuned for part 5