Although this gun's internals didn't look as bad as others I have seen.
The sear, dis-connector, hammer, firing pin, extractor, trigger plunger, hammer strut and bolt were all polished.


Here is the bolt after re-installing the firing pin and extractor.

The inside of the receiver is painted, the paint was already chipped and pealing away

So I polished the inside of the receiver as well

The paint Ruger uses is thicker than the anodizing they used to put on the 10/22 receivers. I had to polish the bolt stop hole in order to install the KIDD bolt buffer. I used 220 grit paper wrapped around a punch.


Next up was the scope. I cut the Mossy Oak camo skin and stretched it to fit, using a heat gun. Be careful, the stuff heats quickly.


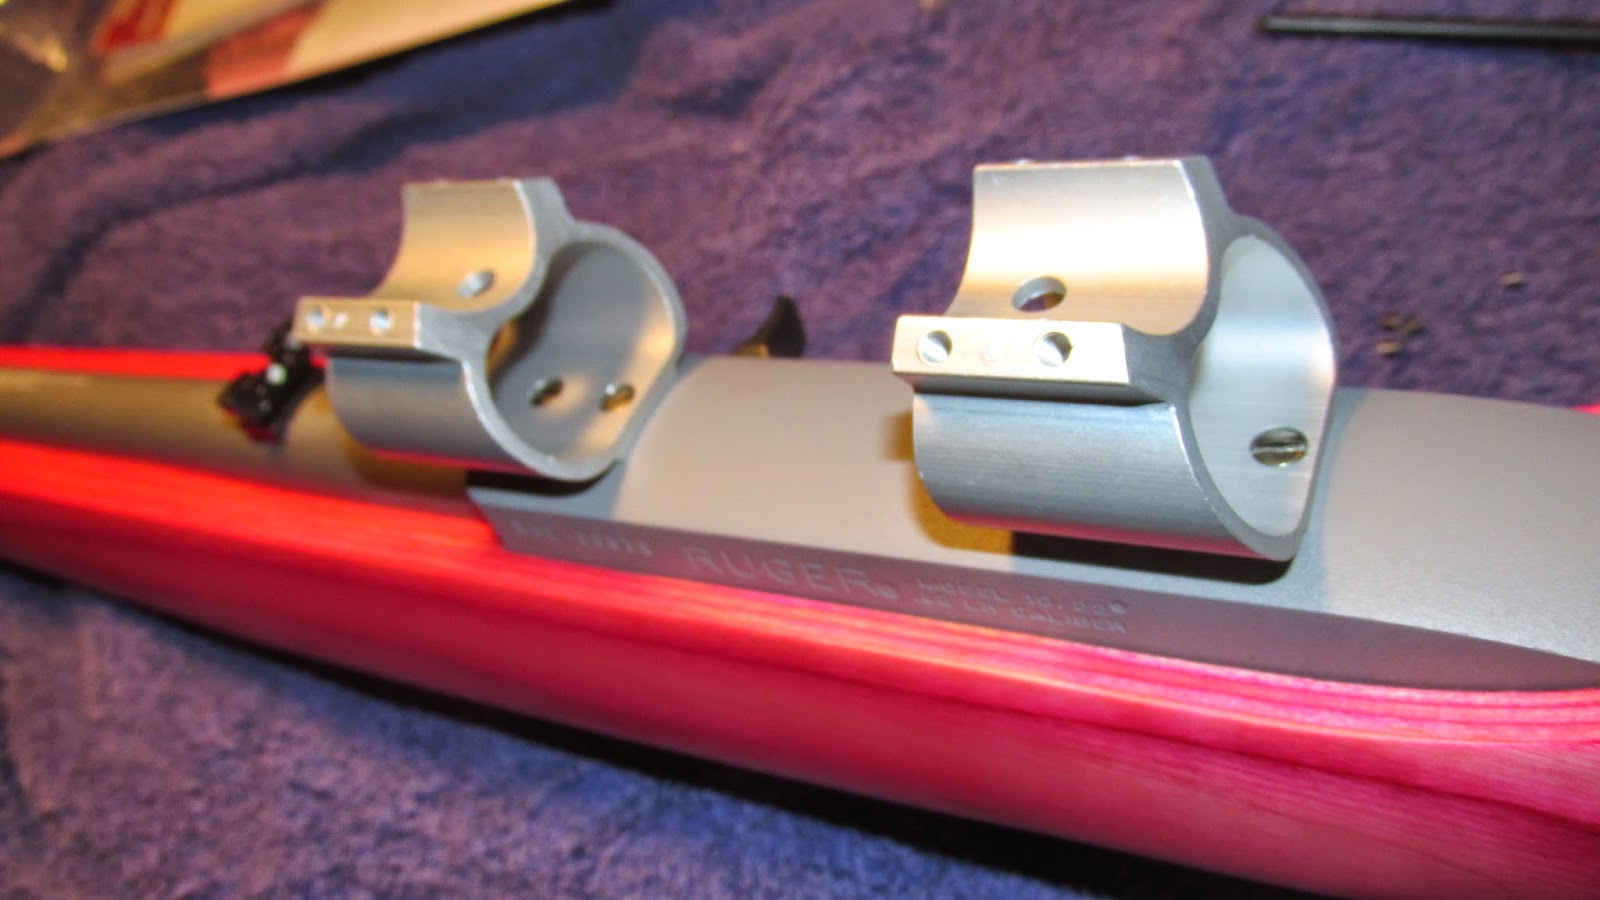
Thanks to Amazon I scored a made in the USA set of aluminum & stainless scope rings from Weaver. These rings will supply the necessary room for the 40mm objective and their hollow base design allows for using the original open sights if the scope should fog or fail.
The lower portion of these rings are aluminum and match the receiver & barrel on the 10/22
The Weaver rings are top quality, as you would expect from a product made in the U.S.A.

Next I polished the stainless tops of the scope rings.


That looks puss, Case!
ReplyDeleteSo is that Ceracoat on the receiver?
nope, that is the factory finish
ReplyDelete